
Nearly 70% of frozen vegetables get thrown out soggy and tasteless. You’ve probably done it too, and here’s why that changes now.
What You’ll Learn
- How to turn ice-cold florets into crackly, caramelized bites in 25 minutes flat
- Why your baking sheet temperature matters more than your oven setting
- The single mistake that ruins 90% of frozen vegetable attempts
Best For: Busy weeknight cooks, meal preppers, and anyone who’s given up on frozen produce.
Start Your 7-Step MethodStart Here: Your 7-Step Method to Roast Frozen Vegetables
Why settle for soggy sides when you can get crispy, caramelized results straight from the freezer? Roasting frozen vegetables turns them into something you’ll actually crave.
Your 7-Step Method
First, grab your bag of frozen vegetables. No defrosting needed. Toss them with oil to prevent drying and boost browning. Add seasoning now, salt and whatever spices you keep on hand.
Spread everything in a single layer on your baking sheet. An even layer matters. Crowding steams; spacing crisps.
Slide the pan into a 450°F oven. Set your timer for 15 minutes. Pull it out, flip the vegetables, then send them back for another 10 to 15 minutes.
You’re hunting for golden color and crispy edges. Larger pieces need more time. Finish with an extra drizzle or quick toss if you want.
Best For: Weeknight dinners when you need hands-off sides that actually taste good.
Recommended Products

NON-STICK SILICONE BAKING MAT - this multiple purpose silicone mat is perfect for baking, kneading, rolling your baked goods, as well as freezing meats, fruits, veggies, protein balls
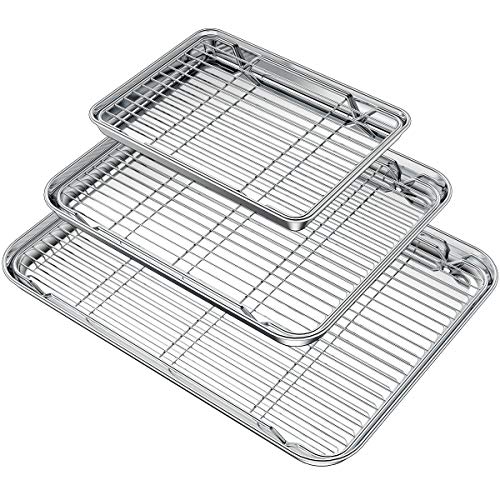
MULTI-USE: Including 3 baking sheet Large (16 x 12 x 1 inch), Medium(12.25 x 9.65 x 1 inch), Small( 9 x 7 x 1 inch) and 3 cooling racks match each size. A great replacement of aluminum pans, fits most regular toaster ovens, it's an essential choice for macaroon/ pastries /cookies /brownies making
Preheat Your Oven and Pan to 450°F (No Defrosting Needed)
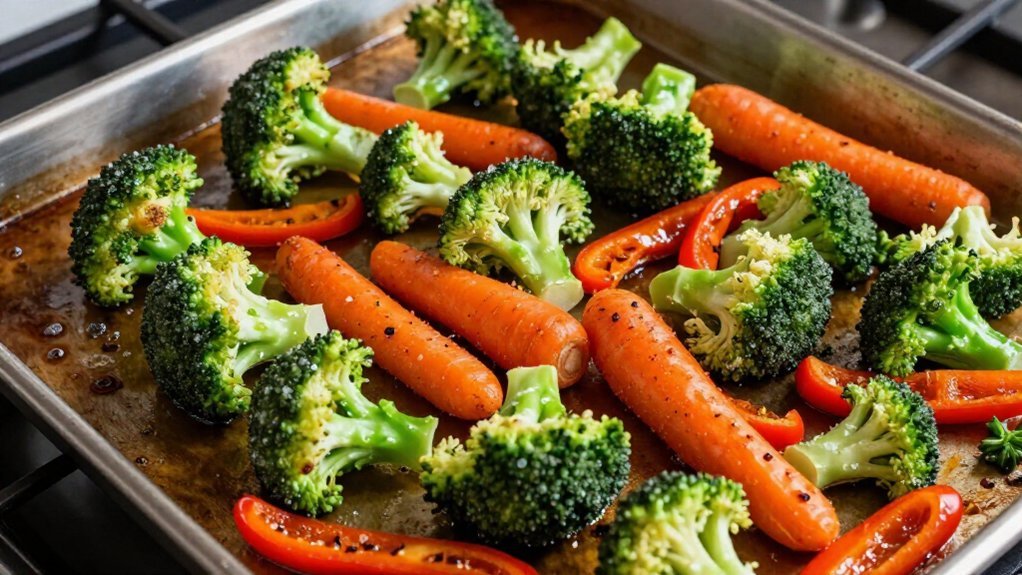
Now let’s get the details right. You’ll preheat your oven to 450°F to roast frozen vegetables with serious heat. That high temperature creates the crisp edges you’re after.
Roast frozen vegetables at 450°F—serious heat for the crisp edges you’re after.
The Hot Sheet Trick****
Slide a sturdy baking sheet into the oven during preheating. You’re building immediate surface contact that sparks faster caramelization.
Single Layer = Success
You’re not thawing these vegetables. Toss them with a light coat of oil, then spread in a single layer on that screaming hot pan. Crowding steams; spacing browns.
Best For: Weeknight speed runs and texture purists.
You need 15–25 minutes total, flipping halfway for even browning. The frozen exterior hits that oiled metal and sizzles instantly. No soggy disappointments. No waiting for defrost.
You’ll taste the difference.
Recommended Products

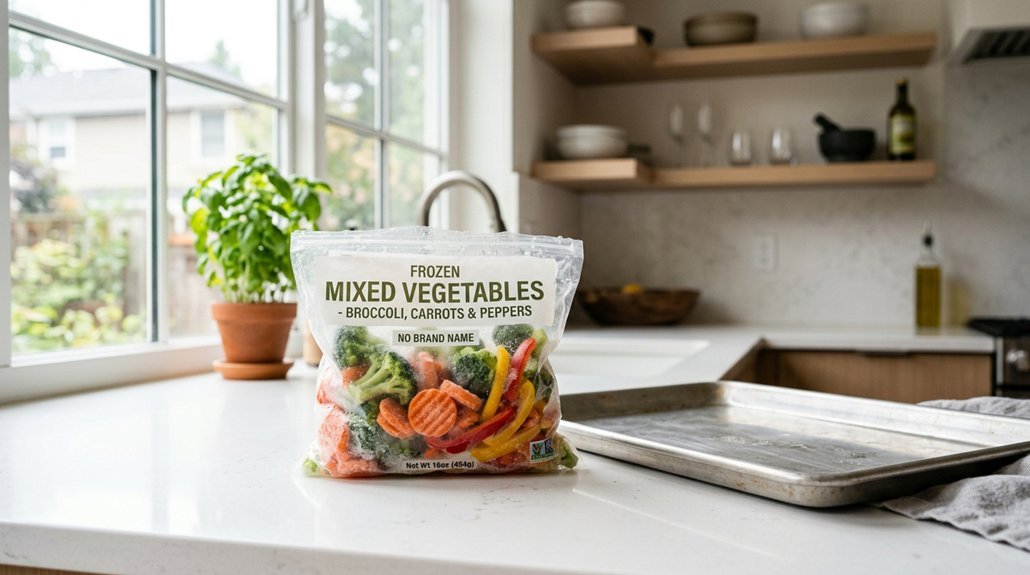
One 32 ounce bag of Frozen Mixed Vegetables

No hydrogenated fats or high fructose corn syrup allowed in any food
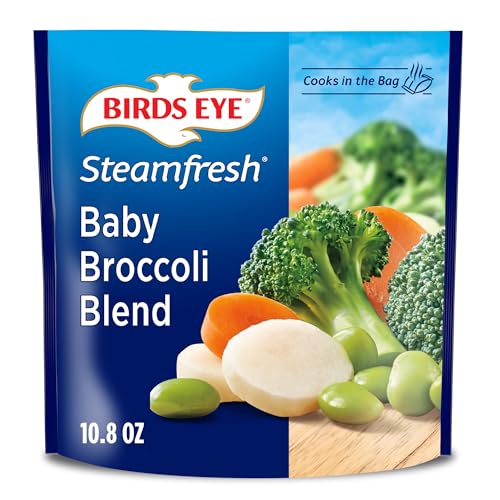
One 10.8 oz bag of Birds Eye Steamfresh Baby Broccoli Blend Frozen Vegetables
Prep Frozen Vegetables: Oil, Seasoning, and Single-Layer Spacing
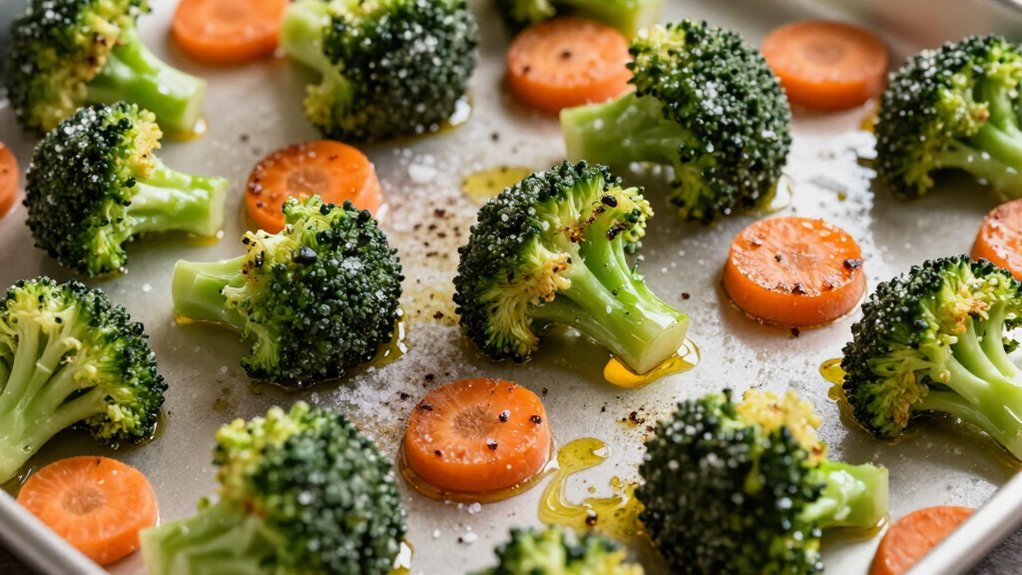
Start with quality frozen vegetables, and don’t bother thawing them first. You’ll toss them with oil and your favorite seasonings, then spread them in a single, even layer on that hot pan. Give every piece some breathing room, and you’ll get the crisp, browned edges you’re after instead of soggy, steamed results.
Recommended Products

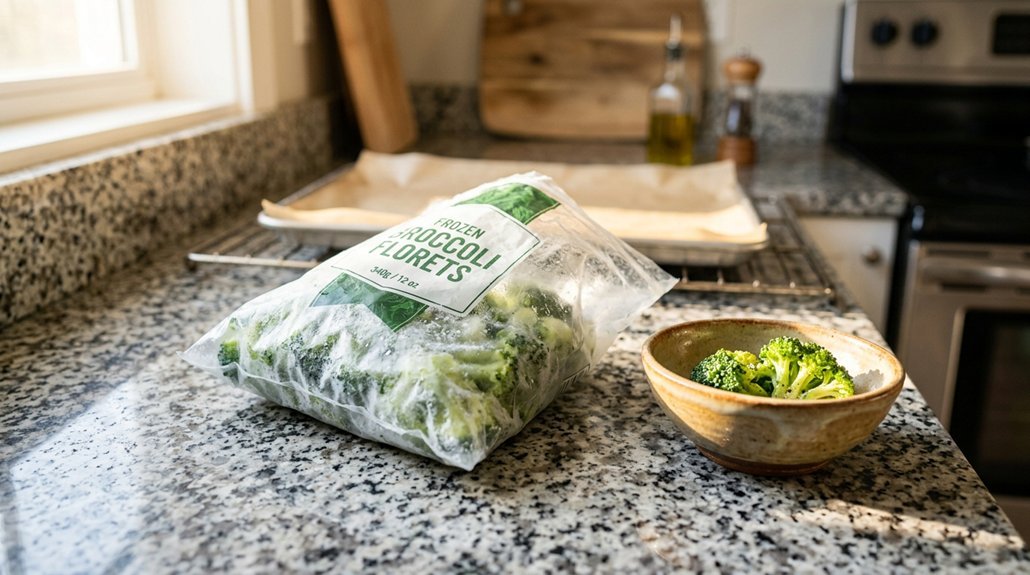
One 32 ounce bag of Frozen Broccoli Florets

One 10.8 oz bag of Birds Eye Steamfresh Broccoli Florets Frozen Vegetable

One 12.6 oz. bag of Birds Eye Baby Broccoli Florets Frozen Vegetables
Choose Quality Frozen Vegetables
How do you pick frozen vegetables that will actually brown in the oven? You start by grabbing quality vegetables from the freezer aisle. Premium frozen vegetables often roast better than store brands, which can turn mushy from thick ice layers.
Best For: Even browning at high temperature.
You want plain varieties without sauces or seasonings. Added glazes block crispness and extend cooking time.
When you prep, you’ll spread them in a single layer on a hot baking sheet. This prevents steaming and promotes true roast flavor.
Mixing Varieties? Match similar sizes and cooking times. Small broccoli florets and diced carrots finish together. Asparagus and cauliflower do not.
Check doneness by looking at edges. Quality vegetables give you that golden single layer you’re after.
Oil and Toss
The right prep makes the difference between soggy vegetables and ones that actually crisp. Grab your frozen vegetables straight from the freezer, no defrosting needed, and let’s get them ready for roasting at 450°F.
Here’s your three-step prep:
- Coat your frozen vegetables with one tablespoon of oil or a light oil spray. Toss them thoroughly to ensure every piece gets coverage. This prevents drying and kickstarts browning.
- Season generously with salt and your preferred spices. Add seasoning now, and it’ll stick to the oil and bloom during roasting.
- Spread everything in a single layer on your preheated baking sheet. Do not pile them up. Spacing equals crisp edges; crowding creates steam. You want browning, not boiling.
The hot baking sheet hits the cold vegetables immediately, jumpstarting the Maillard reaction for golden, crispy results.
Even Single-Layer Arrangement
Single-layer spacing separates decent roasted vegetables from truly crispy ones. You can’t skip this step if you want real browning on your frozen vegetables.
Set Up Your Pan
Pull your preheated sheet pan from the 450°F oven. You’ve already applied your oil coating, so now you spread those vegetables fast. Work quickly: the hot pan starts the sizzle immediately.
Build the Even Layer
Arrange every piece in a single layer with zero overcrowding. Each vegetable needs air space around it. Touching pieces steam each other; spaced pieces roast.
Why This Matters
Crowding traps moisture. Moisture kills crispy edges. Your even layer lets dry heat hit all surfaces, driving the browning you want.
Best For: Brussels sprouts, broccoli florets, cauliflower, and diced butternut squash.
After 15 minutes, you’ll flip everything. Return to the oven until golden.
Roast 15 Minutes, Then Flip: Why the Halfway Toss Matters
You roast your frozen vegetables for 15 minutes at 425°F, then you flip them for browning and even heat distribution. This halfway toss prevents sticking and steaming, so both sides develop crisp, caramelized edges.
After flipping, you’ll roast another 5 to 10 minutes to finish, though denser cuts like Brussels sprouts or thick carrot coins may need longer to reach fork-tender with those crispy edges you want.
Recommended Products

One 12 oz bag of Birds Eye Crinkle Cut Zucchini Fries Frozen Vegetable Snacks

BOLD, SAVORY FLAVOR: McCormick Grill Mates Vegetable Seasoning introduces savory, bold notes in an all-in-one mix; adds a signature taste on or off the grill; enhance natural vegetable flavors

𝐆𝐀𝐑𝐋𝐈𝐂, 𝐎𝐍𝐈𝐎𝐍 & 𝐀𝐑𝐎𝐌𝐀𝐓𝐈𝐂 𝐇𝐄𝐑𝐁 𝐁𝐋𝐄𝐍𝐃 : Savory Vegetable Seasoning Blend of garlic, onion, black pepper, and aromatic herbs created to complement the natural flavor of roasted vegetables. The balanced vegetable blend adds depth and character without overpowering the dish.
Flip for Browning
Why flip halfway through? You’ve got your frozen vegetables roasting at 450°F, and the first 15 minutes build the foundation. Now you’re flipping for a reason.
What Happens When You Toss
Caramelization starts on the bottom first. Without flipping, you’ll get uneven browning: one side burns, the other stays pale. You’re moving pieces across the sheet pan to expose fresh surfaces to dry heat.
Here’s why this step matters:
- Even browning: Both sides develop golden color
- Crispy edges: Released moisture evaporates instead of pooling
- Prevents sogginess: Crowding traps steam; flipping breaks it up
Return vegetables to the oven 5–10 minutes. Watch for deep color. Total roasting hits 20–25 minutes. You’ll know they’re done when edges look crackly and the pan shows real caramelization, not just softening.
Even Heat Distribution
Frozen vegetables need room to roast, not steam. You’ll achieve even heat when you spread them in a single layer on a preheated baking sheet. Overcrowding traps moisture, so use a large sheet pan and give every piece space.
Why Flipping at 15 Minutes Works
Start roasting your frozen vegetables for 15 minutes undisturbed. Then toss them. This halfway flip exposes both sides to direct heat, promoting uniform browning and caramelization. Without it, one side steams while the other burns.
Best For: Brussels sprouts, broccoli florets, and cauliflower pieces.
Continue roasting 5–10 minutes after flipping. Watch closely; smaller pieces need less time. You’ll know they’re done when edges crisp and centers tenderize evenly.
Finish and Evaluate: Golden Edges, Crisp Texture, Done
How exactly do you know when frozen vegetables have actually finished roasting? You’re looking for golden brown edges and crisp outer skins as your primary doneness indicators. After roasting frozen vegetables at 450°F for roughly 20–25 minutes, including flipping halfway through, you’ll spot those crispy edges forming.
Even sizing matters here, larger or denser cuts need more time.
You’ve spread them in a single layer on parchment paper, avoided overcrowding, and now you’re checking progress. Here’s what confirms they’re done:
- Visual cues: Deep golden brown color develops at edges and corners
- Texture test: Outer skins feel crisp when tapped with a spatula
- Sound check: Slight sizzling continues even after opening the oven
For extra crunch, bump oven temperature by 25°F in the final 5 minutes. Add lemon juice, herbs, or Parmesan after, not during.
Recommended Products


4 SIZES TO MEET ALL NEEDS: (Including handles size) ① 14.96"L x 8.4"W x 2.55"H, 3.2QT ② 13"L x 7.6"W x 2.4"H, 2.1QT ③ 11.2"L x 6.69"W x 2.2"H, 1.5QT ④9.44"L x 5.2"W x 1.96"H, 0.8QT. This baking dish set is perfect for cooking, roasting chicken, making lasagna, pasta, mashed potatoes, bread, and cakes. Whether for everyday home cooking, holiday feasts, or various gatherings, there’s always a size that’s just right and ready to go
Timing Adjustments: Frozen Broccoli, Brussels Sprouts, and Root Vegetables
What exactly separates a limp floret from a truly crispy one? You control that through precise roast times and smart oven temperature choices.
Best For: Broccoli and Brussels Sprouts
You roast frozen vegetables like broccoli and Brussels sprouts halves at 450°F. Spread them in a single layer. After 15 minutes, you start flipping for even browning. They’ll finish in 15–25 minutes total with crispy edges.
Best For: Root Vegetables
Denser root vegetables, carrots or potatoes, need 30–40 minutes. You flip halfway through. Batch size matters; overcrowding steams instead of roasts.
Mixed Trays
You place root vegetables on the sheet first. Cook times converge toward the longest item. For extra crispness, you bump oven temperature by 25°F in the final 5 minutes.
Recommended Products

HEALTHY & NONTOXIC STAINLESS STEEL: Our baking pan set made of food-grade pure 18/0 stainless steel without without chemical coating or any other materials, Good heat and corrosion resistance, Safe enough to baking all kinds of dishes and without leaching anything harmful, Healthier alternative to aluminum pans for everyday baking use. Compared with glass or ceramic sheet pan, it is unbreakable. Compared with aluminum, it is more healthy. ALSO, more environmentally friendly than disposable baking pans.

A high-sided nonstick half sheet, for pot-luck sized portions of cakes, lasagna or bars, with a black non-stick rack insert for making jerky, dried fruits, crisp fries, roasts, perfect oven-baked bacon and more

Wide head scoops more food off sheet pans with minimal mess
Serve With: Quick Flavor Boosts and Natural Pairings
Once you’ve pulled those golden, crispy vegetables from the oven, you’ve got a blank canvas. That 450°F roasting temperature and recommended time you followed, avoiding overcrowding and using uniform pieces, has already delivered even browning and crispy edges. Now it’s time for finishing touches.
Here’s how to improve your frozen vegetables fast:
- Acid: Squeeze fresh lemon or drizzle balsamic to cut richness and brighten the entire tray
- Fat: Add a pat of compound butter or good olive oil while hot for sheen and depth
- Salt: Finish with flaky sea salt, grated Parmesan, or crushed nuts for contrast
This roasting guidance works because you’ve built the foundation right. No steaming, no sogginess. Just vegetables that actually taste like something you’d choose to eat.
Recommended Products

One 60 oz. bag of Birds Eye California Blend Frozen Vegetable Mix, Carrots, Broccoli, Cauliflower