
Steam rises from a sheet pan of golden broccoli florets, their edges crackling with caramelized crispness.
You’re wasting money on fresh produce that wilts in your crisper drawer, but the freezer aisle holds a secret most home cooks miss.
Frozen vegetables roast better than you expect; they just need the right heat and technique.
Here’s how to turn that bag of peas and carrots into something worth serving to guests.
You’ll never thaw again.
Frozen vs. Fresh: When the Freezer Wins
Why choose frozen over fresh? You’re getting vegetables flash-frozen at peak ripeness, so they lock in flavor and roast with real browning. In the frozen vs fresh debate, freezer produce often wins for convenience.
How You Nail the Texture
You don’t thaw a thing. You crank your oven to 450°F, high heat that matters. You spread vegetables in a single layer on a preheated baking sheet. Crowding steams them; spacing crisps them.
You get crispy edges when you do this right. You can line with parchment paper for easier cleanup, though skipping it boosts browning further. You roast 15–30 minutes depending on cut size. You watch for ice layers on cheaper mixes, they turn soggy. You choose quality bags, you space properly, you win.
Recommended Products

One 12-ounce bag of Frozen Broccoli Florets

Brought to you by Whole Foods Market. The packaging for this product has a fresh new look. During this transition, you may get the original packaging or the new packaging in your order, but the product and quality is staying exactly the same. Enjoy!

One 32 ounce bag of Frozen Broccoli Florets
Best Frozen Vegetables to Roast (and Ones to Avoid)
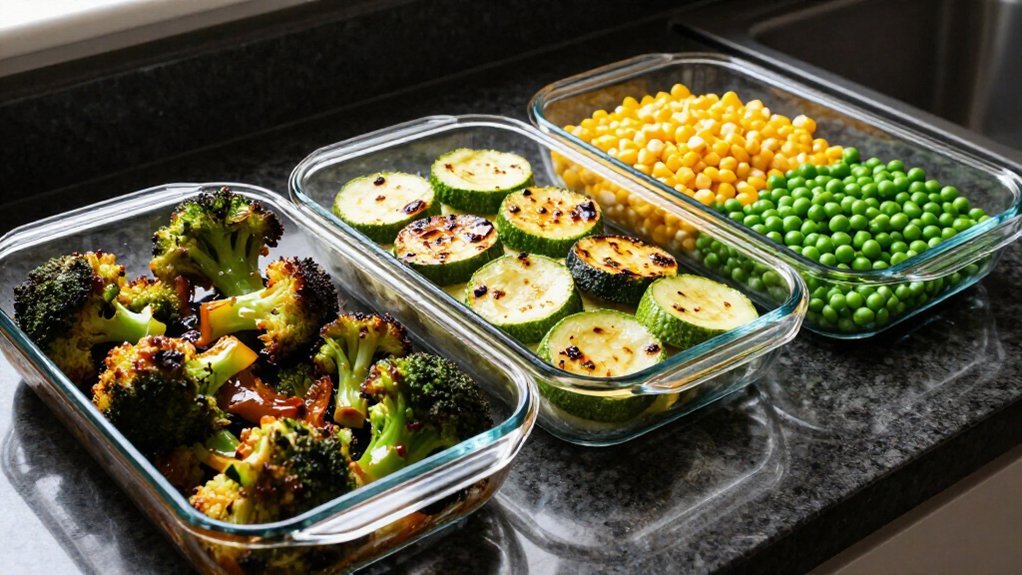
You’re about to discover which frozen vegetables reward you with golden, caramelized edges and which ones turn mushy or disappointing in high heat. You’ll want to focus your efforts on broccoli florets, cauliflower, Brussels sprouts, butternut squash chunks, and hearty root vegetable blends that hold their structure at 450°F.
Skip past water-heavy options like frozen zucchini or pre-thawed mixes, and don’t underestimate how much your choice of brand affects final texture and taste.
Recommended Products
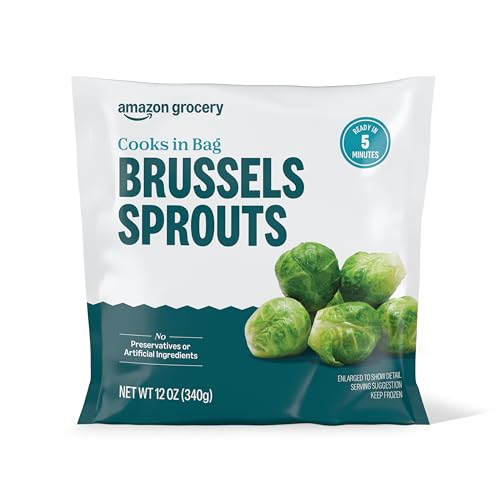
One 12 ounce bag of Frozen Brussels Sprouts

Brought to you by Whole Foods Market

One 10.8 oz bag of Birds Eye Steamfresh Brussels Sprouts Frozen Vegetable
Top Performers and Winners
How do you know which frozen vegetables will actually brown in the oven instead of turning soggy? You look for varieties built for roasting and browning.
Top Performers
You can’t go wrong with broccoli, Brussels sprouts, cauliflower, and root vegetables like butternut squash. These hit 450°F and develop color in 15–30 minutes. You’ll get the best results when you pick frozen vegetables with even sizes, branched cuts, or uniform florets.
Chunky or uneven pieces force you to extend roasting time and risk burning smaller bits.
Best For Caramelization
- Locally sourced frozen broccoli from a co-op
- Premium options like Whole Foods 365 organic roots
These outperform cheaper varieties. Mixed store-brand blends often carry ice layers that soften texture and mute flavor. Skip water-heavy additions that steam instead of sear.
Varieties to Skip Over
Store-brand blends with water-rich components often turn soggy and lack flavor depth. You won’t achieve reliable caramelization with these underperformers. For success, you’ll stick with broccoli, Brussels sprouts, cauliflower, and butternut squash cut small and roasted at 450°F.
Best For: Knowing what to avoid before meal prep begins.
Quality Brand Matters
Not all frozen vegetables roast the same. You’ll notice quality brands deliver better browning and deeper flavor than cheaper alternatives. I’ve found premium options like Whole Foods 365 Organic root vegetables or locally grown frozen broccoli from co-ops roast up crisp and caramelized.
Best For Even Roasting
- Brussels sprouts
- Broccoli florets
- Cauliflower florets
These varieties develop those coveted crisp edges when you start with quality brands.
What to Avoid
Skip store-brand blends with thick ice layers. You’re fighting uneven roasting and soft textures when ice clumping coats the pieces. I pass on heavily pre-seasoned mixes too; they steam instead of brown.
Check for uniform cuts and minimal frost. You want frozen vegetables that roast dry and hot, not soggy. Pick wisely and you’ll nail even roasting every time.
The 3-Step No-Thaw Roasting Method
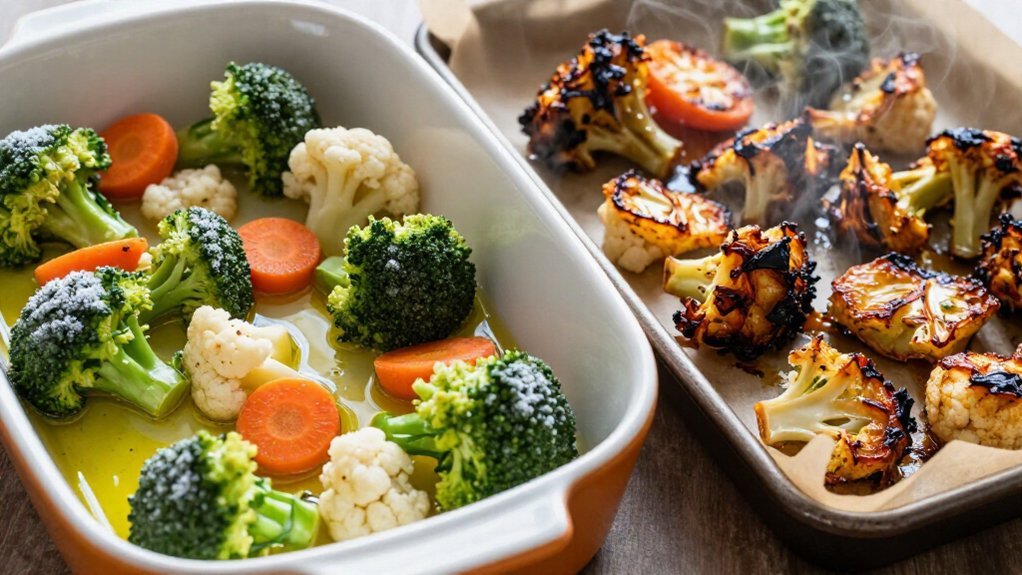
Most home cooks dread the soggy, limp vegetables that come from boiling frozen produce. You can skip that entirely with roasting and no defrosting. Grab your frozen vegetables, toss them with olive oil, and crank your oven to high heat.
The 3-Step Method****
Step 1: Lightly coat your frozen vegetables with olive oil or oil spray. This prevents drying and helps browning.
Step 2: Spread the oiled vegetables in a single, even layer on a preheated baking sheet. The hot surface jumpstarts caramelization.
Step 3: Roast at 450°F for 15 minutes, then flip and continue 10–15 minutes more. Watch for golden, crisp edges.
Best For: Busy weeknights when you need hands-off cooking.
Recommended Products

Brought to you by Whole Foods Market

One 14 oz bag of Birds Eye Oven Roasters, Seasoned Broccoli and Cauliflower Frozen Vegetables
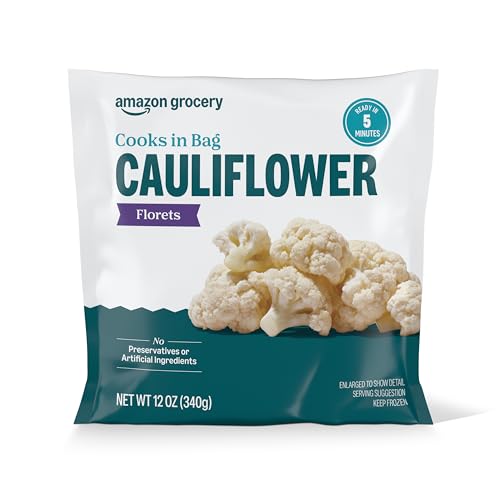
One 12 ounce bag of Frozen Cauliflower Florets
How Hot and How Long: Timing by Vegetable Type
How do you know when your frozen vegetables are actually done? You check the roasting time against your vegetable type, and you watch for crispy edges.
Best For: Quick Meals****
- Soft or small vegetables like corn, peas, and zucchini need 15–18 minutes.
- Frozen florets like broccoli and cauliflower usually take 20–25 minutes.
Best For: Hearty Sides
– Beets, cauliflower, sweet potatoes, and butternut squash need closer to 30 minutes.
When you’re roasting from frozen, total roasting time typically falls between 15 and 30 minutes. After the first 15 minutes, toss or flip your vegetables. Then finish them for 5–10 more minutes.
This step builds the crispy edges you’re after. Match your timing to your vegetable type, and you’ll get consistent results every time.
Recommended Products

WHAT'S INSIDE: 12 ounces of frozen diced butternut squash

Brought to you by Whole Foods Market

365 by Whole Foods Market products give you that dance-down-the-aisles feeling, virtual aisles too!
Why Your Roasted Frozen Vegetables Turn Out Soggy
Why do your frozen vegetables emerge limp and wet instead of crisp and caramelized? You’re likely making one of several common mistakes.
You’re crowding the pan. When frozen vegetables pile up, they trap steam. That moisture release has nowhere to go. Vegetables steam instead of roast, turning soggy.
You’re skipping preheating. A cold baking sheet delays searing. Moisture lingers on surfaces instead of evaporating immediately.
You’re ignoring ice clumps. Break them apart and pat your vegetables dry. Extra surface moisture guarantees soft, wet results.
You’re using parchment without thinking. It prevents sticking but slows drying compared to a bare pan.
You’re packing pieces too tight. Smaller or densely packed vegetables cook unevenly and release moisture simultaneously, creating soggy edges throughout.
Spread vegetables in a single layer with space between pieces.
Recommended Products

One 12-ounce bag of Frozen Mixed Vegetables

Grocery Frozen

One 12-ounce bag of Frozen California Vegetable Blend
Simple Seasonings That Boost Flavor
You can build big flavor with just a few pantry staples before the vegetables ever hit the oven. Toss frozen veggies with olive oil and spices like Cajun, curry, or za’atar mixed with lemon zest to get that flavor working early.
Once they’re roasted and crispy, you’ll finish strong with grated Parmigiano-Reggiano, fresh herbs, or a bright squeeze of lemon.
Recommended Products

Brought to you by Whole Foods Market

One 10.8 oz bag of Birds Eye Steamfresh Broccoli Florets Frozen Vegetable

One 12.6 oz. bag of Birds Eye Baby Broccoli Florets Frozen Vegetables
Pre-Roast Flavor Boosts
What makes frozen vegetables genuinely worth eating? You change them with smart pre-roast flavor boosters before they ever hit the oven.
Start with the basics. Toss your frozen vegetables with 2 tablespoons olive oil and 1/2 to 1 teaspoon salt. Spread them in a single layer on a hot roasting sheet. This simple step builds the foundation for caramelization.
Now layer in more flavor. Try these three options:
- Dried herb blends: Add 1 tablespoon Italian seasoning or Herbs de Provence for an earthy, aromatic profile.
- Curry powder: Mix in 1 to 2 tablespoons for a bold, warming kick.
- Garlic: Use 5 to 6 minced cloves or 1/2 to 1 teaspoon garlic powder for savory depth.
Want heat? Add red pepper flakes with your oil and salt. Taste and adjust after roasting.
Post-Roast Finishing Touches
How do you know when roasted vegetables are truly done? You pull them when they’re crisp and caramelized. That’s when you add the finishing touches that turn good into great.
Best For: Bright, Fresh Flavor
You grab a microplane and shower the hot vegetables with lemon zest. The heat releases oils instantly. You toss in chopped fresh herbs, parsley or cilantro, and watch them wilt slightly. You squeeze lemon juice over everything.
Best For: Richness and Shine
You drizzle a light stream of olive oil right after roasting. You add a pat of butter if you want deeper flavor. Neither sogs the crisp edges.
Best For: Savory Depth
You sprinkle grated Parmigiano-Reggiano. You drizzle balsamic reduction. You finish with flaky salt.
These finishing touches turn your roasted vegetables from simple to memorable in seconds.
What to Serve With Roasted Frozen Vegetables
Where do roasted frozen vegetables fit into your weekly rotation? You can use roasted frozen vegetables as a side dish to roasted chicken thighs. Just toss them with oil on a baking sheet, season with salt, and roast until crisp.
Best For: Quick Weeknight Meals****
- Veggie Protein Bowls: Serve alongside cooked grains with your favorite dressing drizzled on top.
- Flavor Boosts: Toss with grated Parmigiano-Reggiano or a squeeze of lemon juice after roasting.
- Next-Day Meals: Fold into fried rice, stir-fries, or mix into pasta with pesto or cheese for simple, vegetable-forward dishes.
You don’t need complicated recipes. These pairings work because the vegetables bring texture and nutrients without extra prep time. Build your meals around what you already have.
Recommended Products

One 15 oz bag of Birds Eye Oven Roasters Seasoned Brussels Sprouts and Carrots Frozen Vegetables

Contains one 12 oz. bag of Birds Eye Fire Roasted Brussels Sprouts
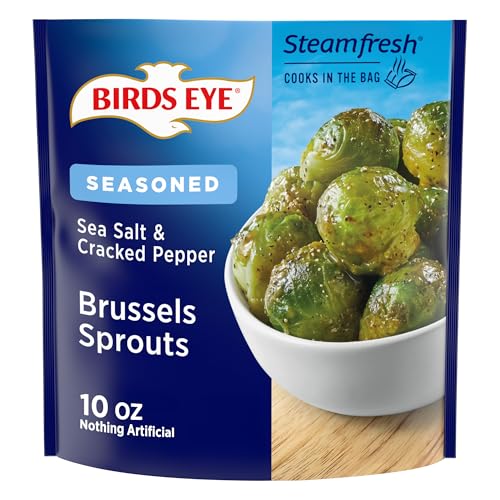
One 10 oz bag of Birds Eye Steamfresh Sea Salt and Cracked Pepper Brussels Sprouts Frozen Vegetables
Store and Reheat Without Losing Crunch
Once you’ve planned your meals and served your roasted frozen vegetables, you’ll want to keep any leftovers tasting their best.
Storage That Works
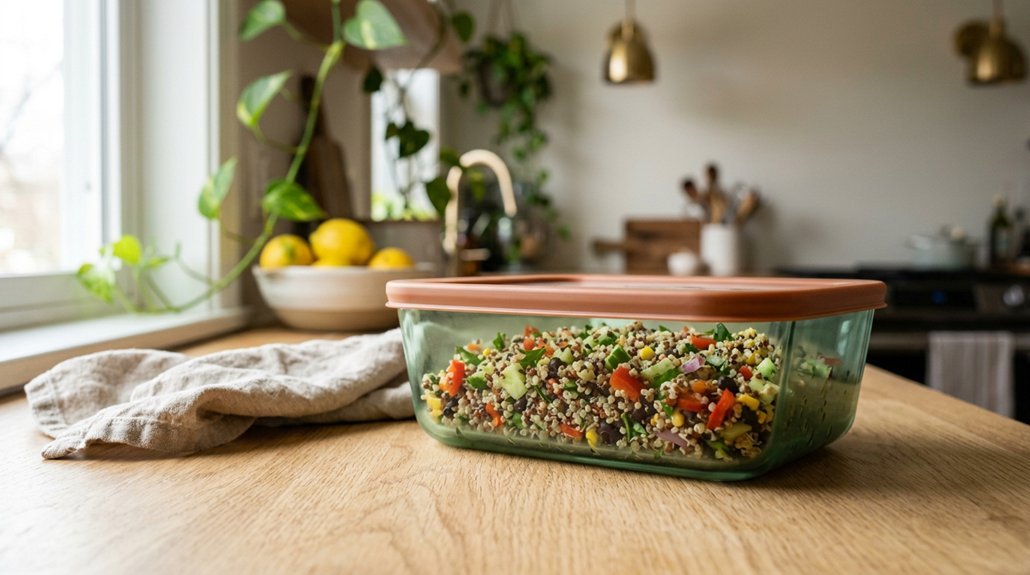
Transfer your roasted frozen vegetables to an airtight container. You’ll store them in the fridge for up to 4 days. Skip the parchment when storing; it traps moisture and softens your crispy edges.
Reheat for Maximum Crunch
Don’t thaw first. You’ll reheat straight from cold or frozen in a hot skillet with a light coat of oil. The direct heat revives what roasting created. Cook until you see golden, crispy edges return. Avoid the microwave; it steams your vegetables into soggy disappointment.
Best For: Quick weeknight meals, lunch prep, or salvaging yesterday’s batch without starting over.
You’ll taste the difference when you reheat with purpose.
Recommended Products

Brought to you by Whole Foods Market

Brought to you by Whole Foods Market

365 by Whole Foods Market products give you that dance-down-the-aisles feeling, virtual aisles too!