
You need soft, creamy red lentils in 15 minutes flat. You’ve rinsed them in a fine-mesh strainer and measured your water, now you’re watching the pot, unsure if you should stir or walk away.
Most recipes promise speed without delivering texture. I’ll show you exactly when to start your timer, how to read the bubbles, and why your first batch probably turned to mush. Get your liquid ratio right, and you’ll nail this every single time. Start here.
How Long Do Red Lentils Actually Take to Cook?
Why does timing matter so much with red lentils? You need to know your cooking time because red lentils break down fast, and every minute changes your texture.
Recommended Products


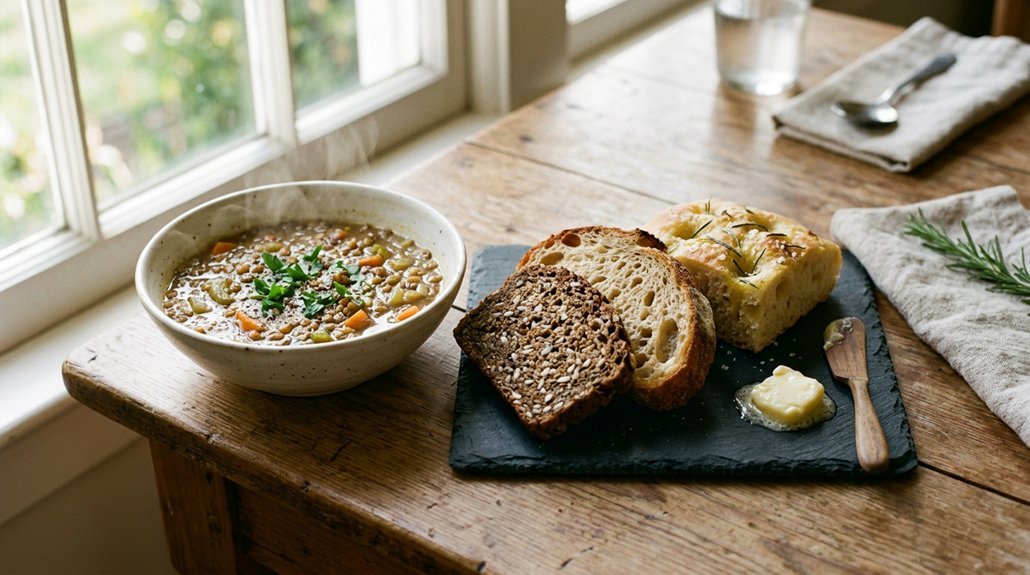
Protein Blend: A smooth, delicious soup made of pumpkin and red lentils, with a tinge of ginger and chili and herbs making it a complete one pot meal to relish upon. Pumpkin is an incredibly rich source of antioxidants, vitamin a, c and e. Its an amazing immunity boosting vegetable especially during change of season. It makes a hi-fibre meal that keeps you fuller for longer. Feel free to add some fresh microgreens and roasted makhana over it for added crunch

Stove Cooking
You’re looking at 8 minutes with the lid on for firmer red lentils. Want them softer and mushier? Push that to 10, 15 minutes.
Instant Pot
You get creamier texture with 4 minutes on high pressure. For firmer results, you stop at about 2 minutes.
Before You Start
Rinsing matters. You rinse red lentils to ensure even cooking and remove debris that hurts texture.
Watch Your Additions
You add tomatoes or lemon juice, and you’ll lengthen cooking time slightly.
Best For: Quick weeknight meals when you need dal or soup fast.
Water Ratio Note: You’ll use 1 cup red lentils to 3 cups liquid as your standard base.
Best For: Beginners mastering timing before adjusting liquid levels.
How Much Water Do Red Lentils Really Need?
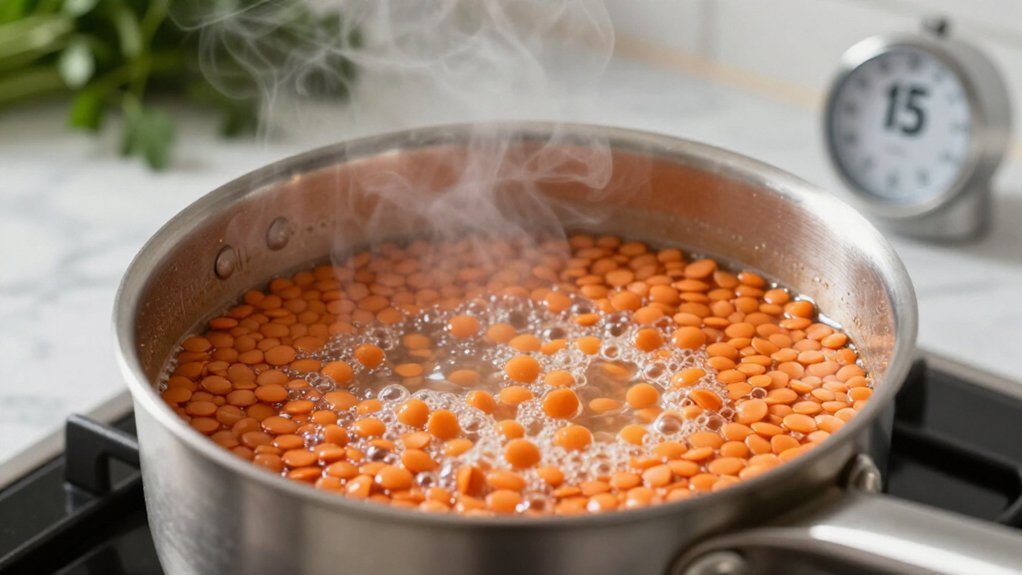
How much water you add determines whether you end up with thick dal or soupy mush.
Finding Your Water Ratio****
The standard water ratio for red lentils is 3 cups liquid to 1 cup dried lentils. This gives you a creamy but not watery result. Want thicker dal? Drop to 2.5 cups. Need soup? Bump it to 4 cups.
How Liquid Affects Cooking Time****
More water means longer cooking time, even with their rapid cook nature. You will simmer most stovetop batches 5 to 12 minutes after boiling starts. Less water thickens faster; excess liquid needs extra minutes to reduce.
Good to Know
Acidic ingredients like tomatoes or lemon juice harden lentil skins slightly, stretching your cook time by a couple minutes. A pressure cooker removes the guesswork: 2 to 4 minutes at high pressure handles any water ratio you choose.
Recommended Products

16-ounce organic red lentils

PACKED WITH NUTRIENTS: Our Red Lentils are a great source of protein, fiber, iron, and other essential nutrients, making them a healthy addition to your diet.
CERTIFIED GLYPHOSATE RESIDUE FREE by the detox project
Do You Need to Soak Red Lentils Before Cooking?
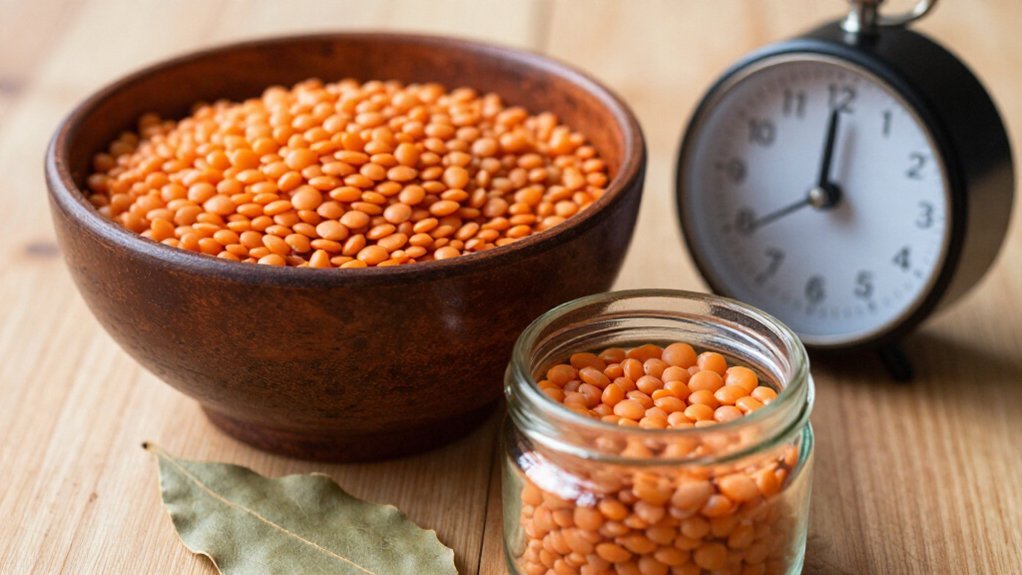
You don’t need to soak red lentils before cooking, which saves you considerable prep time compared to larger legumes. You should, however, rinse them thoroughly under cold running water to remove dust and debris. This quick rinse takes about 30 seconds and prepares them for their 5-to-12-minute simmer on the stovetop.
Recommended Products

Food Grade Stainless Steel 18/8 Construction: Our kitchen strainer is made of first class Stainless Steel 18/8 304 that is BPA free, Lead and Cadmium free. It is rust free and will never affect the taste of your food!

Three Graduated Sizes: This colander set includes three strainers in multiple sizes, a 3.15 inch mini strainer fine mesh, a 5.5 inch small strainer and a 7.87 inch large strainer with a deep bowl

9 inch Premium Metal strainer - Our high grade stainless steel food strainer is a must have kitchen essentials. It won`t bend or rust.
Soaking Requirements
Where does your prep time actually go when you’re staring down a bag of red lentils? You can skip the soaking entirely. Red lentils cook fast without it.
No Soaking Required
You save 30 to 60 minutes right here. Unlike dried beans, red lentils soften quickly in hot liquid. You rinse, dump, and start simmering.
Stovetop Cooking Times
- 5–8 minutes: Firmer texture, holds shape in salads
- 10–12 minutes: Creamy, ideal for soups and dal
Acidic ingredients like tomatoes add 2–3 minutes. Plan for that.
Instant Pot Method
You pressure cook for 2 minutes (firm) or 4 minutes (creamy), then natural release. No soaking still applies.
Your total cooking time stays under 15 minutes. You get dinner faster with zero advance planning.
Rinse Before Cooking
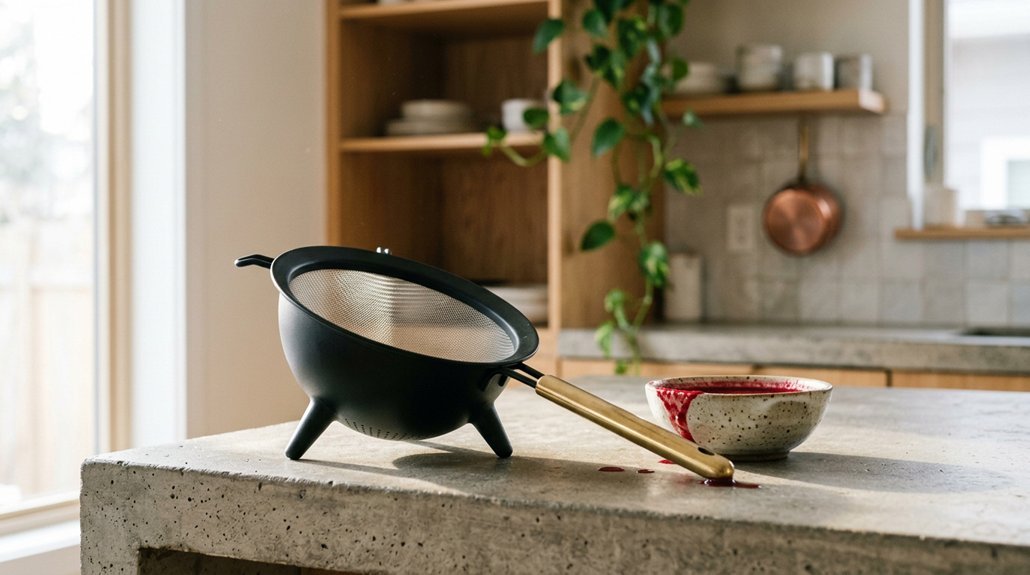
The first thing you’ll do is run your red lentils under cold water. You’ll rinse them thoroughly in a fine-mesh strainer for 30 seconds to remove dust and debris. You don’t need to soak red lentils before cooking, which makes them ideal for quick cooking meals.
Why Rinsing Matters
- Removes surface starch that causes foaming
- Eliminates small stones or debris
- Ensures clean flavor in your final dish
Best For: Weeknight dinners when you need dinner on the table fast.
Stovetop Method
After rinsing, combine your red lentils with liquid at a 3:1 ratio, three cups water or broth per one cup lentils. Bring to a boil, then reduce heat. You’ll spend 5–12 minutes simmering until tender. Watch your cooking time closely; acidic ingredients like tomatoes can add a few extra minutes.
Split vs. Whole Red Lentils: What’s the Time Difference?
Why does the same color lentil cook so differently? Split red lentils have had their skins removed and been halved, so they break down fast. Whole red lentils keep their outer layer intact, which slows everything down.
Stovetop Cooking Time
On the stovetop, split red lentils need just 5 to 7 minutes. Whole red lentils demand 15 to 20 minutes. That gap matters when you’re hungry now versus planning ahead.
Split lentils: 5–7 minutes. Whole lentils: 15–20. Hunger now, or patience later.
Instant Pot Timing
In the Instant Pot, split red lentils hit peak creaminess in about 4 minutes on high pressure. Whole red lentils need extra time under pressure to soften fully.
Liquid Ratio
You’ll use the same liquid ratio either way: 1 cup lentils to 3 cups liquid. The difference isn’t water, it’s patience.
Best For
- Split red lentils: quick soups, dal, purees
- Whole red lentils: salads, textured dishes
Recommended Products

Kitchen Conversion Chart for Accurate Cooking and Baking. This kitchen measurement conversion magnet provides quick, reliable unit conversions for everyday recipes. A practical cooking and baking reference guide that helps eliminate guesswork, prevent measuring errors, and deliver consistent results whether you are scaling a recipe or recreating family favorites.


kitchen measurement conversion chart 8.58x6.65 In . Easy to understand data and images will allow you to convert measurements on the fly when cooking, baking or measuring.
Stovetop Method: Cook Red Lentils Step by Step
How do you get perfectly tender red lentils without a pressure cooker? You use the stovetop method. It’s simple and reliable.
Best For: Weeknight meals, soups, and curries.
Start by rinsing your red lentils thoroughly. Use a 1:3 liquid ratio, one cup lentils to three cups water or broth. Do not add salt yet; it toughens the lentils during cooking.
Bring the pot to a boil, then reduce to a gentle simmer. Keep the lid partially on. Your cook time depends on texture preference: eight minutes gives you firmer lentils, while ten to fifteen minutes creates a softer, mushier result.
Watch out for acidic ingredients like tomatoes or lemon juice. They can slightly lengthen your cook time. Add salt only after cooking, when your red lentils reach the texture you want.
Recommended Products


Bold Family Flavor with a Spicy Kick: This Spicy Dal Kit is rooted in our family’s cherished recipes and turned up a notch with real heat from two types of chili. It’s authentic Indian comfort food for those who love bold, satisfying flavor, perfect for home cooks looking to explore deeper spice profiles in a healthy dinner format.
Red Lentils in the Instant Pot: The 4-Minute Method
You set your Instant Pot to high pressure for 4 minutes when you want creamy red lentils that hold their shape just enough. Don’t skip the 15-minute natural release; it finishes the cooking gently and prevents the mushy texture you’d get from forcing steam out too fast.
This method gives you control: use 2 minutes instead if you need firmer lentils for salads, or stick with 4 minutes for soups and dals.
Recommended Products

VERSATILE INGREDIENT: From soups and stews to curries and salads, these red lentils add a rich flavor and hearty texture, making them a versatile choice for various recipes.

REGENERATIVE ORGANIC CERTIFIED RED LENTILS FOR A HEALTHIER YOU - SIMPLi Regenerative Organic Certified Red Lentils bring together ancient nourishment and modern regenerative purpose. USDA Organic, Kosher, and Fair for Life certified, these red lentils are sourced from regenerative farms in Saskatchewan, Canada committed to building healthier soils and supporting thriving farming communities. One of the most widely eaten legumes on earth — now available at the highest standard of quality and sustainability.

EASY TO COOK: Our Spicy World Split Red Lentils are easy to cook. No soaking required and cooks in 20 minutes or less!
Pressure Cook Settings
Where does speed meet reliability in the kitchen? You find it when you pressure cook red lentils in your Instant Pot. Set your machine to high pressure and lock in a 4-minute cook time for creamy, broken-down results perfect for dal or soup. You will use a 1:3 liquid ratio, rinsing your lentils first and holding salt until after cooking unless your broth is already salted.
For firmer lentils that hold their shape, drop your cook time to 2 minutes instead. You will still follow the same pressure path.
Your release strategy matters. After cooking completes, allow a full natural release for 15 minutes, then hit quick release to vent any remaining steam. This sequence prevents sputtering and gives you control over final texture without babysitting the pot.
Natural Release Importance
Why does your Instant Pot need those extra 15 minutes after the timer beeps? That natural release period finishes your red lentils without overcooking them. You’ve set your cook time to 4 minutes at high pressure. The natural release adds roughly 10 to 15 minutes. During this window, pressure drops slowly. Your red lentils continue absorbing liquid. You get that creamier texture you want.
Best For: Soft, soupy dal; curry bases; baby food.
Liquid Ratio Check: You used 1:3 lentil-to-liquid. The natural release lets that ratio work fully. Quick release would spray starch everywhere. Your lentils would seize up. They’d turn gummy.
Pro Tip: Add acidic ingredients after cooking. Tomatoes or lemon extend cook time slightly.
Trust the process. Don’t rush the valve. Your patience yields better red lentils.
How to Tell When Red Lentils Are Perfectly Done
The surest way to know your red lentils are done is to watch them closely and test them yourself. You’ll master timing on both stovetop and Instant Pot by checking texture at key moments.
- Stovetop firmer texture: Taste at 8 minutes with the lid on; lentils hold shape but yield to pressure.
- Instant Pot creamy texture: Natural release after 4 minutes high pressure delivers smooth, spoonable results.
- Acid resistance check: Tomatoes or lemon juice extend cooking slightly; add extra 2–3 minutes and retest.
- Final doneness indicator: Lentils swell fully and lose chalky centers; no crunch remains when you bite.
Skip salting until after cooking to avoid toughening. Your ideal texture depends on preference, not just clock time.
Recommended Products

9 inch Premium Metal strainer - Our high grade stainless steel food strainer won`t bend or rust.

Fine mesh helps rinse and strain vegetables, berries, pasta, grains and stock
Made from high-quality, food-grade 304 stainless steel. This strainer features a sturdy outer framework and handle. Easy cleaning. Dishwasher safe. Mirrored, burr-free wire mesh screen won't scratch your hand while you clean it.
Why Did My Red Lentils Turn Mushy?
You’ve probably ended up with mushy red lentils because you’ve cooked them too long, used too much water, or kept the heat too high. These three issues break down the delicate structure of red lentils faster than you’d expect.
Let’s look at how each one ruins your texture and what you can do to stop it.
Recommended Products
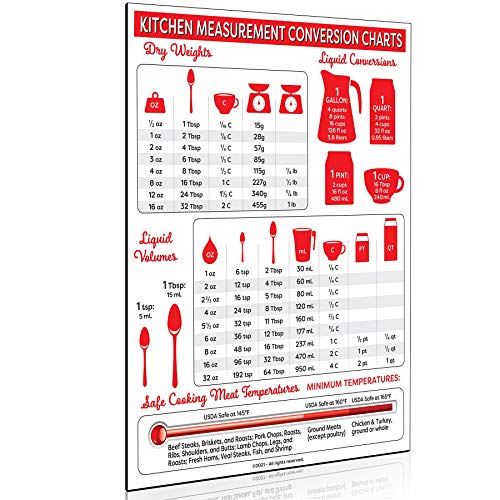
𝗖𝗛𝗔𝗥𝗧 𝗖𝗢𝗡𝗩𝗘𝗥𝗦𝗜𝗢𝗡𝗦: Our Measurement chart includes metric conversion, tablespoon measurements, liquid measure conversion, cooking temperature, and dry weights, which contains ounces (oz), pounds (lb.), teaspoons (tsp), tablespoons (Tbsp), cups (C), grams (g), gallons, quarts, pints, milliliters (mL), and meat cooking temperatures guide in Fahrenheit.


Effortless Conversion: The Talented Kitchen Conversion Chart Magnet seamlessly converts measurements from inches to millimeters, enhancing precision in your cooking tasks. This kitchen essentials tool integrates smoothly with your existing cooking supplies
Overcooking Time Issues
Because red lentils cook fast, you can ruin them in minutes if you step away. You want firmer lentils, so you watch the clock. The cooking time ranges from 5 to 12 minutes.
You simmer gently and avoid rolling boil. That rolling boil breaks down red lentils fast.
You add acidic ingredients like tomatoes or lemon juice, and you extend the cooking time slightly. You still get mushy texture if you push past 7 minutes. You taste at 5 minutes. You decide when they’re done.
Best For: Weeknight cooks who need reliable results.
Here’s how you prevent overcooking:
- Set a timer for 5 minutes and check early
- Simmer on low heat, never boil aggressively
- Account for acidic ingredients adding time
- Drain immediately when texture feels right
You master red lentils when you stay present.
Excess Water Ratio
Why do your red lentils turn to mush when you follow the package instructions? You’re likely using excess water and not watching your simmer time.
The Water Ratio Fix****
Your water ratio matters. While many recipes suggest flexible amounts, stick to a 1:3 ratio (1 cup red lentils to 3 cups liquid). This controls texture without drowning the lentils into a mushy texture.
Adjust Your Cook Time
Shorten your cook time to 8–10 minutes for firmer results. Reduce liquid if you want structure, not soup. Drain excess water immediately if you’ve added too much.
Best For: Dal, salads, or any dish needing lentil integrity.
Red lentils break down naturally, so excess water accelerates the problem. Watch your pot, measure carefully, and you’ll stop the mush.
High Heat Problems
Where did your lentils go wrong this time? You cranked the burner too high. High heat destroys red lentils fast. You wanted a rolling boil, but that aggressive bubble breaks down their structure. You crossed into overcooking territory without noticing.
You need control. You need precision. Here’s what you missed:
- Simmer, don’t boil: Keep heat low. Gentle bubbles preserve shape.
- Watch your timing: 8 minutes for firmness, 10–15 for softness. Past 15, you get mush.
- Liquid ratio matters: More water plus simmer equals better creaminess.
- Acid delays breakdown: Tomatoes or lemon juice buy you extra time against overcooking.
You control texture through heat management. Master the simmer, and you master the lentil.
Lentils Still Crunchy? How to Fix Undercooked Red Lentils
Sometimes you’ve followed the timer exactly, but those red lentils still crunch between your teeth. Undercooked red lentils ruin your dish, so you need to act fast.
How to Fix Crunchy Lentils
You should extend the simmer in small increments. Add 2–3 minutes and test for softness after each round. Most red lentils turn tender within 5–12 minutes total, so you’ve got room to work with.
Watch Out for Acids
Tomatoes or lemon juice slow things down. If you’ve added these, your lentils need extra time.
Best For:
- Firmer texture: 8 minutes with lid on
- Creamier texture: 10–12 minutes
Don’t blast the heat. Keep a gentle simmer going. You want tender lentils, not mush past 12 minutes. Test for softness, then pull them when they feel right to you.
Recommended Products

❤️️ You'll love our Certified USDA Organic Pure Split Red Lentils Dry (also known as Masoor Dal). Here's why:

Easy to Cook: Spicy world Masoor Dahl don't require soaking and can be easily cooked in 30 minutes or less.

Should You Salt Red Lentils Before or After Cooking?
You might wonder whether sprinkling salt in at the start saves time, but you’ll actually sabotage your texture if you do. Salt tightens the lentil skins and blocks that creamy breakdown you’re after.
Add it after cooking instead, and you’ll preserve the soft, smooth consistency red lentils are prized for.
Recommended Products


Westbrae Natural, Beans Lentils Organic, 15 Ounce

❤️️ You'll love our Certified USDA Organic Pure Split Red Lentils Dry (also known as Masoor Dal). Here's why:
Salt Timing Impact
How do you keep red lentils creamy instead of dense? You watch your salt timing closely. Pre-salting red lentils extends cooking time and toughens texture, leaving you with firmer results than you want.
You’ll get the best outcomes when you simmer red lentils in plain water or broth first, then handle final seasoning after they’re tender. This approach preserves the soft, breaking-down quality that makes red lentils desirable.
When to Salt Red Lentils
- Use unsalted liquid during simmering
- Wait until lentils fully soften
- Adjust salt to taste at the end
- Consider your planned use (soups need less final salt than salads)
For consistent results, keep salt timing simple: add zero salt during cooking, season after. Your red lentils stay creamy, and you control the flavor completely.
Texture Preservation Tips
If you’ve ever ended up with red lentils that turned dense and grainy instead of soft and creamy, you’re probably dealing with a texture issue that started before the pot even hit the stove.
Simmering Time Controls Everything
You control texture through simmering time. Cook 5–7 minutes for firmer red lentils, or stretch toward 12 minutes for creamy results. Watch the pot closely; these legumes collapse fast.
Acidic Ingredients Change the Game
Tomatoes and lemon juice slow cooking slightly. Add them after your red lentils soften, or extend simmering time by 2–3 minutes.
Instant Pot Precision
Your Instant Pot delivers speed: 2 minutes yields firmer texture, 4 minutes creates creamy consistency. Always use natural release.
Salt Last
Never salt before cooking; it toughens skins. Season after, when texture’s locked in.
How Tomatoes and Lemon Slow Down Red Lentils
Why do your red lentils suddenly need extra time? You’ve added acidic ingredients like tomatoes or lemon juice, and they’re working against you.
Acid toughens lentil skins and interferes with starch breakdown. You’ll notice your usual cooking time stretches by several minutes on the stovetop. That creamy 10-minute texture now demands 12–15 minutes with the lid on.
Acid toughens lentil skins and interferes with starch breakdown, stretching your usual cooking time by several minutes.
Even your Instant Pot needs adjustment; what normally takes 4 minutes high pressure requires extra time when tomatoes or lemon juice join the pot.
Here’s what changes:
- Stovetop with tomatoes: Cook 12–15 minutes for softness
- Stovetop with lemon juice: Add 2–3 minutes to standard timing
- Instant Pot with acid: Extend pressure time slightly
- Texture check: Monitor closely; remove when soft with minimal liquid
You’ll prevent mushy red lentils by watching the pot, not the clock.
What Size Pot Do You Actually Need for Red Lentils?
The pot you choose determines whether your red lentils cook evenly or boil over onto your stove. You need room for the liquid ratio, not just the red lentils themselves.
Best Pot Sizes
- 2-quart pot: You can cook ½ cup dry red lentils here. This works for single servings.
- 3- to 4-quart pot: You get the best results for 1 cup dry red lentils with the standard 3:1 liquid ratio. This is your everyday choice.
- 6-quart pot or larger: You need this when doubling recipes or cooking on the stovetop, since red lentils foam and expand as they soften.
Your cooking time stays 5 to 12 minutes on the stovetop. In the Instant Pot, you still pressure cook for 2 to 4 minutes depending on desired texture. A cramped pot extends cooking time unevenly. Choose bigger than you think.
Do You Really Need to Rinse Red Lentils?
How often do you skip rinsing red lentils because you’re rushing to get dinner on the table? You shouldn’t. Rinsing lentils matters more than you think.
Why You Must Rinse Before Cooking
Rinsing lentils removes surface starch, debris, and dust. You need proper dust removal for clean flavor and even cooking. Skip this step, and you risk gritty texture and unpredictable results.
Here’s what rinsing improves:
- Dust removal eliminates field residue and storage particles
- Water ratio accuracy, since unrinsed lentils carry extra moisture
- Cooking time consistency during your stovetop simmer
- Final texture of your red lentils, preventing gummy outcomes
Red lentils cook fast, 5–12 minutes typically. Don’t let two minutes of rinsing cost you twenty minutes of fixing. Rinse before cooking every time.
How to Store Cooked Red Lentils for the Week
Once you’ve rinsed and cooked your red lentils to that perfect 8–12 minute simmer, you’ll likely have leftovers.
Best Storage Methods
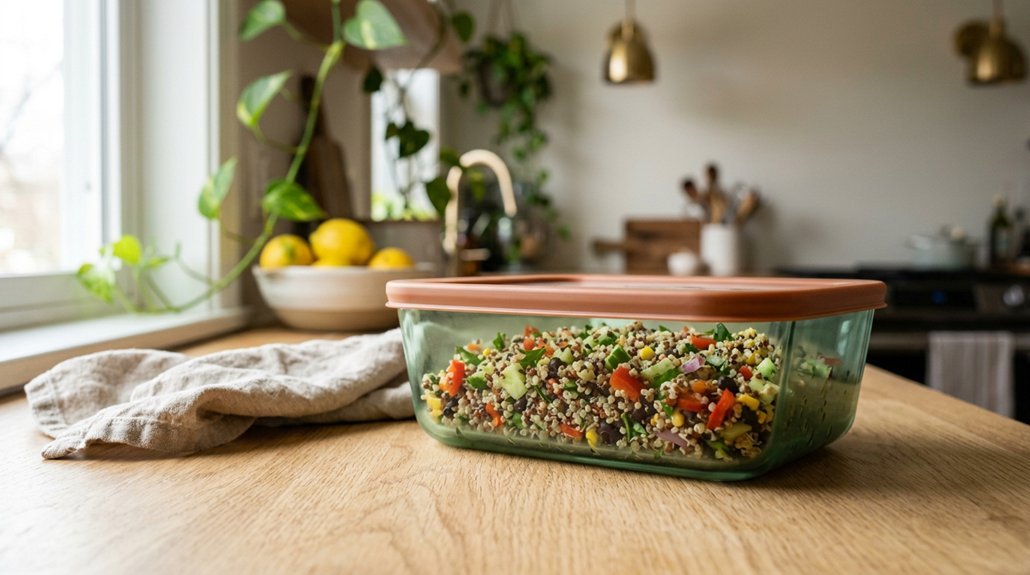
Cool your cooked lentils completely within two hours. Transfer them to airtight containers in shallow layers, about two inches deep. Refrigerate up to five days.
Cool completely within two hours, store in shallow airtight containers, and refrigerate for up to five days of fresh, ready-to-use lentils.
Texture Considerations
Your simmer time affects how well red lentils hold up. An 8-minute simmer yields firmer lentils that resist mushiness during storage. A 10–12 minute cooking time creates softer texture, perfect for ready-to-eat meal prep bowls.
Freezing Option
Portion cooked lentils into freezer bags, lay flat, and freeze up to three months. Thaw overnight in your refrigerator.
Best For: Weekly meal prep, quick lunches, emergency dinners.
Start your red lentil storage routine today.Download our meal prep checklist.5 Fast Dinners to Make With Your Cooked Red Lentils
Why let your lentils sit in the fridge when dinner’s waiting? You’ve already nailed the cook time on the stoveTop or Instant Pot. Now put that creamy texture to work.
Best For: Weeknight Quick Dinners
- Red Lentil Curry: Simmer with coconut milk and spices. Your Instant Pot batch works perfectly here.
- Lentil Soup: Thin with broth. Remember that 3:1 water-to-lentil ratio keeps it from turning to mush.
- Stuffed Peppers: Mix with rice and herbs. Firmer stoveTop lentils hold their shape better.
- Lentil Tacos: Mash with cumin and chili. The creamy texture binds everything.
Salt after cooking, not before. Tomatoes won’t slow you down now since your red lentils are already cooked. You’ve got dinner handled in minutes.