
365 Low-Fat Main Dishes — One Recipe for Every Day!
Easy, beginner-friendly, with full nutrition info.
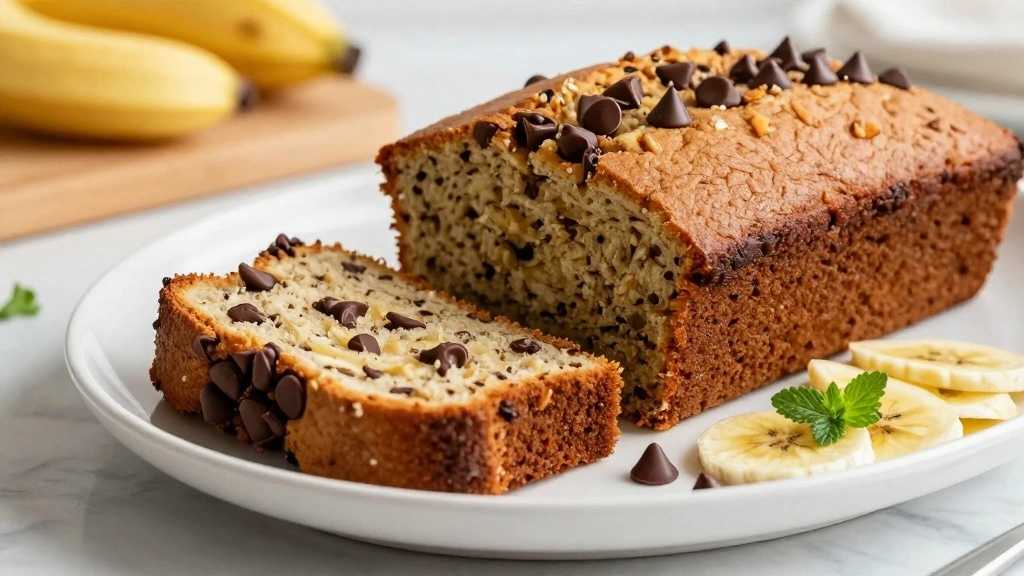
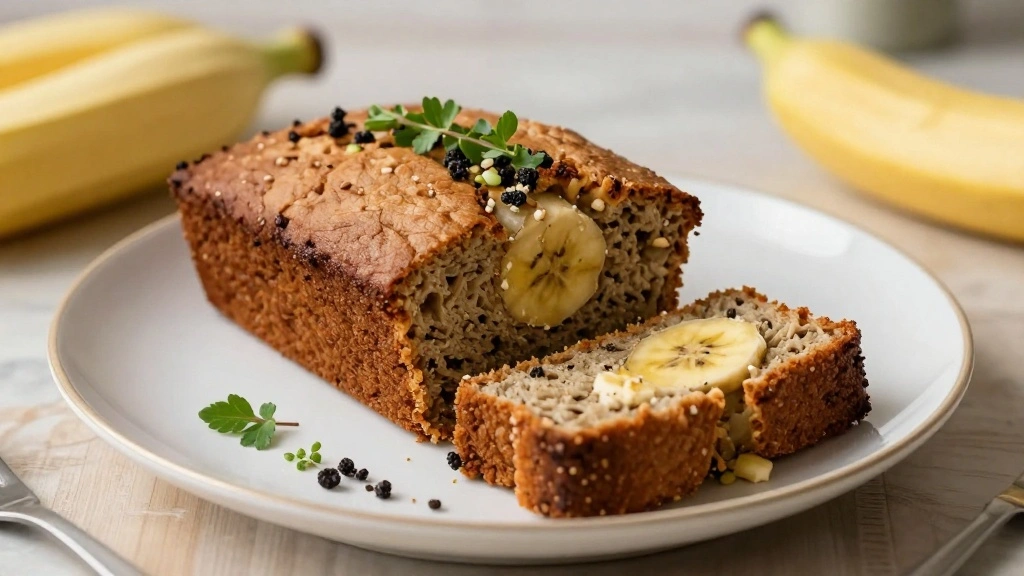
👉 Download Now – Just $2.90!Banana bread is a comforting staple that brings warmth and nostalgia with every bite.
Its rich, moist texture combined with the natural sweetness of ripe bananas creates an irresistible treat.
I first encountered this simple version during a busy week when simplicity was key, yet I craved something homemade.
This 4-Ingredient Banana Bread is perfect for those moments when you want a delicious baked good without the fuss.
Whether you’re a novice baker or a seasoned pro, this recipe delivers satisfying results with minimal effort.
The History and Cultural Significance
• 4-Ingredient Banana Bread traces its origins to the Great Depression era in the United States, where it was originally created by resourceful home bakers using overripe bananas.
• The dish evolved over decades as baking powders became more available, eventually becoming the beloved version we know today.
• In American culture, this dish traditionally appears at family gatherings and bake sales, symbolizing comfort and thriftiness.
• While many variations exist across different regions, the authentic version maintains its simplicity and reliance on ripe bananas that sets it apart from imitations.


Recipe Overview
Nutritional Information (per serving)
Essential Equipment Guide
Mixing Bowl: A large mixing bowl is essential for combining ingredients thoroughly, ensuring even texture throughout the bread. Stainless steel or glass bowls are preferable for their non-reactive properties, but any large bowl will suffice.
Loaf Pan: A standard 9×5-inch loaf pan is ideal for this recipe, providing the perfect depth for even baking. If unavailable, an 8×4-inch pan can work as well, though the baking time may need adjustment.
Spatula: A rubber spatula is crucial for folding ingredients gently, maintaining the bread’s light texture. Look for a spatula with a flexible head and comfortable grip for ease of use.


Ingredients
For the Base
|
| Amount | Ingredient | Notes |
|---|---|---|
| 3 units | ripe bananas | mashed for natural sweetness |
| 1 cup | self-rising flour | provides structure and leavening |
| 1 cup | sugar | adds sweetness |
| 1/2 cup | melted butter | adds richness and moisture |


Preparation Methods
Mashing Bananas: Properly mashing bananas ensures their natural sweetness is evenly distributed throughout the batter. Use a fork or potato masher to achieve a smooth consistency with small lumps.
Folding Ingredients: This method involves gently combining dry and wet ingredients to maintain airiness in the batter. Use a spatula to fold, turning the bowl as you go, to avoid overmixing.
Melting Butter: Melt butter gently to avoid burning, using a microwave or saucepan. Allow it to cool slightly before adding to the mixture to prevent curdling the eggs.


Step 1: Preheat Oven

Preheat your oven to 350°F (175°C).
This ensures the oven reaches the right temperature by the time you're ready to bake.
Use an oven thermometer for accuracy.
Proper preheating is crucial for even baking.


Step 2: Prepare Loaf Pan
Grease a 9x5-inch loaf pan with butter or non-stick spray.
This prevents the banana bread from sticking to the pan.
Make sure to cover all corners and edges.
A well-greased pan ensures easy removal after baking.


Step 3: Mash Bananas
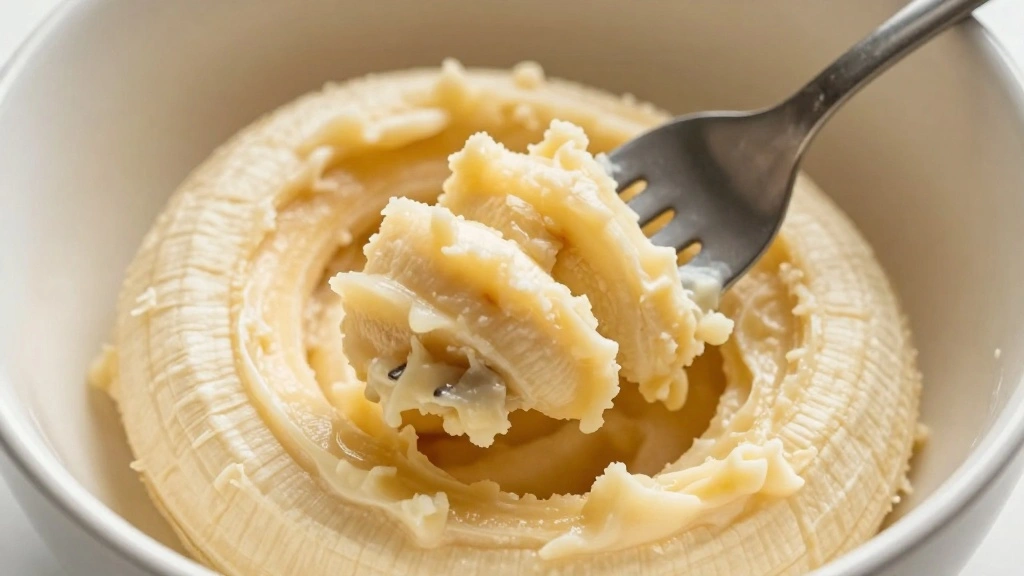
Peel and place bananas in a large mixing bowl.
Use a fork or potato masher to mash them until mostly smooth.
A few small lumps are okay for added texture.
Mashing thoroughly ensures even sweetness throughout the bread.


Step 4: Add Sugar
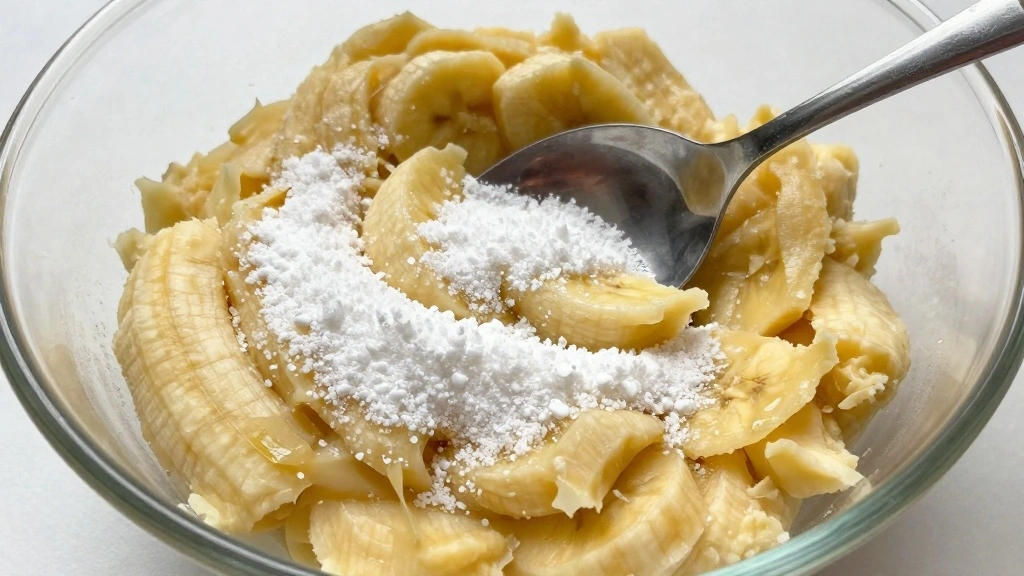
Add the sugar to the mashed bananas in the bowl.
Stir until the mixture is well combined and the sugar starts to dissolve.
This step helps integrate sweetness evenly.
Ensure no clumps of sugar remain in the mixture.
Step 5: Incorporate Melted Butter

Pour the melted butter into the banana-sugar mixture.
Stir gently to combine until the butter is fully integrated.
Ensure the mixture is smooth and homogenous.
This adds richness and moisture to the batter.
Step 6: Fold in Flour
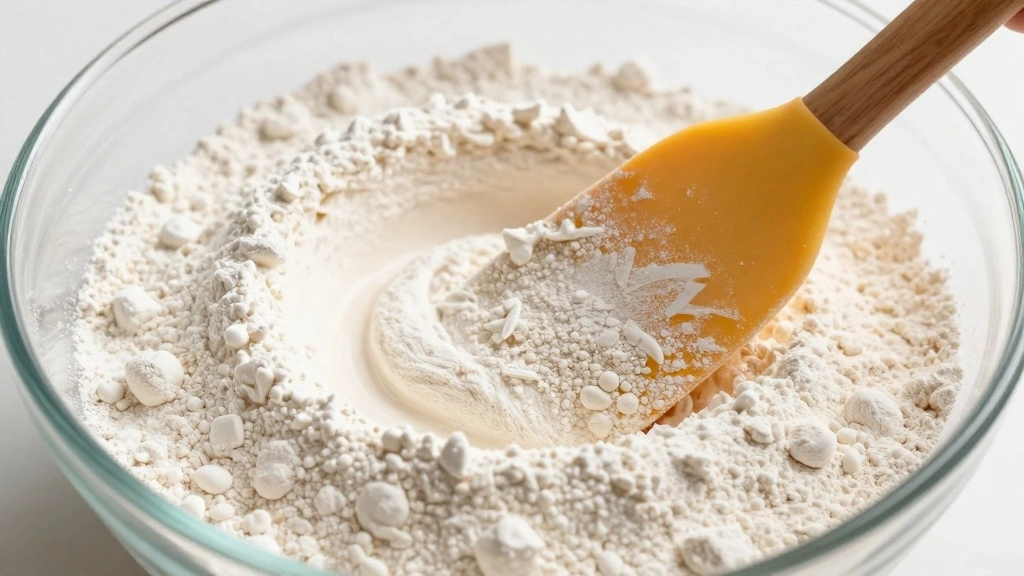
Add the self-rising flour to the wet ingredients.
Gently fold with a spatula until just combined.
Avoid overmixing to keep the bread light and airy.
Mix until no dry flour is visible in the batter.
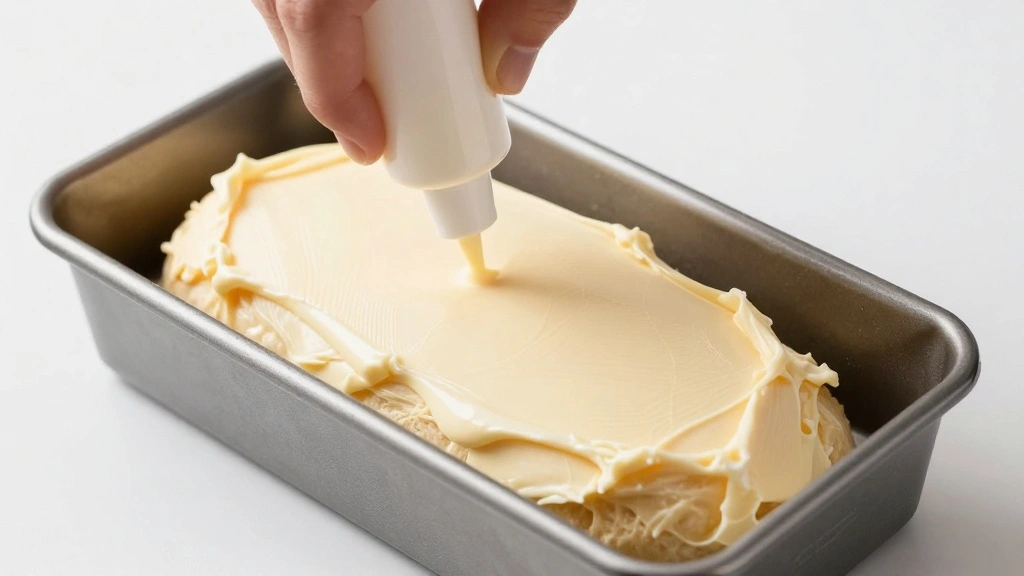
Step 7: Pour Batter into Pan
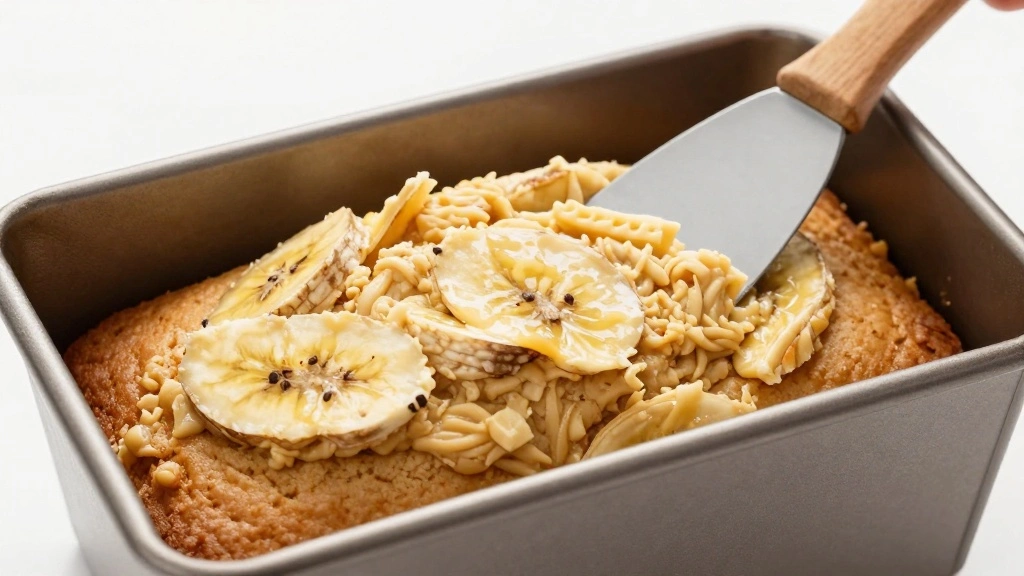
Transfer the batter into the prepared loaf pan.
Use a spatula to smooth the top of the batter evenly.
Ensure the batter is evenly distributed in the pan.
Proper leveling helps with even baking.


Step 8: Bake
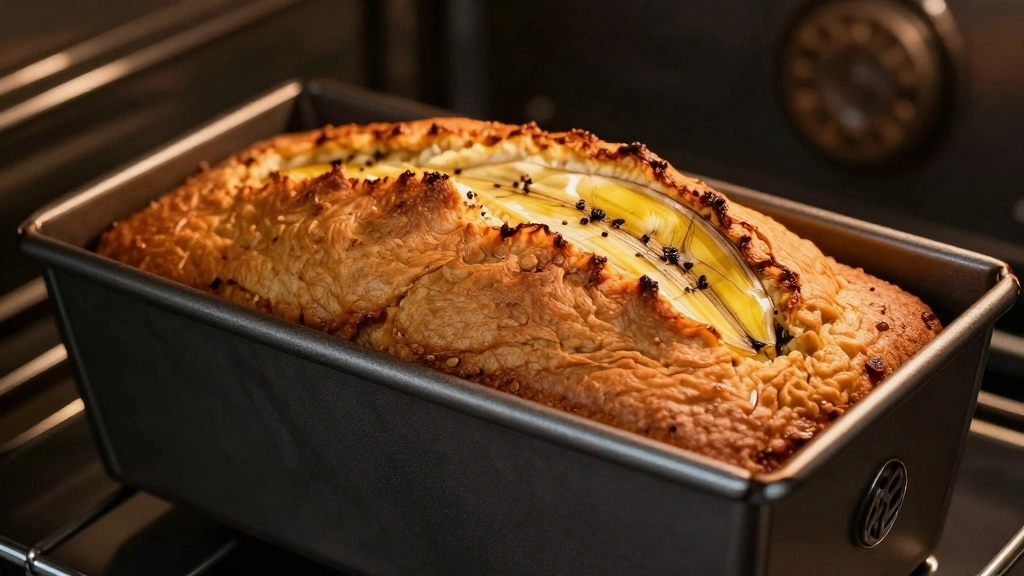
Place the loaf pan in the preheated oven.
Bake for 60 minutes or until a toothpick inserted in the center comes out clean.
Check for doneness without opening the oven frequently.
Allow the aroma to develop as a sign of readiness.


Step 9: Cool Bread
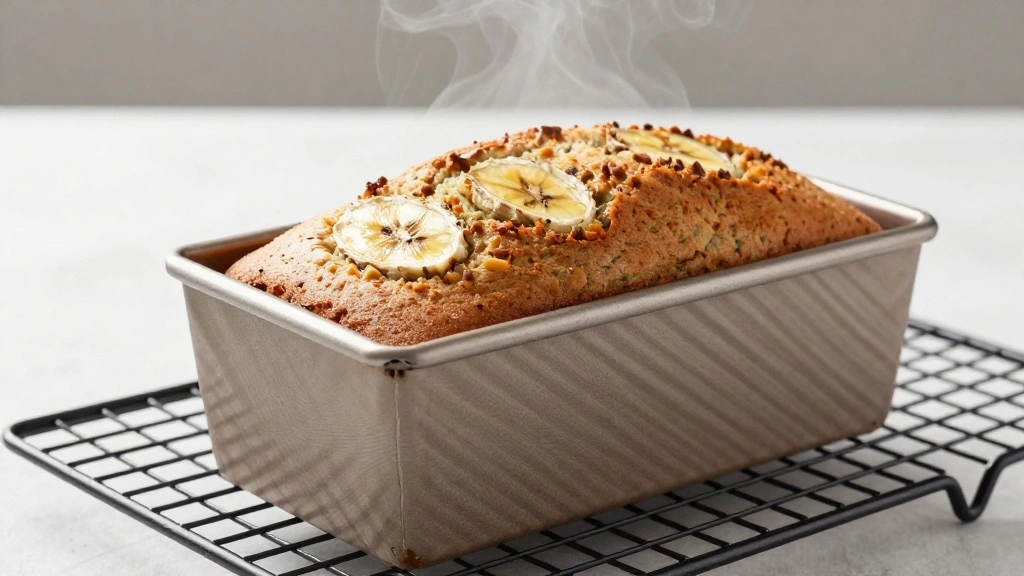
Remove the pan from the oven and place it on a wire rack.
Let it cool in the pan for 10 minutes.
This initial cooling helps set the bread structure.
Carefully turn out the bread to cool completely.
Critical Timing and Temperature Guide
Baking: Bake at 350°F (175°C) for exactly 60 minutes. The top should be golden brown and a toothpick inserted should come out clean. Avoid opening the oven frequently to maintain even temperature.
Cooling: Allow the bread to cool in the pan for 10 minutes before transferring to a wire rack. This helps the bread firm up and makes it easier to slice. Cooling too quickly can cause the bread to collapse.
Storage: Store cooled bread in an airtight container at room temperature. It stays fresh for up to 3 days. Refrigeration can dry it out, so avoid it unless necessary.


Pro Tips for 4-Ingredient Banana Bread
• Ingredient Selection: Use overripe bananas for the best flavor and sweetness. The more spots on the peel, the sweeter the banana.
• Preparation Secret: Let the butter cool slightly before adding it to the mixture to prevent curdling the other ingredients.
• Temperature Management: Ensure all ingredients are at room temperature before mixing to promote even baking.
• Texture Enhancement: Do not overmix the batter once the flour is added. This keeps the bread soft and prevents it from becoming dense.
• Flavor Layering: Consider adding a pinch of cinnamon or a handful of nuts for additional complexity and texture.
• Make-Ahead Strategies: The batter can be prepared a day in advance and stored in the refrigerator. Allow it to come to room temperature before baking.
• Restaurant-Quality Finishing Touches: Brush the top with a little melted butter once out of the oven for a glossy finish.
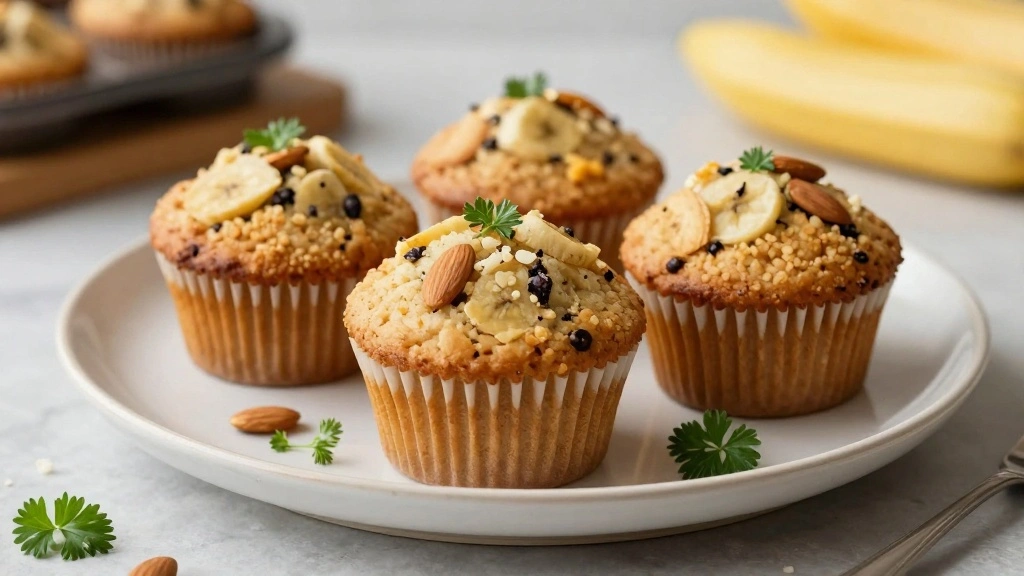
• Equipment Optimization: If you don’t have a loaf pan, muffin tins work well, just adjust the baking time accordingly.


Troubleshooting Common Issues
• Texture Too Dense: Overmixing the batter can cause dense texture. Mix just until ingredients are combined and avoid overworking the flour.
• Undercooked Center: If the center is undercooked, ensure your oven is at the correct temperature and avoid opening the door while baking.
• Cracked Top: This can occur from too high a baking temperature. Ensure your oven is properly calibrated and avoid placing the pan too close to the top heating element.
• Burnt Edges: This happens when the oven is too hot or the pan is too close to the sides. Use an oven thermometer to check temperature accuracy.
• Banana Flavor Not Prominent: Use ripe bananas with plenty of spots for maximum flavor. Under-ripe bananas lack sweetness and aromatic depth.
Variations and Regional Differences
• Classic American Style: Often includes walnuts or pecans for added crunch and flavor.
• Hawaiian Variation: Incorporates pineapple chunks and shredded coconut for a tropical twist.
• Vegan Adaptation: Replace butter with coconut oil or a plant-based butter substitute for a dairy-free version.
• Gluten-Free Version: Substitute self-rising flour with a gluten-free baking mix to accommodate dietary restrictions.
Food Science Behind the Recipe
• The Role of Ripe Bananas: Ripe bananas act as a natural sweetener and moisture provider, contributing to the bread's soft texture.
• Self-Rising Flour Chemistry: This flour contains baking powder, which releases carbon dioxide during baking, providing the bread with its rise and lightness.
• The Maillard Reaction: This browning process enhances flavors and creates the appealing golden hue on the bread's crust.
Frequently Asked Questions
What's the most common mistake people make when preparing 4-Ingredient Banana Bread? The most common mistake is overmixing the batter, which can lead to a dense texture.
Can I use frozen bananas? Yes, thaw them completely and drain any excess liquid before using.
Why is my banana bread dry? Overbaking or using under-ripe bananas can result in dryness. Check your oven temperature and banana ripeness.
How can I make my banana bread healthier? Substitute some of the sugar with honey or a sugar alternative and add in nuts or seeds for extra nutrition.
What can I use instead of butter? Coconut oil or margarine are good substitutes for a dairy-free option.
How do I know when my banana bread is done? A toothpick inserted into the center should come out clean, indicating it is fully cooked.
Can I add chocolate chips? Absolutely, adding chocolate chips can add a delightful sweetness to the bread.
Serving and Presentation Guide
• Traditional Presentation: Slice and serve warm with a pat of butter or a drizzle of honey.
• Breakfast Spread: Pair with fresh fruit and a cup of coffee for a complete breakfast.
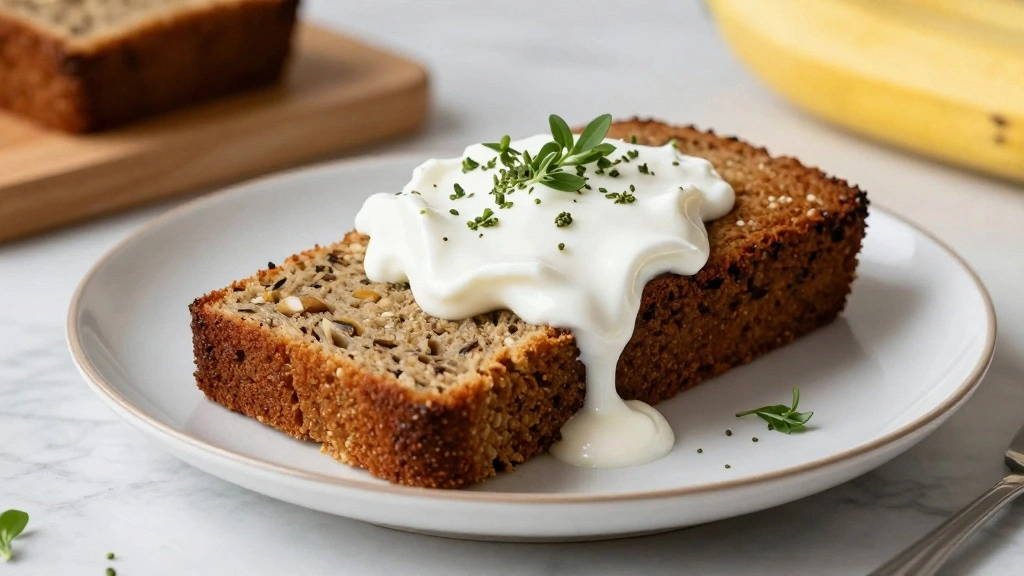
• Tea Time Treat: Serve with a side of clotted cream or a dollop of whipped cream for an afternoon indulgence.
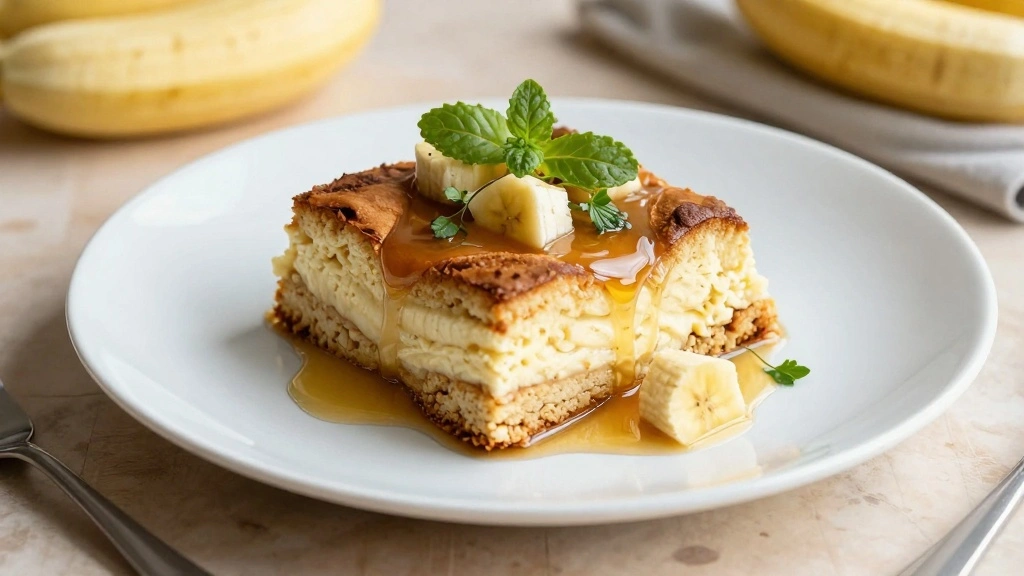
• Decorative Plating: Arrange slices on a wooden board, garnished with banana slices and mint leaves for a rustic look.


Conclusion
This 4-Ingredient Banana Bread recipe offers simplicity without sacrificing flavor.
Its ease of preparation makes it a go-to for quick baking projects or last-minute treats.
I encourage you to try this recipe and experience the delightful combination of flavors and textures.
Happy baking!