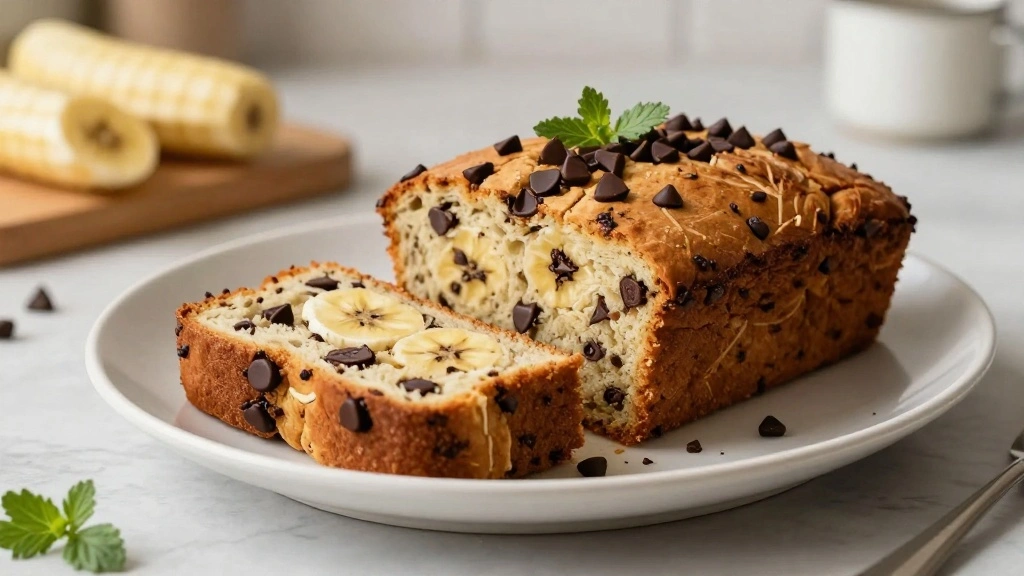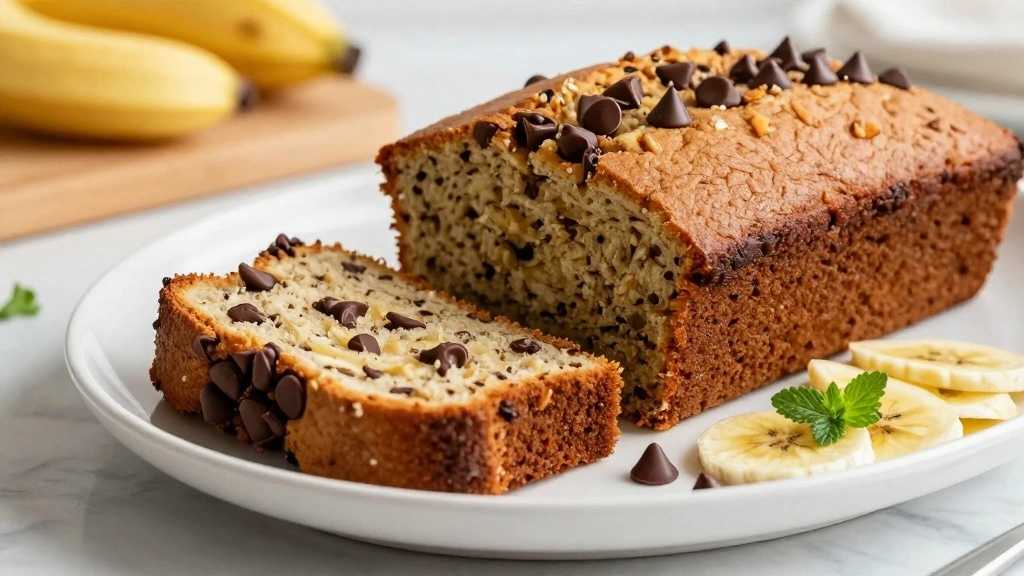

A slice of ultra-moist chocolate chip banana bread is like a warm hug on a chilly day.
The sweet aroma of bananas and chocolate wafting through the kitchen brings back memories of family gatherings and lazy Sunday mornings.
This recipe combines the rich sweetness of ripe bananas with the delightful crunch of chocolate chips, creating a treat that’s perfect for any occasion.
Whether you’re enjoying it as a breakfast treat or an afternoon snack, this banana bread is sure to become a staple in your home.
The balance of moistness and sweetness makes it a crowd-pleaser that disappears quickly.
Join me as we explore the secrets to crafting this delectable loaf that’s both comforting and indulgent.
The History and Cultural Significance
• Chocolate Chip Banana Bread traces its origins to the United States in the early 20th century, where it was originally created as a way to use overripe bananas.
• The dish evolved over decades as bakers began adding ingredients like chocolate chips, nuts, and spices, eventually becoming the beloved version we know today.
• In American culture, this dish traditionally appears at family gatherings and brunches, symbolizing warmth and hospitality.
• While many variations exist across different regions, the authentic version maintains its signature moist texture and rich banana flavor that sets it apart from imitations.
Recommended Products

Set of 2 rectangular-shaped loaf pans; ideal for baking bread, pound cake, meatloaf, and more

SET OF TWO 8 x 4-INCH MEDIUM LOAF PANS: Great for baking meatloaf, sweet or savory breads, thick cakes or brownies, smaller portions of lasagnas or casseroles, and more for the perfect bake every time
Recipe Overview
Recommended Products

Premium Mini Loaf Pan: The Wilton Gold Mini Loaf Pan is a durable loaf mold ideal for mini cakes, brownies, and breads with even heat distribution; it measures 15 inches long, 10 inches wide, and 1.6 inches deep

Premium Carbon Steel & Advanced Non-Stick Coating: Engineered with heavy-gauge, commercial-grade carbon steel, our mini loaf pans ensure exceptional durability and superior, even heat distribution for perfectly baked goods every time. The industrial-strength, reinforced non-stick coating is PFOA, BPA, and PTFE-free, guaranteeing effortless food release and a hassle-free cleanup. Unlike flimsy alternatives, this pan resists warping under high temperatures (oven-safe up to 450°F/232°C).

8 x 4-INCH LOAF BAKING PAN: Great for baking meatloaf, sweet or savory breads, thick cakes or brownies, smaller portions of lasagnas or casseroles, and more for the perfect bake every time
Nutritional Information (per serving)
Recommended Products
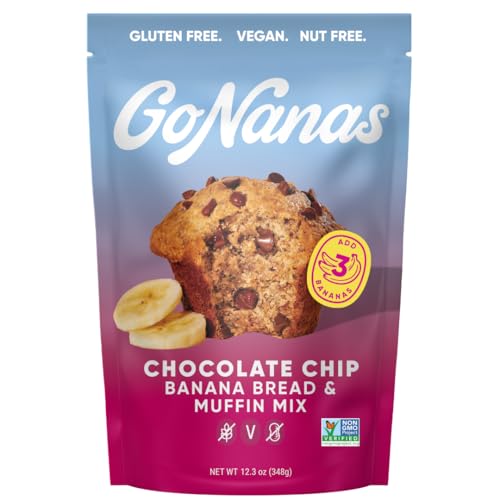
BANANA BREAD REIMAGINED: Enjoy our take on the classic flavors you love! GoNanas brings the nostalgia of homemade banana bread and exciting new flavor possibilities to your kitchen. If you’re looking for simplicity or want to get super creative in the kitchen, this is the mix for you!

CLASSIC MUFFIN MIX: Chocolate chip muffins are home-baked treats that are easy to grab and go

Homemade Taste, Minutes Away: This banana bread mix delivers moist loaves with real banana flavor, no artificial flavors, and no partially hydrogenated oils; Plus, a spatula is included to make mixing and scooping the batter easy
Essential Equipment Guide
Loaf Pan: A good quality loaf pan ensures even baking and prevents sticking. Look for non-stick or well-seasoned cast iron options. Alternatives include muffin tins or bundt pans, but adjust baking time accordingly.
Mixing Bowls: Using a set of mixing bowls helps in organizing ingredients separately. Stainless steel or glass bowls are preferred for easy cleaning and stability.
Measuring Cups and Spoons: Accurate measurement is crucial for the perfect texture. Digital scales can be an alternative for precision, especially for dry ingredients.
Recommended Products

FRESH INGREDIENTS, TASTY BANANA BREAD: Bake monkey banana bread with irresistible chocolate icing with this Baketivity baking kit featuring kosher pre-measured dry ingredients expertly crafted in the USA. A shopping list for wet ingredients is also included.


STACKS SMART, STORES EASY: Nesting measuring cups and spoons snap neatly together for compact storage and quick access—keeping drawers organized and everyday prep clutter-free
Ingredients
Recommended Products

STANDARD 9 x 5-INCH LOAF PANS: This loaf pan set of two is perfect for baking meatloaf, sweet or savory breads, thick cakes or brownies, smaller portions of lasagnas or casseroles, and more. Enjoy a perfect bake every time with these versatile bread pans
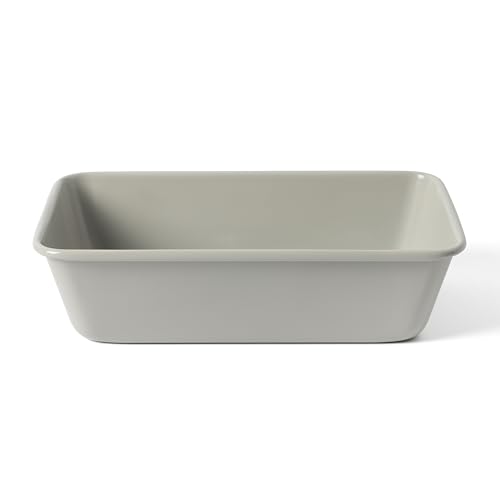
WHAT'S IN THE BOX: One 9-inch loaf pan.

STANDARD 9 x 5-INCH LOAF PAN: This standard loaf pan is perfect for baking meatloaf, sweet or savory breads, thick cakes or brownies, smaller portions of lasagnas or casseroles, and more. Enjoy the perfect bake every time with this versatile bread pan
For the Base
|
| Amount | Ingredient | Notes |
|---|---|---|
| 1 cup | granulated sugar | adds sweetness |
| 1/2 cup | unsalted butter | softened for creaminess |
| 2 cups | all-purpose flour | provides structure |
| 1 teaspoon | baking soda | for leavening |
| 1 teaspoon | salt | enhances flavor |
For the Banana Mixture
| Amount | Ingredient | Notes |
|---|---|---|
| 3 medium | ripe bananas | mashed, for moisture and flavor |
| 2 large | eggs | at room temperature, for binding |
| 1 teaspoon | vanilla extract | adds depth of flavor |
For the Add-ins
| Amount | Ingredient | Notes |
|---|---|---|
| 1 cup | semi-sweet chocolate chips | provides chocolatey goodness |
Preparation Methods
Creaming Butter and Sugar: Creaming involves beating butter and sugar until light and fluffy. It incorporates air, which is essential for a tender crumb. Ensure butter is at room temperature for best results.
Folding: This technique involves gently combining a light ingredient, like whipped cream or beaten egg whites, into a heavier mixture. It’s crucial to maintain airiness and prevent deflation.
Mashing Bananas: Properly mashing bananas is key to achieving the correct consistency. Use a fork or potato masher until smooth but with some small lumps remaining for texture.
Recommended Products


Sturdy Metal Frame: The hidden stainless steel frame along the edges of the silicone bread loaf pan offers excellent stability. Thoughtful handles let you safely move the loaf pan in and out of the oven and effectively prevent batter leakage

High-Quality Bakeware: A bakeware solution that’s beautiful, durable and easy to clean
Step 1: Preheat Oven
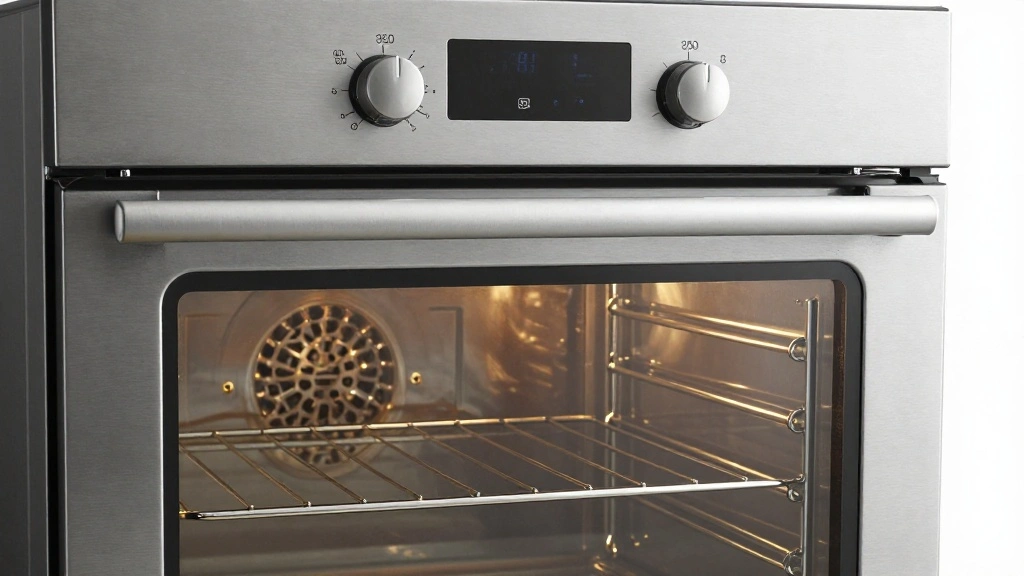
Set your oven to 350°F (175°C) and allow it to preheat.
Ensure the oven rack is in the middle position for even baking.
This temperature ensures the bread cooks through without burning the top.
Preheating is crucial for consistent results.
Recommended Products

PACKAGE CONTENT: You will get 2 pieces kitchen loaf pan in black gray colors, 100 pieces parchment paper liners, enough quantity for you to bake different loaf at the same time or share with your family and friends
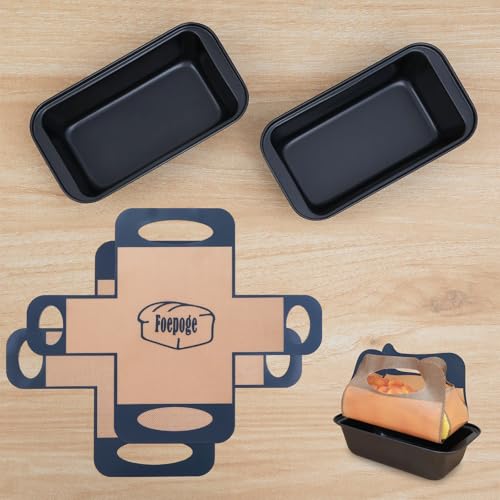
Premium Bread Baking Supplies Set: This value-packed baking must haves includes 2 carbon steel large sandwich bread loaf pans (outside size: 10.6"×5.9"×2.7" , inner size: 9"×5"×2.7") and 2 BPA-free silicone bread pan liners - professional baking sets for cooking nonstick perfect for batch baking and home bakery prep.

STRONG BOROSILICATE GLASS - Razab borosilicate glass loaf pan is Heat Resistant Up To +500°F. Specially designed so heat is evenly distributed, avoiding burned spots. It is safe for a pre-heated oven, microwave, freezer, or top rack of the dishwasher.
Step 2: Prepare Baking Pan
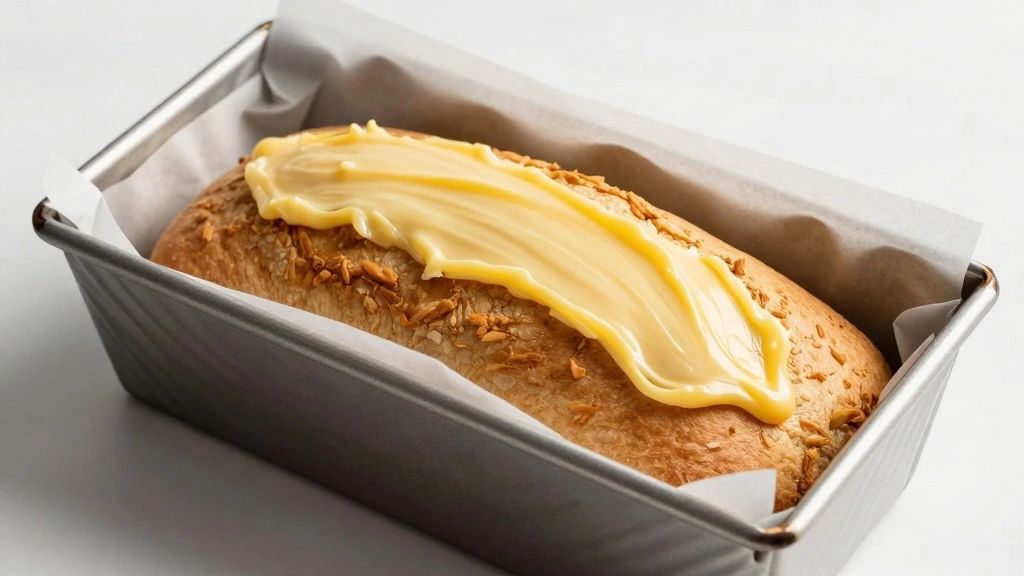
Grease a 9x5 inch loaf pan with butter or non-stick spray.
Line the bottom with parchment paper for easy removal.
Ensure all sides are evenly coated to prevent sticking.
This step is essential for a clean release of the bread.
Recommended Products

No hydrogenated fats or high fructose corn syrup allowed in any food

BANANA BREAD REIMAGINED: Enjoy our take on the classic flavors you love! GoNanas brings the nostalgia of homemade banana bread and exciting new flavor possibilities to your kitchen. If you’re looking for simplicity or want to get super creative in the kitchen, this is the mix for you!
Step 3: Cream Butter and Sugar
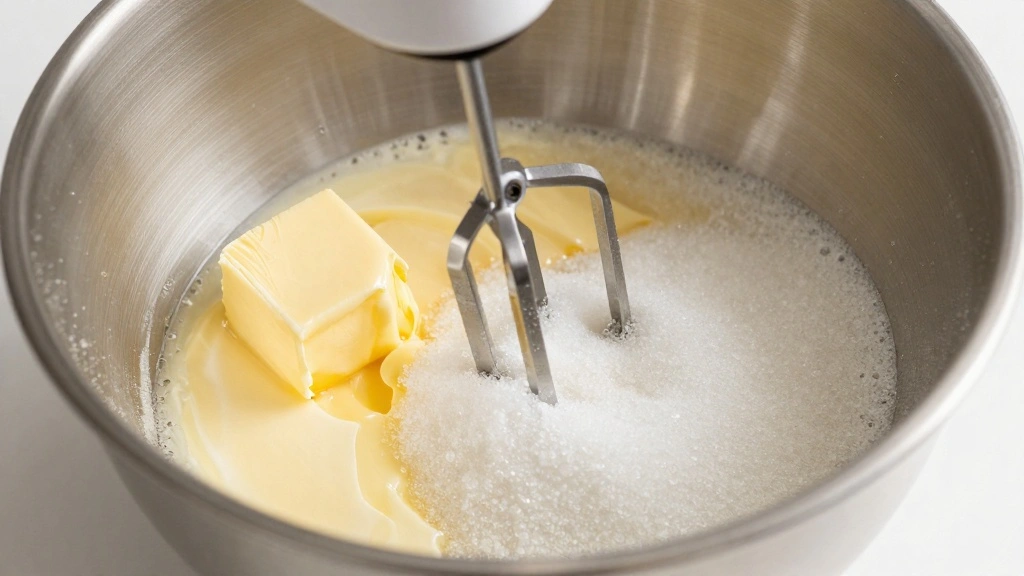
In a large bowl, beat the softened butter and sugar together.
Mix until the mixture is light and fluffy, about 3 minutes.
Look for a pale yellow color and creamy texture.
This step helps create a tender crumb.
Recommended Products

COMPLETE MEASURING SET: Includes 5 measuring cups (¼ cup, ¹⁄3 cup, ½ cup, 1 cup and 4 cup), 2 spoons (½ tbsp, 1 tbsp), plus a funnel and leveler—everything you need for baking and cooking with confidence.

Set includes: 1 cup, ½ cup, ⅓ cup, and ¼ cup

【Material】: This apron is made of polyester fabric, waterproof and oil resistant, soft and durable.
Step 4: Add Eggs and Vanilla
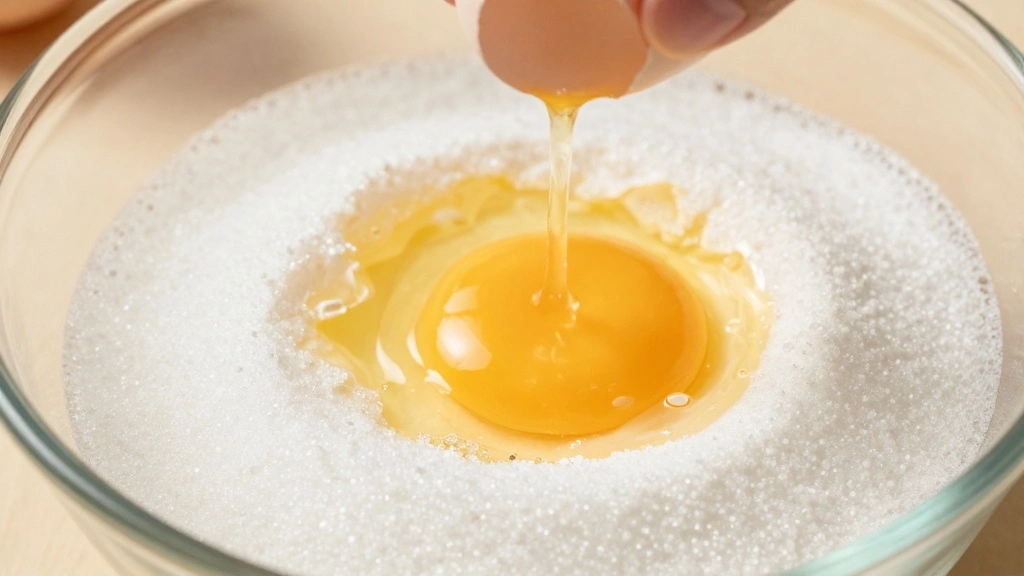
Add the eggs one at a time to the creamed mixture, beating well after each addition.
Include the vanilla extract and mix until fully incorporated.
Look for a smooth consistency with no visible egg streaks.
This step is crucial for even flavor distribution.
Recommended Products
Crispy Crust: The sourdough bread pan features a tight-fitting lid that traps steam, ensuring even heat distribution and retention for a perfectly crispy crust and soft interior in sourdough and homemade sandwich loaves

QUALITY STANDARD-SIZED LOAF PAN: Ensures a perfect bake every time for your favorite bread and cake recipes

Premium Loaf Pan: The Wilton Gold Premium Non-Stick Bakeware Large Loaf Pan is a heavy-duty, non-stick loaf pan ideal for baking bread and pound cakes; it measures 9.25 inches long, 5.25 inches wide, and 2.75 inches deep
Step 5: Combine Dry Ingredients
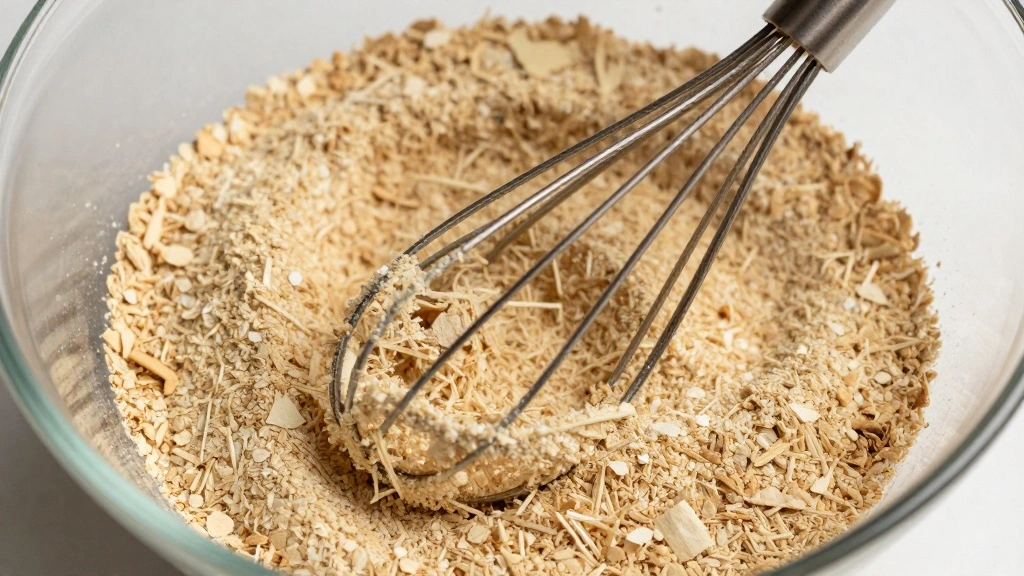
In a separate bowl, whisk together the flour, baking soda, and salt.
Ensure the ingredients are well combined and free of lumps.
Look for a uniform mixture with no clumps.
This step prevents uneven distribution of leavening agents.
Step 6: Mash Bananas
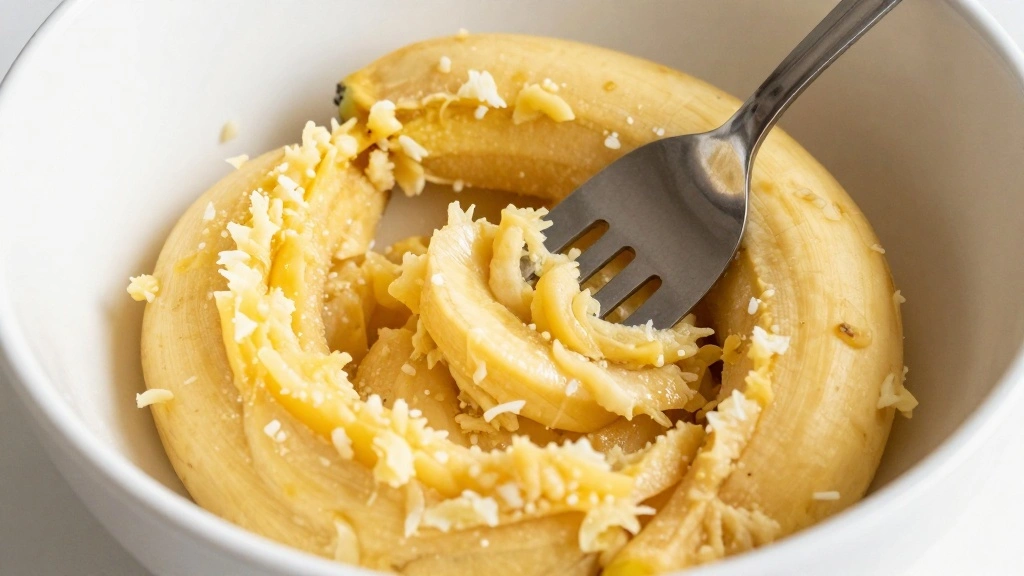
Peel and mash the ripe bananas in a small bowl using a fork.
Mash until mostly smooth with some small lumps remaining.
Look for a slightly chunky puree.
This step adds moisture and flavor to the bread.
Step 7: Combine Wet and Dry Ingredients
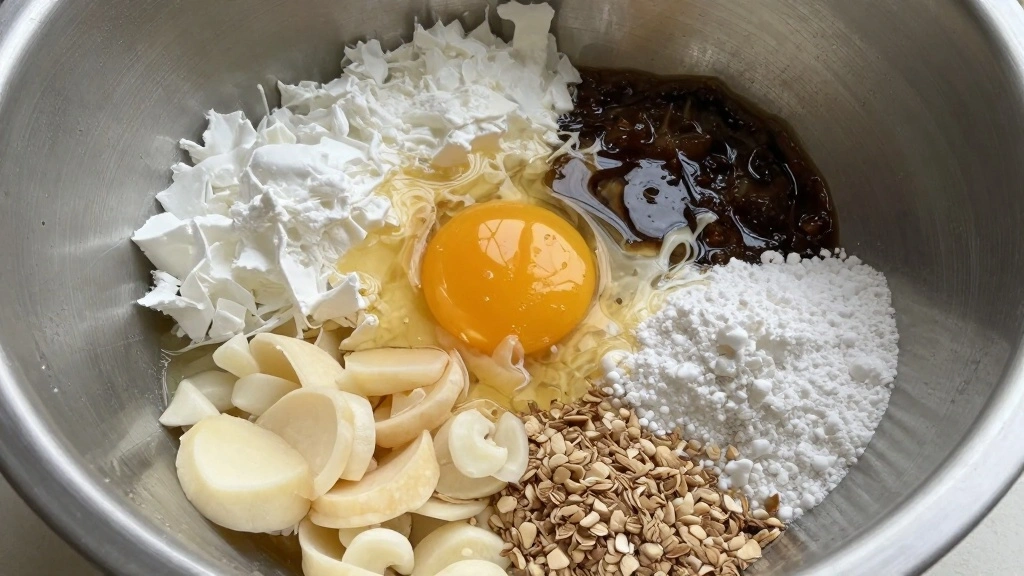
Add the mashed bananas to the wet mixture and stir until combined.
Gradually fold in the dry ingredients using a spatula.
Look for a thick, cohesive batter with no dry streaks.
This step ensures even distribution of all components.
Step 8: Add Chocolate Chips

Fold the chocolate chips gently into the batter.
Ensure even distribution throughout the mixture.
Look for chocolate chips dispersed evenly in the batter.
This step adds bursts of chocolate flavor in every bite.
Step 9: Pour Batter into Pan

Pour the batter into the prepared loaf pan, smoothing the top with a spatula.
Tap the pan gently on the countertop to remove air bubbles.
Ensure the surface is even for uniform baking.
This step prevents uneven rising.
Step 10: Bake the Bread
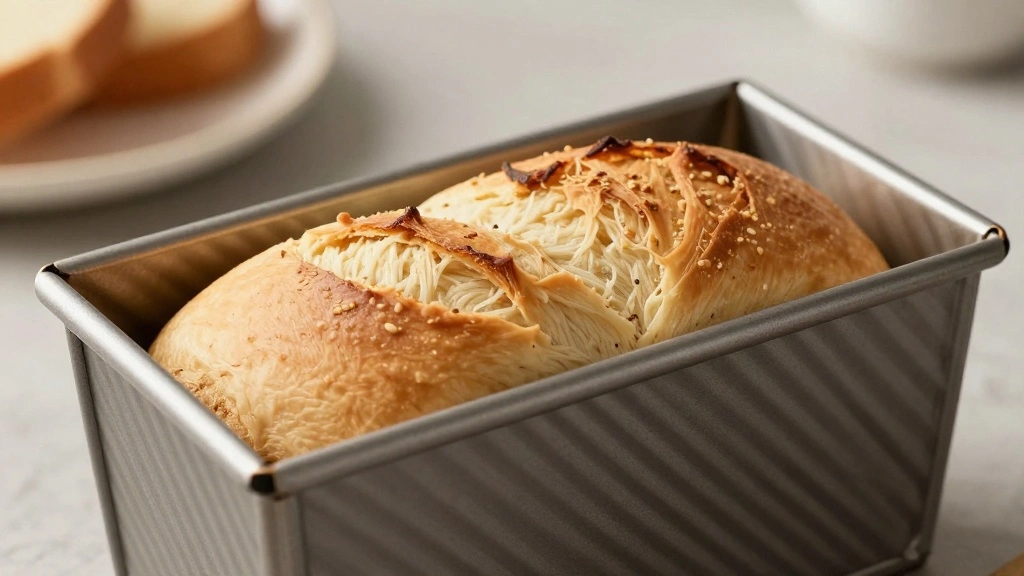
Place the pan in the preheated oven and bake for 60 minutes.
Check for doneness by inserting a toothpick into the center.
Look for a clean toothpick or a few moist crumbs.
Baking time may vary based on your oven, so monitor closely.
Step 11: Cool the Bread
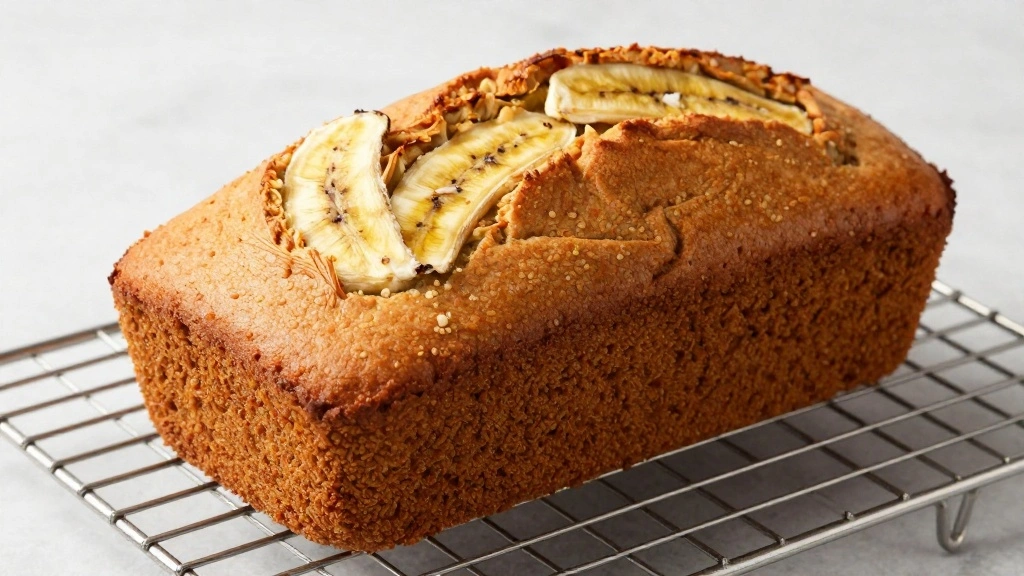
Remove the pan from the oven and let it cool for 10 minutes.
Transfer the bread to a wire rack to cool completely.
Look for the bread to be firm enough to handle without breaking.
Cooling ensures the bread sets properly.
Step 12: Slice and Serve
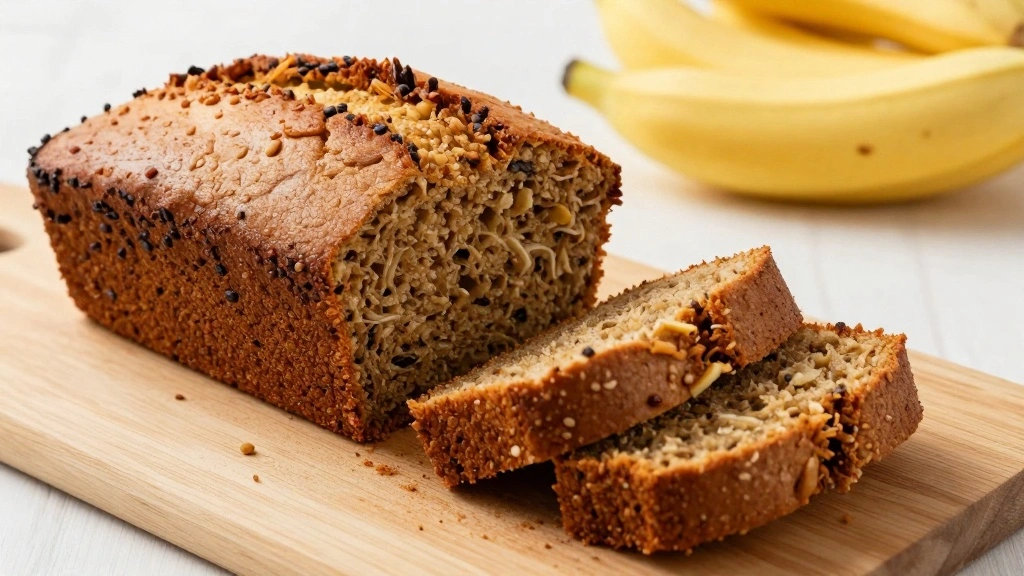
Once cooled, slice the bread into thick pieces.
Serve warm or at room temperature.
Look for clean cuts and even slices.
This step presents the bread beautifully for serving.
Critical Timing and Temperature Guide
Preheating the Oven: Preheat to 350°F (175°C). Ensure the oven is fully preheated before inserting the bread to avoid uneven cooking.
Baking the Bread: Bake at 350°F for 60 minutes. A toothpick inserted should come out clean or with a few crumbs. Avoid overbaking to prevent dryness.
Cooling Process: Cool in the pan for 10 minutes, then transfer to a wire rack. This prevents the bread from becoming soggy at the bottom.
Pro Tips for Chocolate Chip Banana Bread
• Ingredient Selection: Use overripe bananas for maximum sweetness and flavor. High-quality chocolate chips ensure a rich chocolatey taste.
• Preparation Secret: Let the batter rest for 10 minutes before baking. This allows the flour to hydrate and results in a more tender crumb.
• Temperature Management: Ensure all ingredients are at room temperature to facilitate even mixing and a smooth batter.
• Texture Enhancement: Gently fold the ingredients to maintain airiness and avoid overmixing, which can make the bread dense.
• Flavor Layering: Add a pinch of cinnamon or nutmeg to the batter to enhance the banana flavor without overpowering it.
• Make-Ahead Strategies: Prepare the batter and refrigerate overnight. Bring to room temperature before baking for a more developed flavor.
• Restaurant-Quality Finishing Touches: Sprinkle coarse sugar on top before baking for a crunchy, caramelized crust.
• Equipment Optimization: Use a light-colored loaf pan to prevent excessive browning and ensure even heat distribution.
Troubleshooting Common Issues
• Texture Too Dense: Overmixing the batter can lead to a dense texture. Mix just until the ingredients are combined.
• Dry Bread: Baking too long can cause dryness. Check for doneness with a toothpick at the 50-minute mark.
• Banana Flavor Lacking: Use very ripe bananas with brown spots for a stronger flavor.
• Uneven Rising: Ensure the baking soda is fresh and the batter is evenly spread in the pan.
• Chocolate Chips Sinking: Toss chocolate chips in a little flour before adding them to the batter to prevent sinking.
• Crumbly Texture: Make sure to measure ingredients accurately and avoid overbaking.
Variations and Regional Differences
• Southern Style: Includes pecans or walnuts for added crunch and often a hint of bourbon for depth.
• Vegan Version: Replaces eggs with flaxseed meal and uses coconut oil instead of butter.
• Gluten-Free Option: Uses almond flour or a gluten-free flour blend, often with added xanthan gum.
• Hawaiian Twist: Incorporates shredded coconut and macadamia nuts for a tropical flair.
Food Science Behind the Recipe
• Leavening Agents: Baking soda reacts with the acidity in bananas to help the bread rise and maintain a light texture.
• Maillard Reaction: The browning of the bread crust is a result of the Maillard reaction, enhancing flavor and aroma.
• Emulsification: The process of creaming butter and sugar creates an emulsion that traps air, contributing to the bread's rise and fluffy texture.
Frequently Asked Questions
What's the most common mistake people make when preparing Chocolate Chip Banana Bread? Overmixing the batter, which can lead to a dense and heavy texture.
Can I use frozen bananas? Yes, thaw them completely and drain excess liquid before mashing.
How do I store leftover banana bread? Wrap it in plastic wrap or store in an airtight container at room temperature for up to three days.
Can I substitute other types of chocolate? Yes, dark or milk chocolate chips can be used based on preference.
Why is my bread sinking in the middle? This could be due to underbaking or using too much leavening agent.
Is it necessary to line the pan with parchment paper? While not essential, it helps with easy removal and prevents sticking.
Can I add nuts to the recipe? Absolutely, adding a cup of chopped nuts like walnuts can enhance texture and flavor.
Serving and Presentation Guide
• Traditional Presentation: Slice the bread into thick pieces and serve on a wooden cutting board with a pat of butter on the side.
• Brunch Setting: Present slices on a tiered cake stand with fresh fruit and a pot of coffee.
• Casual Gathering: Serve warm slices wrapped in parchment paper for an informal, rustic look.
• Gourmet Touch: Drizzle with a bit of melted chocolate or dust with powdered sugar for an elegant finish.
Conclusion
Now that you've explored the depths of Chocolate Chip Banana Bread, it's time to put your newfound knowledge to the test.
This timeless recipe is perfect for cozy mornings or as a delightful gift for friends and family.
Embrace the simple joy of baking and indulge in the delicious results.
Happy baking, and may your kitchen be filled with the sweet aroma of success!