
365 Low-Fat Main Dishes — One Recipe for Every Day!
Easy, beginner-friendly, with full nutrition info.
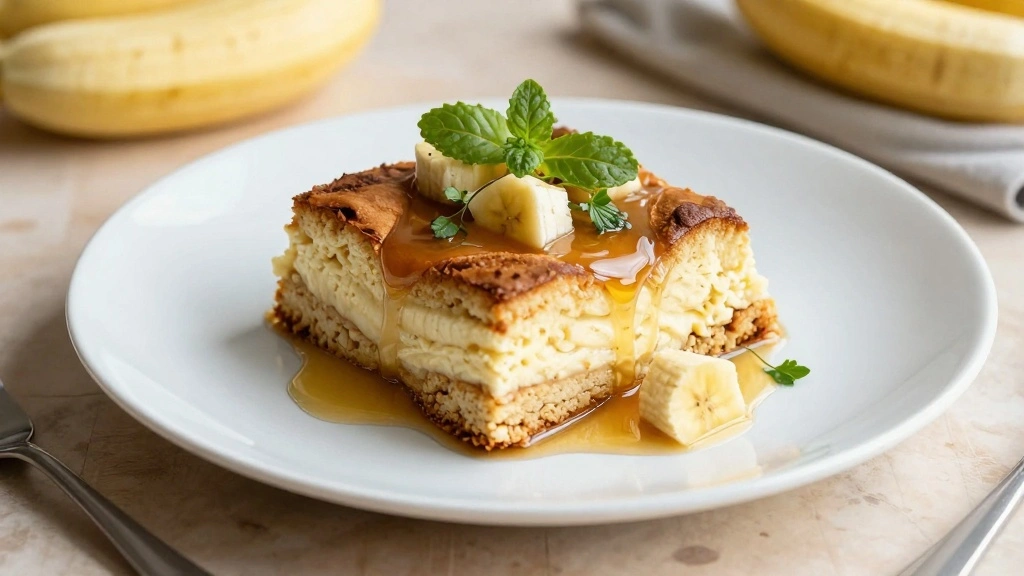
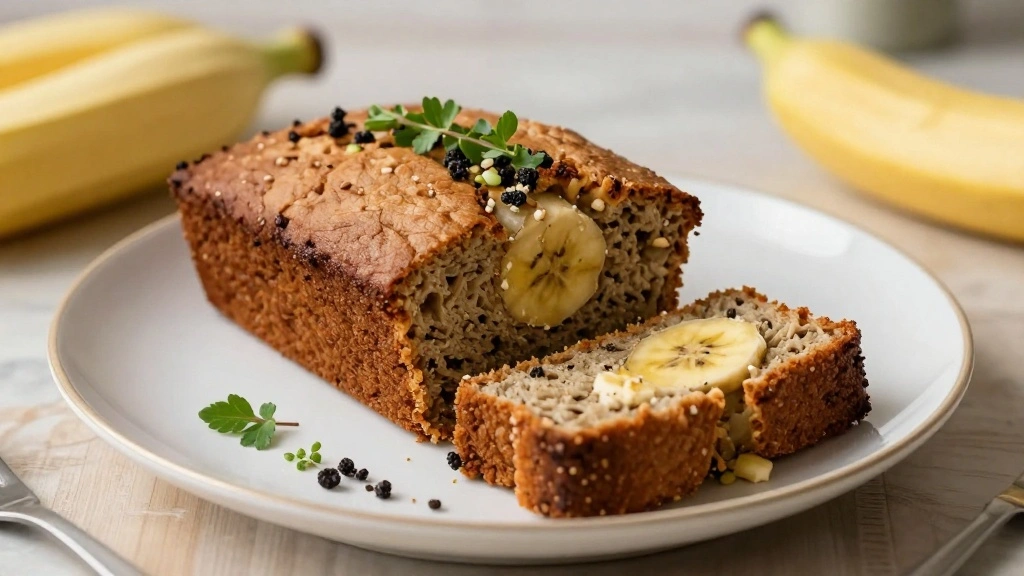
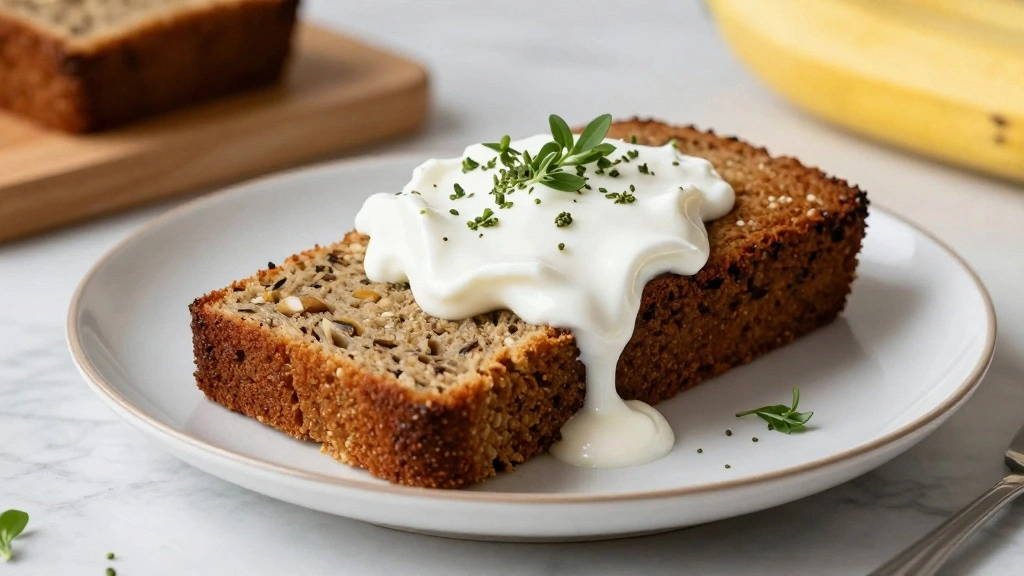
👉 Download Now – Just $2.90!The harmonious balance of creamy vanilla pudding, ripe bananas, and crunchy vanilla wafers creates a memorable dining experience that will have everyone asking for your secret.
I discovered this recipe during my travels through the Southern United States, where local chefs have perfected it through generations of careful refinement.
While traditional banana pudding is a staple of Southern comfort food, this version elevates it with a modern twist that enhances both flavor and presentation.
Imagine a dessert that combines the nostalgia of your childhood favorites with a sophisticated flair, making it perfect for any gathering.
Whether you’re preparing a casual family dinner or hosting a special celebration, this Not Your Momma’s Banana Pudding delivers impressive results with straightforward preparation.
Get ready to surprise and delight your guests with a dish that feels familiar yet refreshingly new.
The History and Cultural Significance
• Not Your Momma’s traces its origins to the Southern United States, where it was originally created by home cooks looking to use up overripe bananas.
• The dish evolved over decades as canned pudding and instant mixes became available, eventually becoming the beloved version we know today.
• In Southern culture, this dish traditionally appears at family gatherings and church suppers, symbolizing hospitality and comfort.
• While many variations exist across different regions, the authentic version maintains a balance of creamy, sweet, and crunchy elements that sets it apart from imitations.


Recipe Overview
Nutritional Information (per serving)
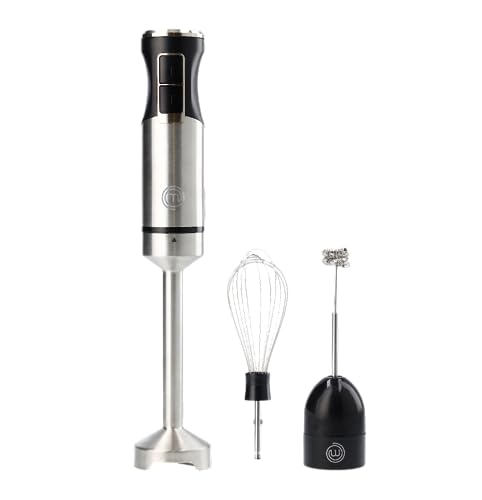
Essential Equipment Guide
Mixing Bowls: Mixing bowls are essential for combining ingredients evenly. Glass or metal bowls are preferable as they allow for better temperature control, but plastic bowls can work in a pinch.
Whisk: A whisk is crucial for aerating the pudding mixture, ensuring a smooth and creamy texture. While a hand mixer can suffice, a whisk allows for more control and prevents over-mixing.
Trifle Dish: A trifle dish not only makes for an elegant presentation but also allows you to showcase the beautiful layers of the pudding. A glass dish is best to highlight the distinct layers.
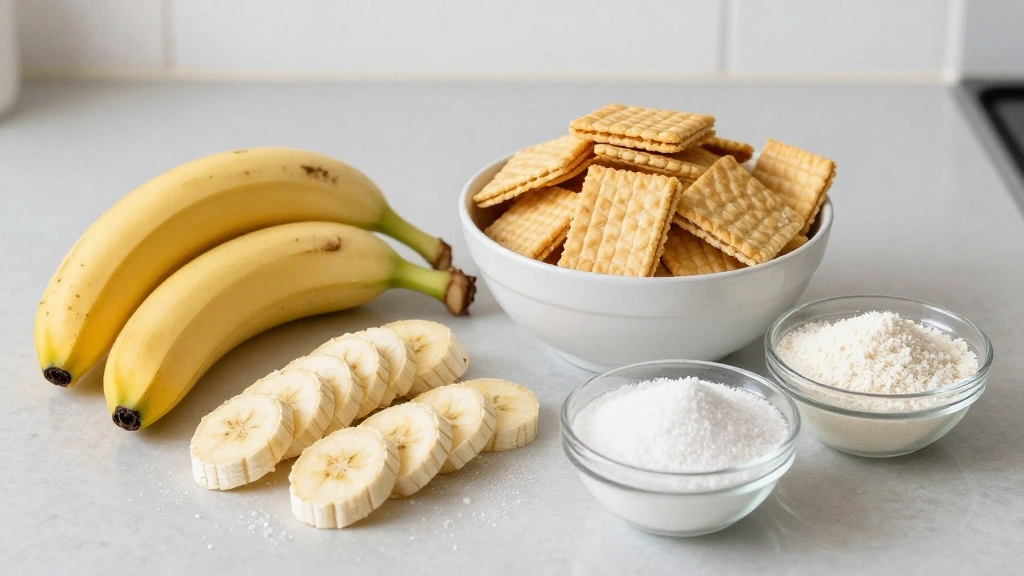
Ingredients
For the Pudding
|
| Amount | Ingredient | Notes |
|---|---|---|
| 2 cups | whole milk | adds creaminess |
| 1 cup | heavy cream | provides richness |
| 3 large | egg yolks | for thickening |
| 1 cup | granulated sugar | sweetens the pudding |
| 3 tablespoons | cornstarch | thickens the mixture |
| 1 teaspoon | vanilla extract | for flavor |
For the Layers
| Amount | Ingredient | Notes |
|---|---|---|
| 4 large | ripe bananas | sliced, provides the signature banana flavor |
| 2 cups | vanilla wafers | adds crunch and texture |


Preparation Methods
Tempering: Tempering is the process of slowly incorporating hot liquid into egg yolks to prevent them from curdling. This is essential in the recipe to achieve a smooth pudding without lumps. Start by whisking a small amount of hot milk into the yolks before combining all together.
Layering: Layering the ingredients is vital for both flavor distribution and visual appeal. Start with a thin layer of pudding, followed by bananas and wafers, and repeat. Ensure even distribution to balance flavors and textures.
Chilling: Proper chilling allows the pudding to set and flavors to meld. Chill for at least 3 hours, or overnight, for the best results. Cover the dish to prevent any flavors from the fridge affecting the pudding.


Step 1: Prepare Ingredients
Gather all your ingredients, ensuring the bananas are ripe and the vanilla wafers are fresh.
Slice the bananas into even rounds about 1/4 inch thick.
Measure out the milk, cream, and sugar for easy access during cooking.
Set aside each ingredient in separate bowls for an organized cooking process.


Step 2: Heat the Milk Mixture

In a medium saucepan, combine the milk and cream over medium heat.
Stir occasionally to prevent the bottom from scorching.
Heat until small bubbles form around the edges but do not let it boil.
This step ensures the dairy is warm enough to temper the eggs without cooking them.


Step 3: Whisk Egg Yolks and Sugar
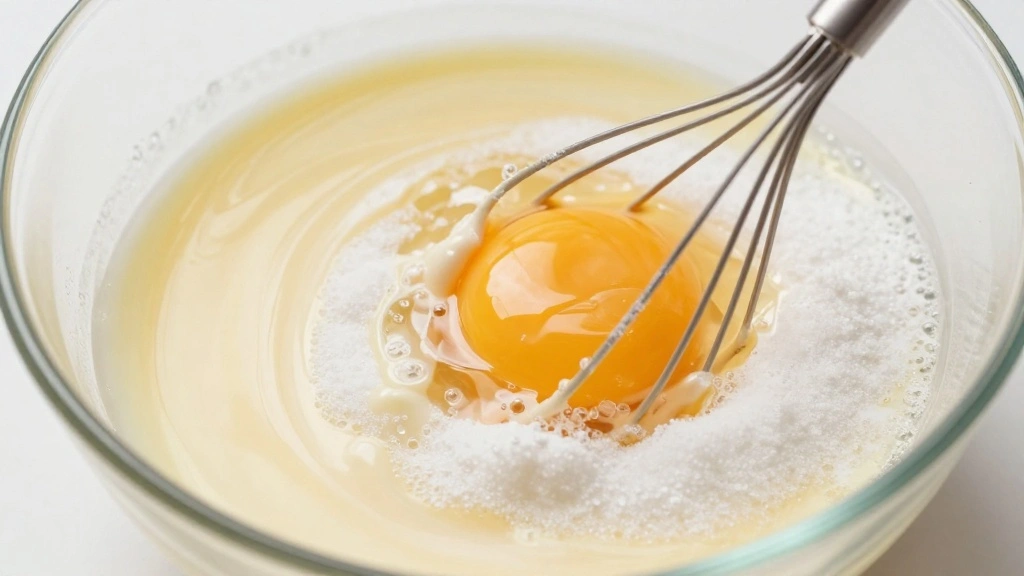
In a separate bowl, whisk together the egg yolks and sugar until pale and smooth.
The mixture should become slightly thick and creamy.
This step helps dissolve the sugar, integrating it well with the yolks.
Ensure no lumps of sugar remain for a smooth pudding texture.
Step 4: Temper the Egg Mixture
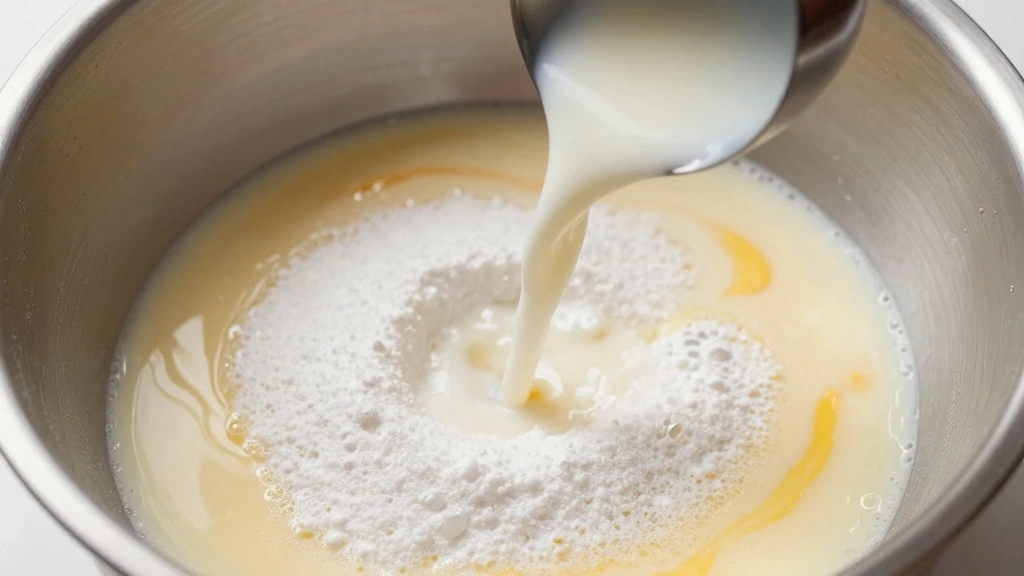
Slowly add a ladle of the hot milk mixture to the egg yolk mixture while whisking continuously.
This gradual addition prevents the eggs from scrambling.
Continue adding the milk mixture until about half is incorporated.
This tempered mixture is now ready to be added back to the saucepan.
Step 5: Cook the Pudding
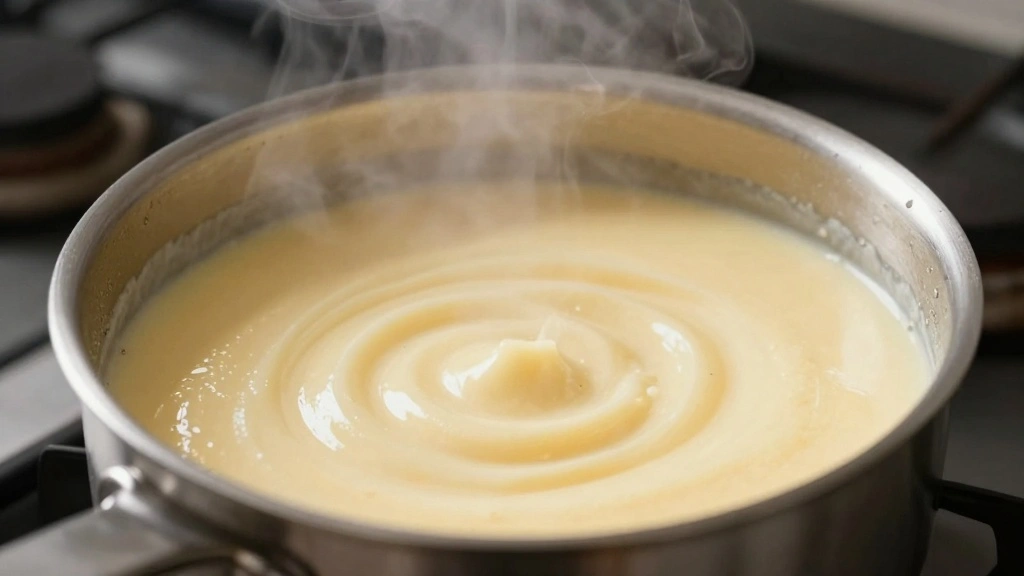
Pour the tempered egg mixture back into the saucepan with the remaining milk.
Return to medium heat and add the cornstarch, whisking constantly.
Cook until the mixture thickens to a pudding-like consistency, about 6-8 minutes.
Check for smoothness and remove from heat when done.
Step 6: Add Vanilla Extract
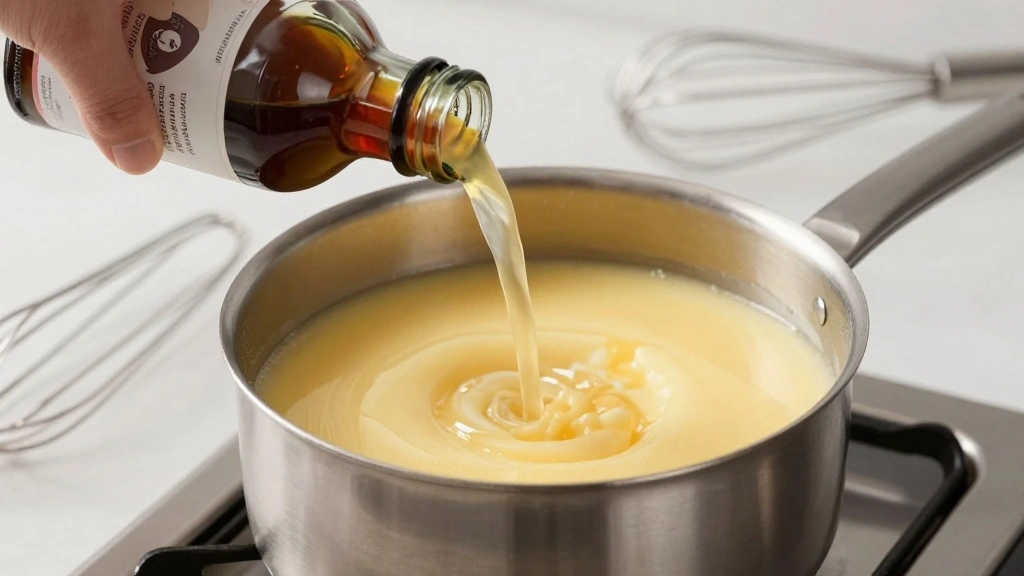
Remove the saucepan from heat and stir in the vanilla extract.
Ensure it is fully incorporated for even flavor distribution.
The aroma should be fragrant and inviting.
This step enhances the overall taste of the pudding.
Step 7: Assemble the Layers

In a trifle dish, start with a layer of pudding at the bottom.
Add a layer of sliced bananas followed by a layer of vanilla wafers.
Repeat the layers until all ingredients are used, finishing with a layer of pudding.
Ensure each layer is even for the best presentation and flavor distribution.
Step 8: Chill the Pudding
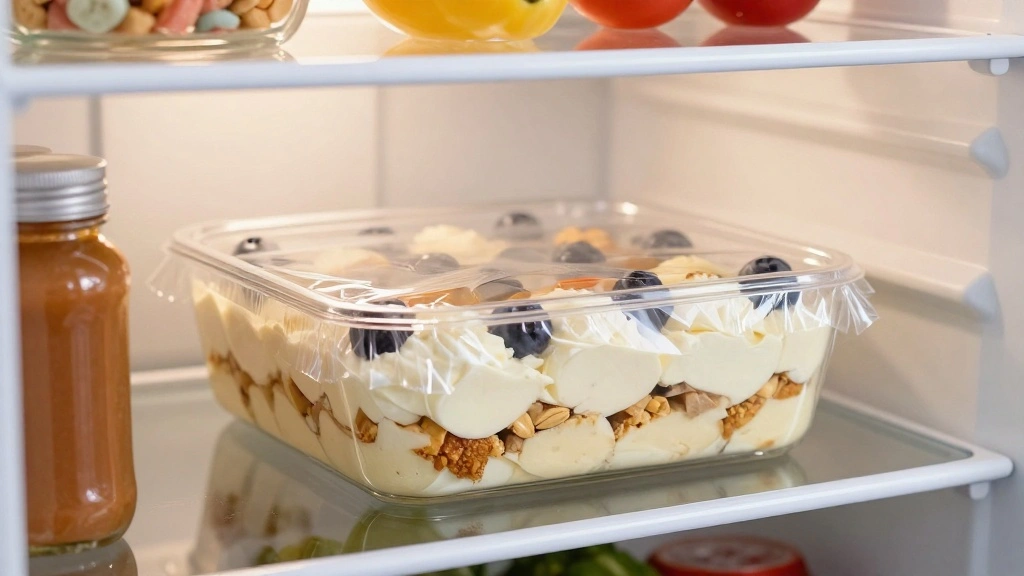
Cover the trifle dish with plastic wrap to prevent a skin from forming on the pudding.
Place in the refrigerator and chill for at least 3 hours.
This allows the pudding to set and flavors to meld together.
The final texture should be firm yet creamy.
Critical Timing and Temperature Guide
Milk Mixture Heating: Heat the milk mixture until small bubbles form around the edges (about 180°F) without boiling. Watch for steam as an indicator and avoid boiling to prevent curdling.
Pudding Cooking: Cook the pudding mixture over medium heat, reaching around 170°F until thick. Stir constantly to avoid lumps and ensure even cooking.
Chilling: Chill the assembled pudding for a minimum of 3 hours. The temperature should be around 40°F for optimal setting and flavor integration.
Pro Tips for Not Your Momma’s
• Ingredient Selection: Choose ripe, slightly spotted bananas for maximum flavor and sweetness. Fresh vanilla wafers provide the best crunch and taste.
• Preparation Secret: Use a fine-mesh strainer to remove any lumps from the pudding before assembly for a smoother texture.
• Temperature Management: Ensure all ingredients are at room temperature before starting for better integration and consistency.
• Texture Enhancement: Allow the pudding to come to room temperature before chilling to prevent condensation from affecting the texture.
• Flavor Layering: Adding a pinch of salt to the pudding can enhance the sweetness and depth of flavor.
• Make-Ahead Strategies: Prepare the pudding up to 24 hours in advance and store it in an airtight container in the fridge. Assemble the layers just before serving for freshness.
• Restaurant-Quality Finishing Touches: Top with a dollop of whipped cream and a sprinkle of crushed vanilla wafers for a professional look.
• Equipment Optimization: Use a silicone spatula for stirring the pudding to ensure you scrape all sides of the pan for even cooking.


Troubleshooting Common Issues
• Texture Too Runny: Caused by undercooking the pudding. Ensure the mixture thickens on the stove and consider adding extra cornstarch if necessary.
• Flavors Unbalanced: Overpowering sweetness can be balanced by adding a small pinch of salt to the pudding.
• Bananas Browning: Prevent by slicing bananas just before layering and tossing with a little lemon juice to preserve color.
• Pudding Skin Forming: Avoid by covering the surface directly with plastic wrap while chilling.
• Soggy Vanilla Wafers: Ensure wafers are fresh and consume the pudding within two days to maintain their texture.
Variations and Regional Differences
• Classic Southern Style: Often uses meringue instead of whipped cream, adding a layer of baked meringue on top for a fluffy texture.
• Modern Gourmet Twist: Incorporates a caramel sauce drizzle between layers for added richness and complexity.
• Caribbean Influence: Adds a hint of rum to the pudding for a tropical flair, often paired with toasted coconut.
• Vegan Adaptation: Uses coconut milk and agar-agar to replace dairy and eggs, suitable for plant-based diets.


Food Science Behind the Recipe
• Thickening with Cornstarch: Cornstarch gelatinizes upon heating, thickening the pudding. Understanding the gelatinization temperature helps achieve the desired consistency.
• Banana Ripening: Ripe bananas have higher sugar content and more aromatic compounds, enhancing the pudding's flavor profile.
• Flavor Integration: Chilling allows flavors to meld by reducing the volatility of aromatic compounds, resulting in a richer taste.


Frequently Asked Questions
What's the most common mistake people make when preparing Not Your Momma’s Banana Pudding? The most common mistake is not allowing the pudding to chill long enough, which affects texture and flavor integration.
Can I use instant pudding mix instead of making it from scratch? While convenient, instant pudding lacks the depth of flavor and texture achieved with homemade pudding.
How can I prevent the bananas from browning? Toss the banana slices in lemon juice before layering to maintain their color.
What's the best way to store leftovers? Cover tightly with plastic wrap and store in the refrigerator for up to three days.
Can this recipe be doubled for a larger crowd? Yes, simply double all ingredients and use a larger dish for assembly.
Is it possible to make this recipe gluten-free? Use gluten-free vanilla wafers to adapt the recipe for gluten-free diets.
What if I don't have a trifle dish? A glass baking dish or individual serving cups can be used as alternatives.
Serving and Presentation Guide
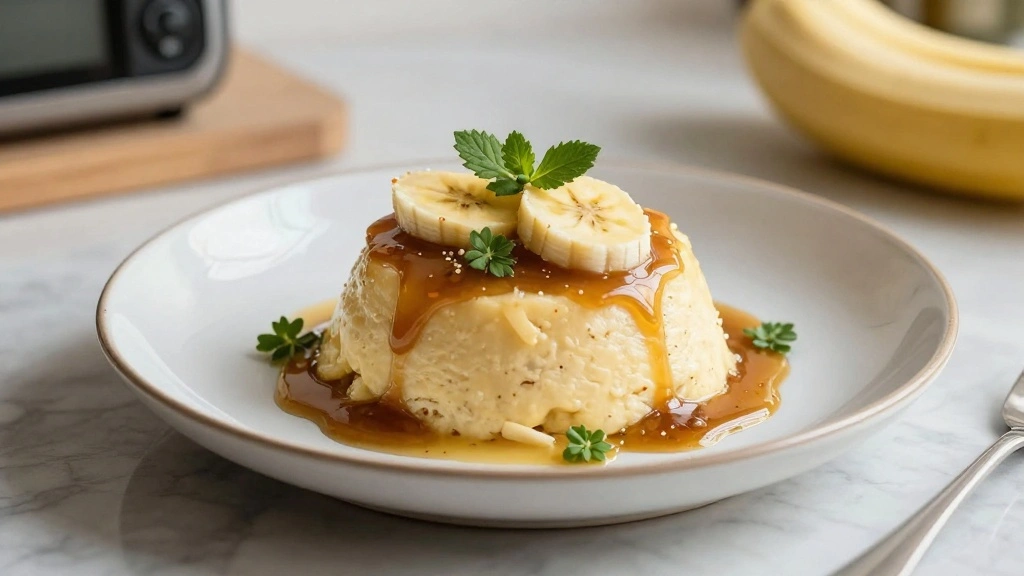
• Traditional Presentation: Serve in a large trifle dish to showcase the layers, topped with whipped cream and wafer crumbles.
• Individual Portions: Use small mason jars for single servings, perfect for casual gatherings or picnics.
• Elegant Plating: Layer in clear glass cups and garnish with a mint sprig for a refined touch.
• Family Style: Serve directly from the dish with a large spoon for a relaxed, homey feel.


Conclusion
Now that you have the secrets to Not Your Momma’s Banana Pudding, it's time to bring a taste of Southern hospitality to your table.
With its perfect blend of nostalgia and innovation, this dessert is sure to become a new family favorite.
Gather your ingredients, follow the steps, and enjoy a delicious treat that will have everyone asking for seconds.