
365 Low-Fat Main Dishes — One Recipe for Every Day!
Easy, beginner-friendly, with full nutrition info.
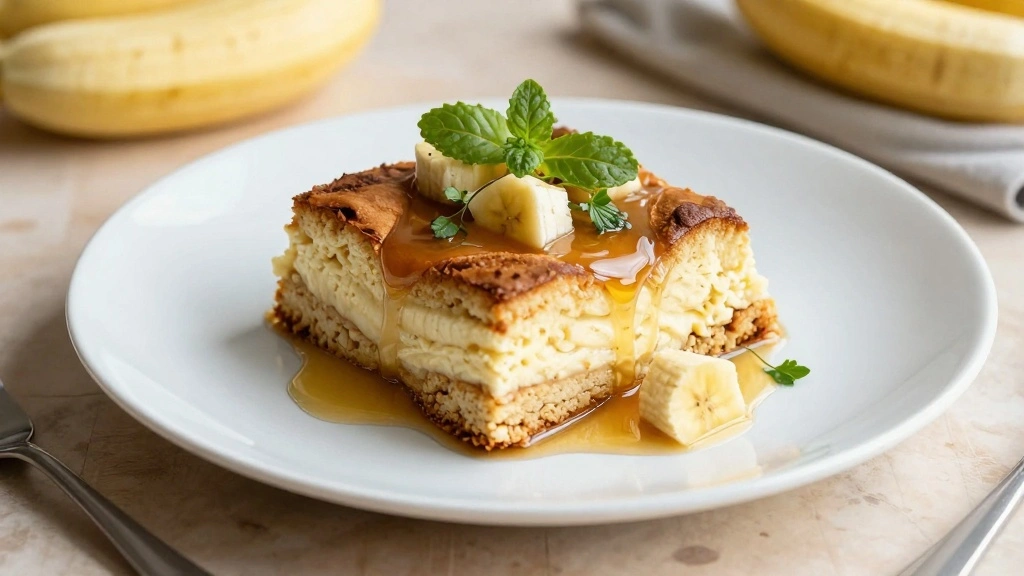
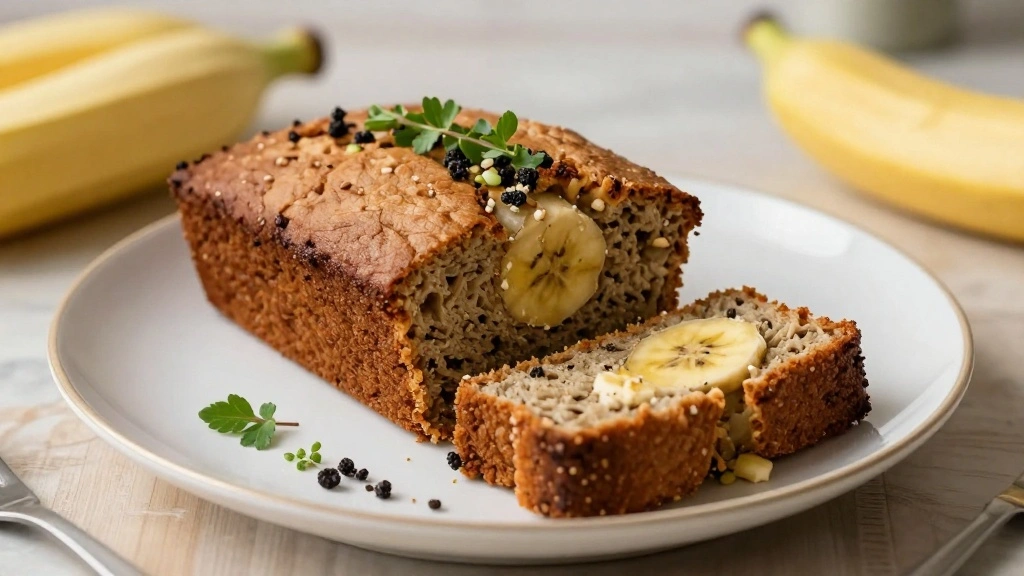
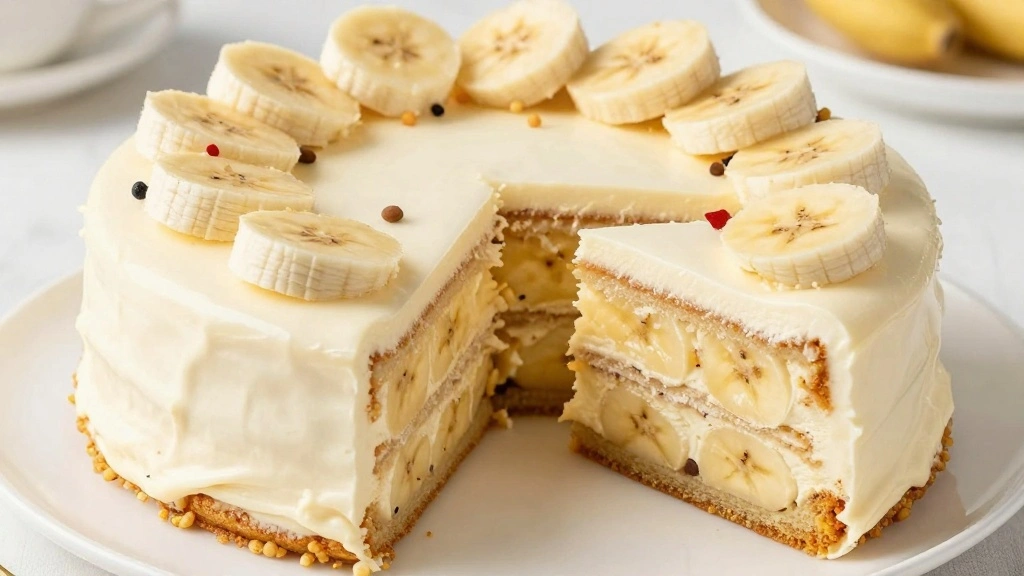
👉 Download Now – Just $2.90!The No-Bake Banana Split Cake is a delightful summer treat that captures the essence of a classic banana split in a refreshing, chilled dessert.
Its layers of creamy filling, fresh bananas, and a crunchy crust create a symphony of flavors and textures that are perfect for warm-weather gatherings.
I first stumbled upon this recipe during a family picnic, where it was the star of the dessert table.
With no need for an oven, it’s an ideal choice for those hot summer days when you want to keep your kitchen cool.
Whether you’re hosting a backyard barbecue or simply craving something sweet, this No-Bake Banana Split Cake will be a hit with everyone.
The History and Cultural Significance
• No-Bake Banana Split traces its origins to the mid-20th century United States, where it was originally created as a convenient twist on the classic ice cream dessert.
• The dish evolved over decades as refrigeration technology improved, eventually becoming the beloved version we know today with layers of bananas, cream, and a graham cracker crust.
• In American culture, this dish traditionally appears at summer picnics and potlucks, symbolizing the joy of outdoor gatherings and communal celebrations.
• While many variations exist across different regions, the authentic version maintains its no-bake characteristic, making it a hassle-free yet indulgent dessert.


Recipe Overview
Nutritional Information (per serving)


Essential Equipment Guide
Springform Pan: A springform pan is essential for easily releasing the cake from the mold, ensuring a clean presentation. If you don’t have one, a deep dish pie pan can work, but serving will be messier. Look for a pan with a non-stick coating for best results.
Electric Mixer: An electric mixer is crucial for achieving the smooth, airy texture of the cream filling. A hand mixer can work as an alternative, but a stand mixer will save time and effort. Ensure the beaters or paddle are clean to avoid any unwanted flavors.
Spatula: A rubber or silicone spatula is perfect for spreading each layer evenly. If unavailable, a butter knife can serve as a substitute, though it may not offer the same precision. Opt for a spatula with a flexible blade for easier maneuvering.


Ingredients
For the Base
|
| Amount | Ingredient | Notes |
|---|---|---|
| 2 cups | graham cracker crumbs | provides a crunchy foundation |
| 1/2 cup | unsalted butter | melted, binds the crust |
For the Filling
| Amount | Ingredient | Notes |
|---|---|---|
| 1 package | cream cheese | softened, adds richness |
| 1 cup | powdered sugar | sweetens the filling |
| 1 teaspoon | vanilla extract | enhances flavor |
| 1 cup | whipped topping | folded in for lightness |
For the Layers
| Amount | Ingredient | Notes |
|---|---|---|
| 4 medium | bananas | sliced, ripe for best flavor |
| 1 can | crushed pineapple | drained, adds tropical sweetness |
| 1 cup | strawberries | sliced, fresh, for a pop of color |


Preparation Methods
Layering: Layering is key to the structure of this dessert. It ensures each bite contains all flavor components. Use a spatula to spread each layer evenly, starting from the center and moving out to the edges.
Folding: Folding the whipped topping into the cream cheese mixture maintains its volume and airy texture. Gently scoop from the bottom and fold over the top, repeating until well combined.
Chilling: Proper chilling allows the cake to set and develop flavors. Place the assembled cake in the fridge for at least 4 hours or overnight for best results. Avoid opening the fridge frequently to maintain a consistent temperature.


Step 1: Prepare the Crust
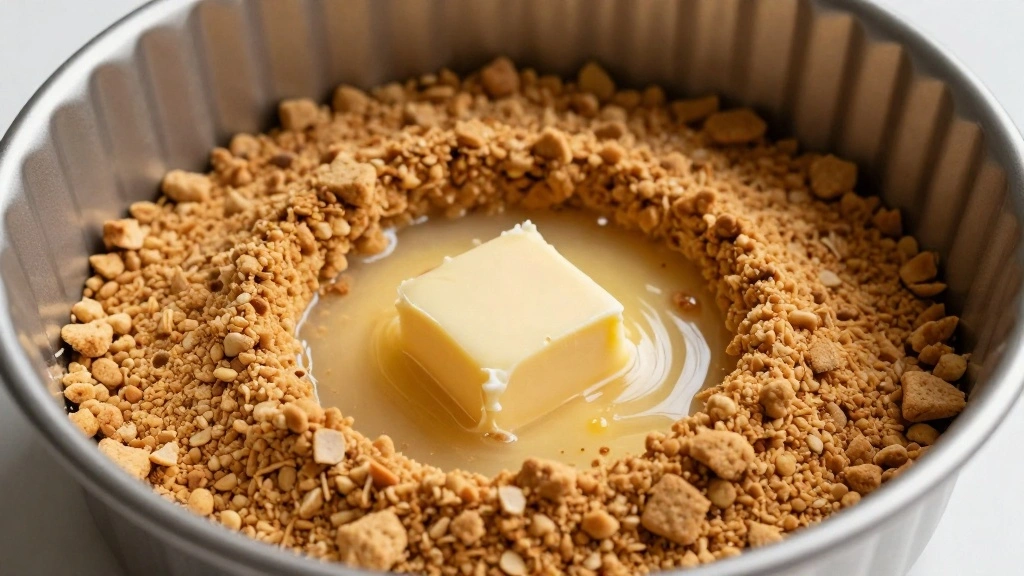
Combine graham cracker crumbs and melted butter in a mixing bowl.
Mix until the crumbs are evenly coated and resemble wet sand.
Press the mixture into the bottom of a springform pan to form an even layer.
Use a flat-bottomed cup to compact the crust, ensuring it holds together.


Step 2: Make the Cream Cheese Filling
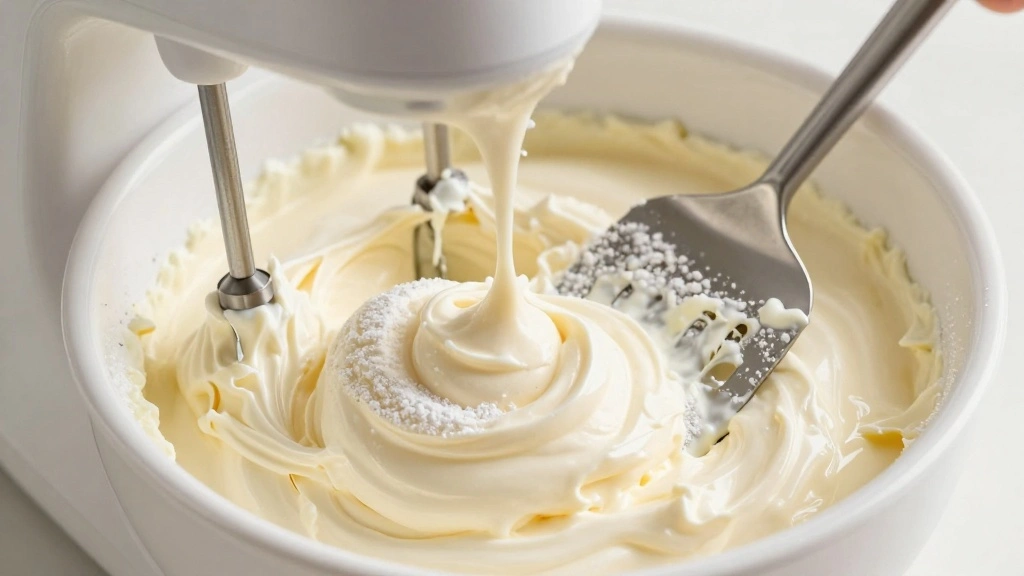
In a separate bowl, beat softened cream cheese until smooth using an electric mixer.
Gradually add powdered sugar and vanilla extract, continuing to beat until well incorporated.
Gently fold in the whipped topping using a spatula to maintain its fluffiness.
Ensure the mixture is light and fully blended without any lumps.
Step 3: Assemble the First Layer
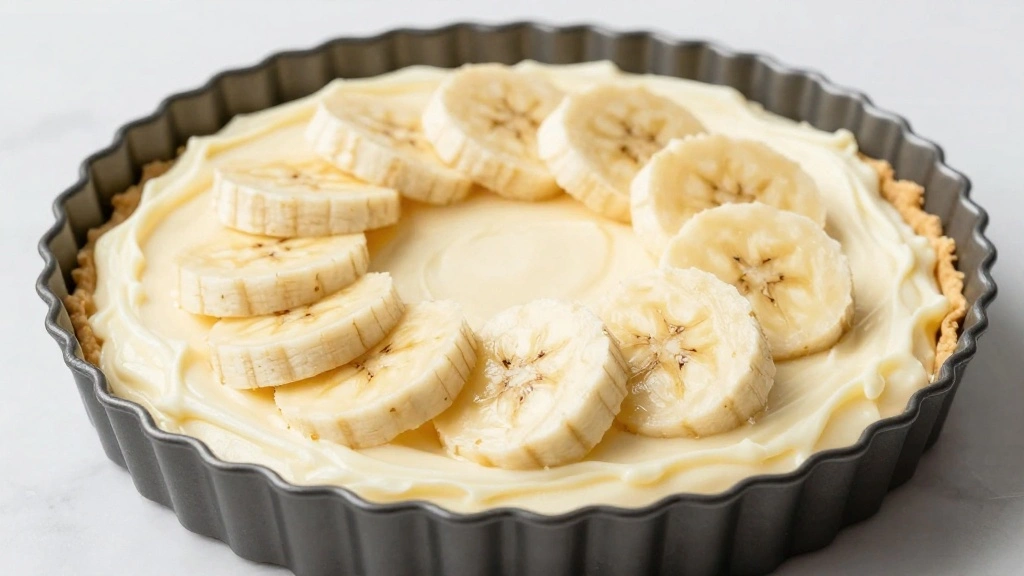
Spread half of the cream cheese filling over the graham cracker crust.
Use a spatula to distribute the filling evenly to the edges.
Layer sliced bananas over the filling, covering the surface completely.
Ensure the bananas are placed in a single, even layer for uniformity.


Step 4: Add the Pineapple Layer
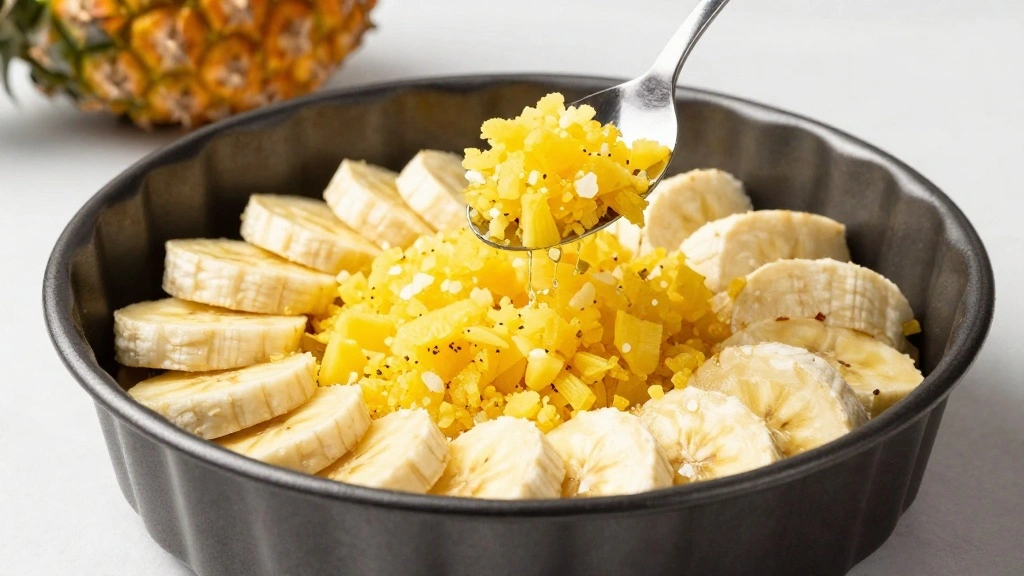
Drain the crushed pineapple thoroughly to remove excess juice.
Evenly spoon the pineapple over the banana layer.
Spread the pineapple gently with a spatula to ensure even coverage.
Make sure the layer is level to maintain the cake's structure.
Step 5: Complete the Filling Layer
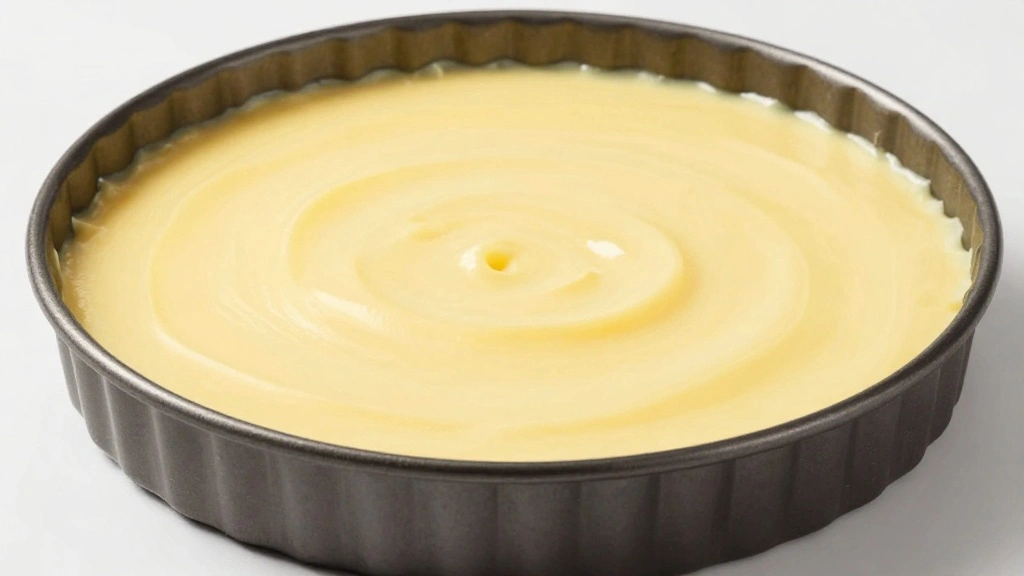
Spread the remaining cream cheese filling over the pineapple layer.
Use a spatula to smooth the top and reach the edges of the pan.
Ensure the filling is evenly distributed to maintain a flat surface.
Check for any gaps or uneven spots and adjust as needed.
Step 6: Top with Strawberries
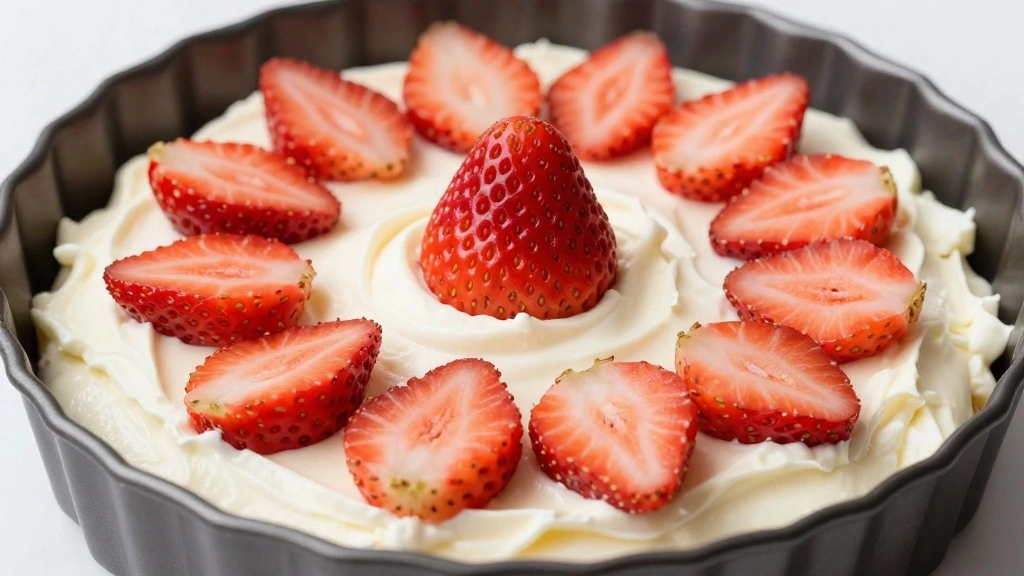
Arrange sliced strawberries decoratively over the top layer of filling.
Start from the center and work your way outwards for a uniform pattern.
Ensure the strawberries are in a single layer for visual appeal.
Press lightly to adhere them to the filling without sinking.
Step 7: Chill the Cake

Cover the springform pan with plastic wrap or a pan lid.
Place the cake in the refrigerator for at least 4 hours to set.
Avoid opening the fridge frequently to maintain a consistent temperature.
Check that the cake is firm to the touch before serving.
Step 8: Serve and Enjoy
Carefully remove the springform side ring before serving.
Slice the cake into equal portions using a sharp knife.
Use a cake server to lift slices gently onto serving plates.
Garnish with whipped cream or chocolate syrup if desired.
Critical Timing and Temperature Guide
Chilling: Refrigerate the cake for at least 4 hours at 40°F (4°C) to ensure it sets properly. Avoid opening the fridge frequently, as temperature fluctuations can prevent the cake from firming up.
Folding: When folding the whipped topping, work quickly and efficiently to prevent the cream from deflating. The mixture should stay cool to maintain its structure.
Serving: Serve the cake immediately after removing it from the refrigerator to keep the filling firm. If left out at room temperature for too long, the filling may soften and lose its shape.
Pro Tips for No-Bake Banana Split
• Ingredient Selection: Choose ripe but firm bananas for the best flavor and texture. Fresh strawberries and high-quality whipped topping make the biggest difference in the final taste.
• Preparation Secret: Let the cream cheese come to room temperature before mixing for a smoother filling with less effort.
• Temperature Management: Keep ingredients chilled until ready to use, especially the whipped topping, to prevent melting and loss of volume.
• Texture Enhancement: For a crunchier crust, bake the graham cracker base at 350°F for 10 minutes, then cool before adding layers.
• Flavor Layering: Add a sprinkle of cinnamon or nutmeg between layers for a subtle spice that enhances the overall flavor.
• Make-Ahead Strategies: Prepare the cake up to two days in advance, cover tightly with plastic wrap, and refrigerate. Add fresh strawberries just before serving.
• Restaurant-Quality Finishing Touches: Drizzle chocolate or caramel sauce over the top layer before slicing for a professional appearance.
• Equipment Optimization: Use a silicone spatula for easy spreading and clean edges when layering the filling and toppings.


Troubleshooting Common Issues
• Filling Too Runny: This can occur if the cream cheese isn't properly beaten or if the whipped topping is too warm. Ensure all ingredients are cold and beat the cream cheese until smooth before folding in the whipped topping.
• Crust Falling Apart: This might happen if the crust wasn't pressed firmly enough. Use more butter or press the crust more tightly into the pan to help it hold together.
• Uneven Layers: If layers are uneven, it could be due to uneven spreading. Use a spatula to carefully distribute each layer evenly from the center outwards.
• Bananas Browning: To prevent bananas from browning, dip slices in lemon juice before layering them into the cake.
• Strawberries Sliding: If strawberries slide off, they may have been added before the filling was fully set. Ensure the cake is well chilled before adding delicate toppings.
• Cracks in Filling: Cracks can develop if the filling is overmixed or if the cake is chilled too quickly. Fold the whipped topping gently and chill slowly to avoid this.
Variations and Regional Differences
• Tropical Variation: Replace strawberries with mango slices and add toasted coconut flakes for a tropical twist reminiscent of island flavors.
• Chocolate Lover's Variation: Add a layer of chocolate pudding between the banana and pineapple layers for a rich, decadent experience.
• European Style: Incorporate a thin layer of Nutella between the crust and cream cheese filling for a hazelnut-infused European flair.
• Spiced Autumn Variation: Substitute the graham cracker crust with ginger snap cookies and add a hint of cinnamon to the filling for a warm, spiced version perfect for autumn.
Food Science Behind the Recipe
• Emulsification: The process of beating cream cheese with sugar creates a stable emulsion, trapping air and creating a light, fluffy texture that sets the foundation for the filling.
• Gelation: The cooling process allows the filling to gel, particularly with the protein in the cream cheese firming up in the refrigerator, providing structure and holding the layers together.
• Maillard Reaction: Although this is a no-bake recipe, toasting the graham cracker crust can initiate the Maillard reaction, enhancing flavor complexity with a subtle caramelized note.


Frequently Asked Questions
What's the most common mistake people make when preparing No-Bake Banana Split Cake? The most common mistake is not allowing the cake enough time to chill and set. This can lead to a runny filling and unstable structure.
Can I use a different type of fruit in this recipe? Yes, you can substitute or add other fruits like raspberries, blueberries, or kiwi for a unique twist.
How do I prevent the bananas from turning brown? Toss the banana slices in a little lemon or pineapple juice before adding them to the cake.
Is it possible to make this recipe dairy-free? Yes, use dairy-free cream cheese and whipped topping alternatives available at most grocery stores.
Can this cake be frozen for later use? While you can freeze it, the texture of the bananas and whipped topping may change. It's best enjoyed fresh.
How can I make sure my crust doesn't crumble? Press the graham cracker mixture firmly into the pan and consider adding a bit more butter for binding.
What is the best way to slice this cake without making a mess? Use a sharp knife dipped in hot water and wiped clean between cuts for smooth, clean slices.
Why is my filling not setting properly? Ensure all dairy ingredients are cold when mixed, and allow sufficient chilling time for the filling to set properly.
Serving and Presentation Guide
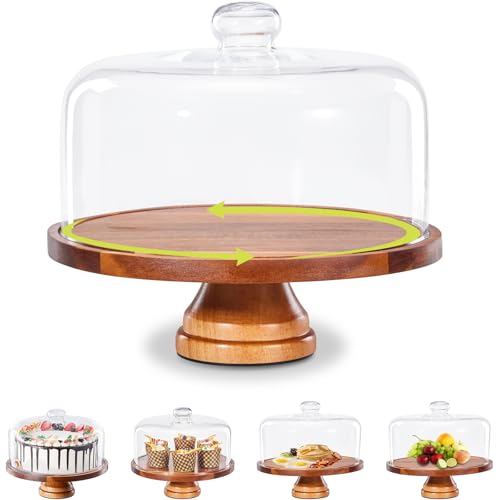
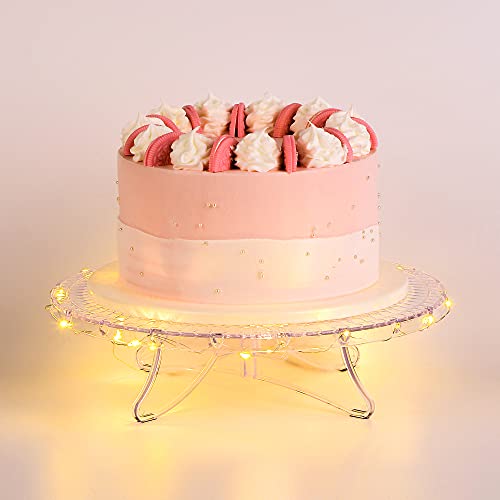
• Traditional Presentation: Serve the cake on a flat cake stand with each slice garnished with a dollop of whipped cream and a cherry on top for a classic look.
• Modern Plate Presentation: Serve individual slices on rectangular plates, drizzled with chocolate syrup in an artistic pattern.
• Family Style Presentation: Present the cake directly from the springform base on a wooden board with a rustic feel, allowing guests to help themselves.
• Layered Glass Presentation: For a unique twist, assemble the dessert in individual glass jars with visible layers, perfect for picnics or parties.


Conclusion
The No-Bake Banana Split Cake is a refreshing, effortless dessert that elegantly combines classic flavors with a modern twist.
Its easy preparation and delightful taste make it a perfect choice for summer gatherings or any occasion.
Try this recipe and enjoy the sweet satisfaction of a homemade treat that brings smiles to everyone around the table.