
365 Low-Fat Main Dishes — One Recipe for Every Day!
Easy, beginner-friendly, with full nutrition info.
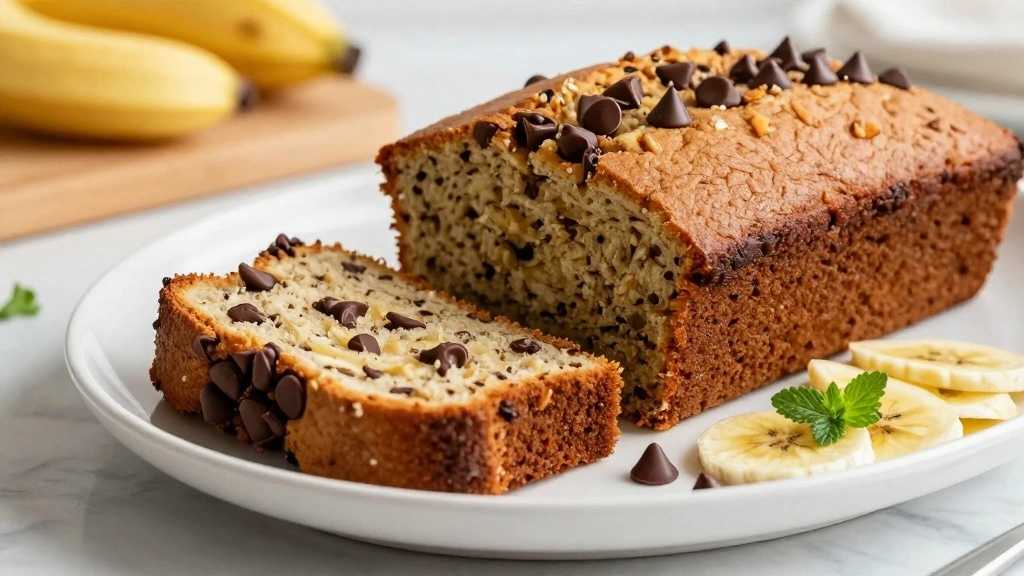
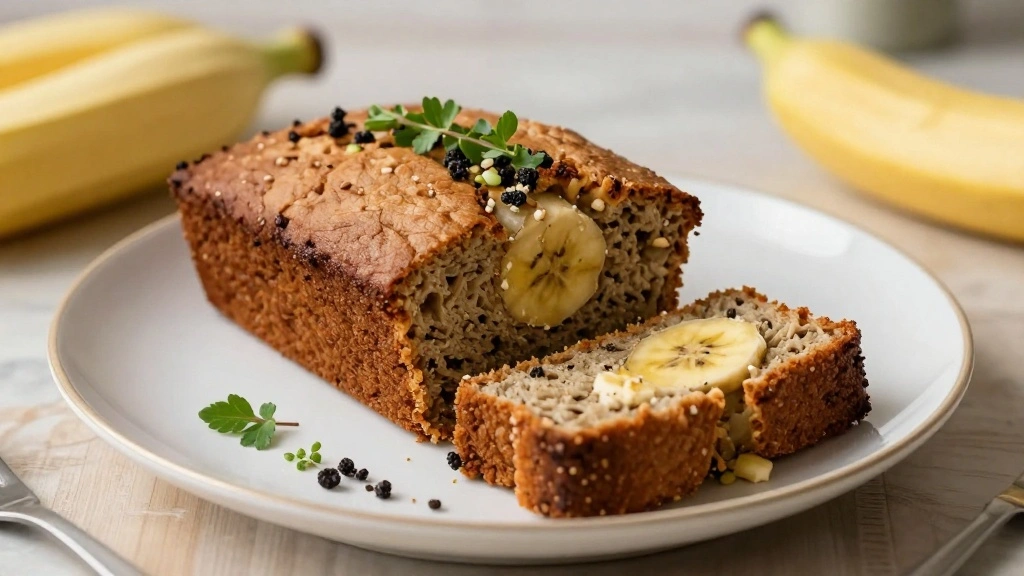
👉 Download Now – Just $2.90!There’s something truly comforting about a slice of banana bread, fresh from the oven.
This healthy version uses Greek yogurt, adding a delightful tang and moistness that sets it apart from the rest.
Perfect for any season, banana bread is a versatile treat that can be a cozy breakfast or a satisfying snack.
By incorporating wholesome ingredients, this recipe ensures you won’t have to compromise on taste while keeping an eye on nutrition.
Whether you’re a seasoned baker or a novice, this banana bread is a straightforward delight that promises to impress every time.
The History and Cultural Significance
• Healthy Banana Bread traces its origins to the United States during the Great Depression, where it was originally created by home cooks looking to use overripe bananas.
• The dish evolved over decades as baking powder became widely available, eventually becoming the beloved version we know today.
• In American culture, this dish traditionally appears at family gatherings and bake sales, symbolizing comfort and home.
• While many variations exist across different regions, the authentic version maintains a moist texture and rich banana flavor that sets it apart from imitations.


Recipe Overview
Nutritional Information (per serving)
Essential Equipment Guide
Loaf Pan: A quality loaf pan ensures even baking and easy removal of the bread. Non-stick or silicone varieties work well, but if using a metal pan, consider greasing and lining it with parchment for best results.
Mixing Bowls: A set of nested mixing bowls is helpful for keeping wet and dry ingredients separate until ready to combine. Look for bowls with a non-slip base for ease of use.
Wire Rack: Cooling the bread on a wire rack prevents it from becoming soggy. Ensure your rack is sturdy and large enough to support the loaf without risk of tipping.
Ingredients
For the Base
|
| Amount | Ingredient | Notes |
|---|---|---|
| 1 1/2 cups | all-purpose flour | sifted for light texture |
| 1 teaspoon | baking soda | helps bread rise |
| 1/2 teaspoon | salt | enhances flavor |
Wet Ingredients
| Amount | Ingredient | Notes |
|---|---|---|
| 3 large | bananas | mashed, ripe for sweetness |
| 1/2 cup | Greek yogurt | adds moisture and tang |
| 1/4 cup | honey | natural sweetener |
| 1/4 cup | coconut oil | melted, for richness |
| 1 teaspoon | vanilla extract | adds depth of flavor |
Flavor Additions
| Amount | Ingredient | Notes |
|---|---|---|
| 1/2 cup | walnuts | chopped, optional for crunch |
| 1/4 cup | dark chocolate chips | optional for indulgence |


Preparation Methods
Mashed Bananas: Properly mashing bananas is key to the bread's texture. Use a fork or potato masher for an even mash, leaving some small lumps for texture.
Folding Ingredients: Gently folding the wet and dry ingredients ensures a tender crumb. Overmixing can lead to a dense loaf, so fold until just combined.
Checking Doneness: Inserting a toothpick into the center of the loaf is a classic method to check doneness. It should come out clean or with a few moist crumbs.


Step 1: Prepare the Oven and Pan

Preheat your oven to 350°F (175°C).
Grease a 9x5 inch loaf pan with coconut oil or line it with parchment paper for easy removal.
Ensure the oven rack is in the middle position to promote even baking.
Set aside the prepared pan to use later.


Step 2: Mix Dry Ingredients
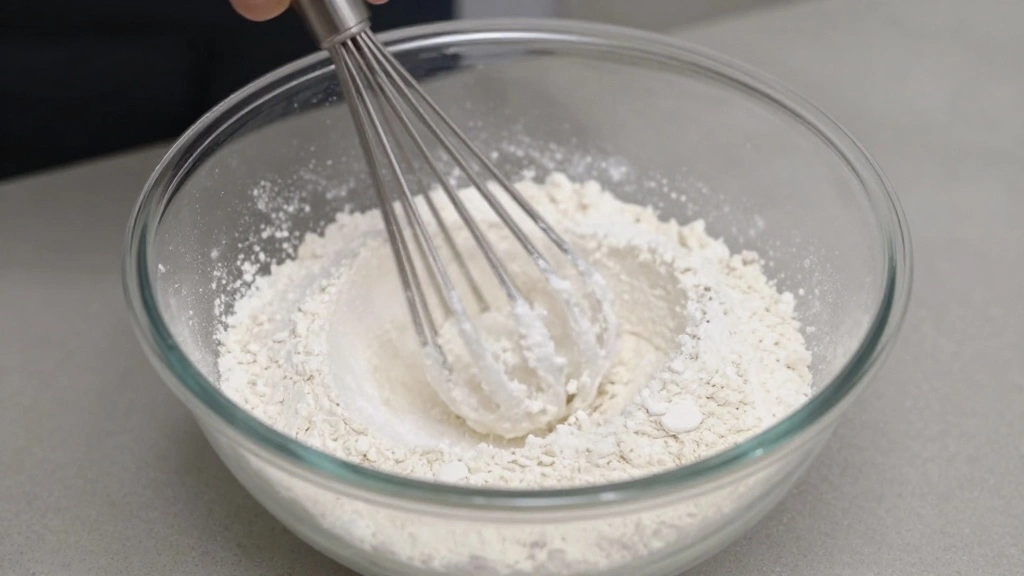
In a medium bowl, combine the flour, baking soda, and salt.
Use a whisk to mix the dry ingredients thoroughly, eliminating any lumps.
This ensures even distribution of the leavening agent.
Set the bowl aside for later use.
Step 3: Mash the Bananas
Peel and place the ripe bananas into a large mixing bowl.
Using a fork or potato masher, mash the bananas until mostly smooth with some small lumps.
The banana mash should be thick and creamy.
Set this aside as the base for the wet ingredients.


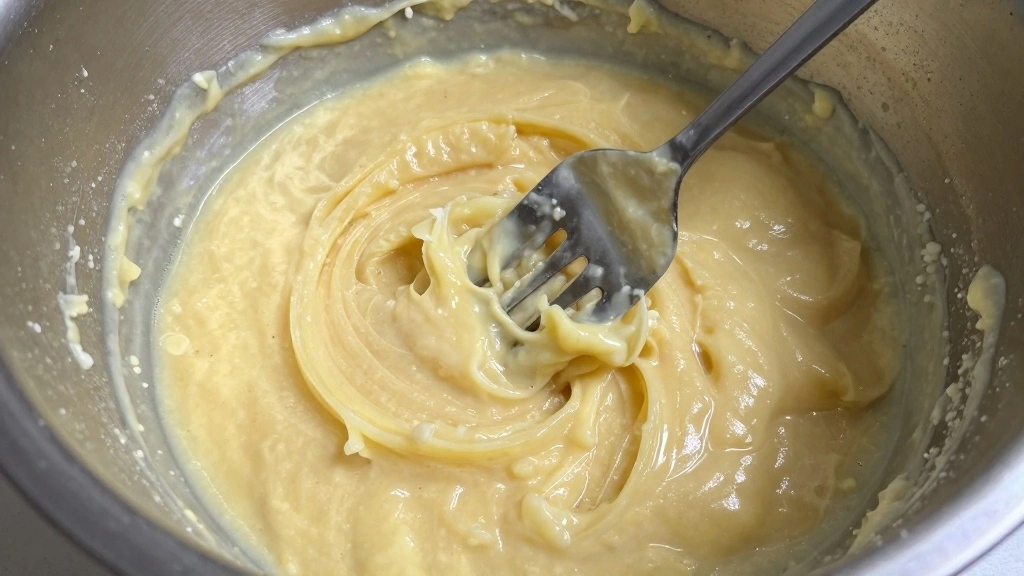
Step 4: Combine Wet Ingredients
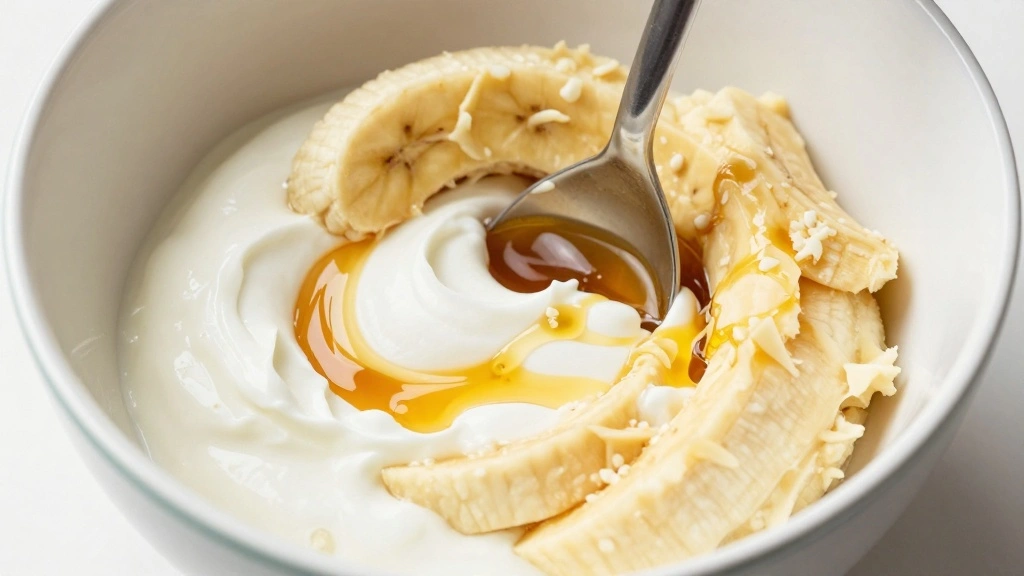
Add Greek yogurt, honey, melted coconut oil, and vanilla extract to the mashed bananas.
Stir the mixture with a spatula or wooden spoon until fully combined.
The mixture should be smooth and slightly thick.
Ensure no streaks of yogurt or oil remain visible.
Step 5: Fold in Dry Ingredients
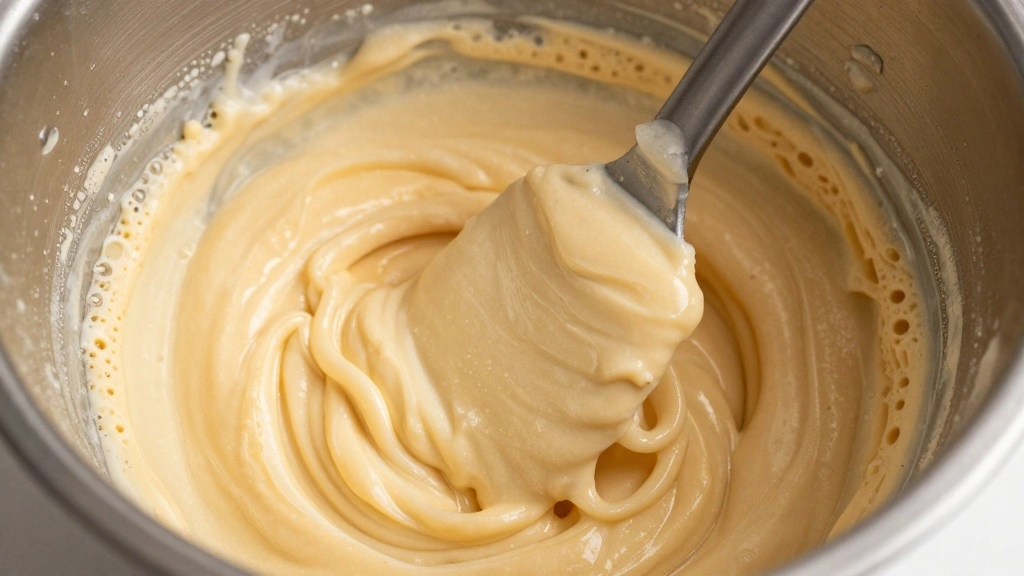
Pour the dry ingredient mixture into the wet ingredients.
Using a spatula, gently fold the two mixtures together until just combined.
Avoid overmixing to prevent a dense texture.
Stop mixing once no dry flour is visible.
Step 6: Add Flavor Additions
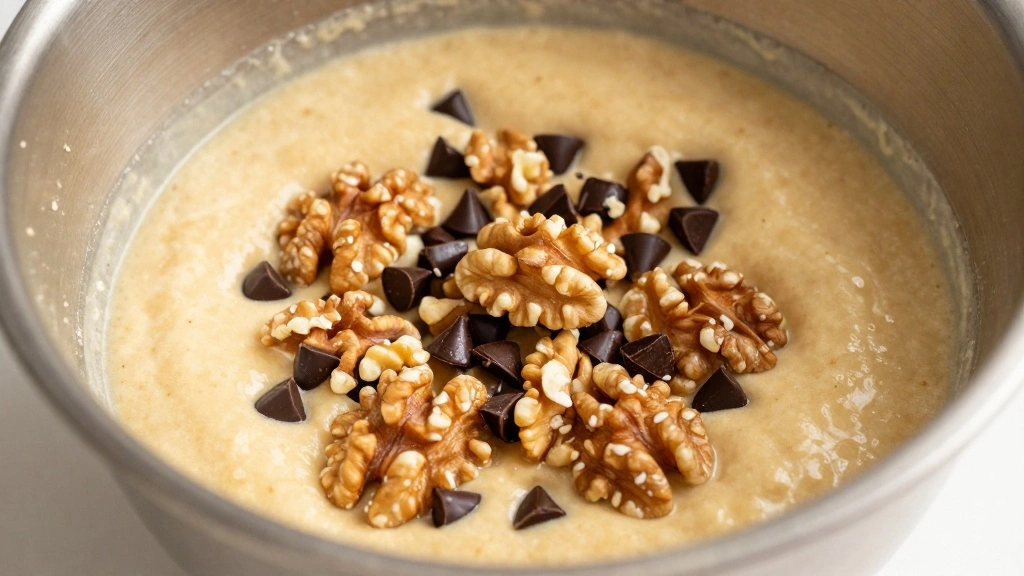
Gently fold in the chopped walnuts and chocolate chips, if using.
Ensure even distribution throughout the batter.
This adds texture and bursts of flavor to the bread.
Be careful not to overmix.
Step 7: Pour Batter into Pan
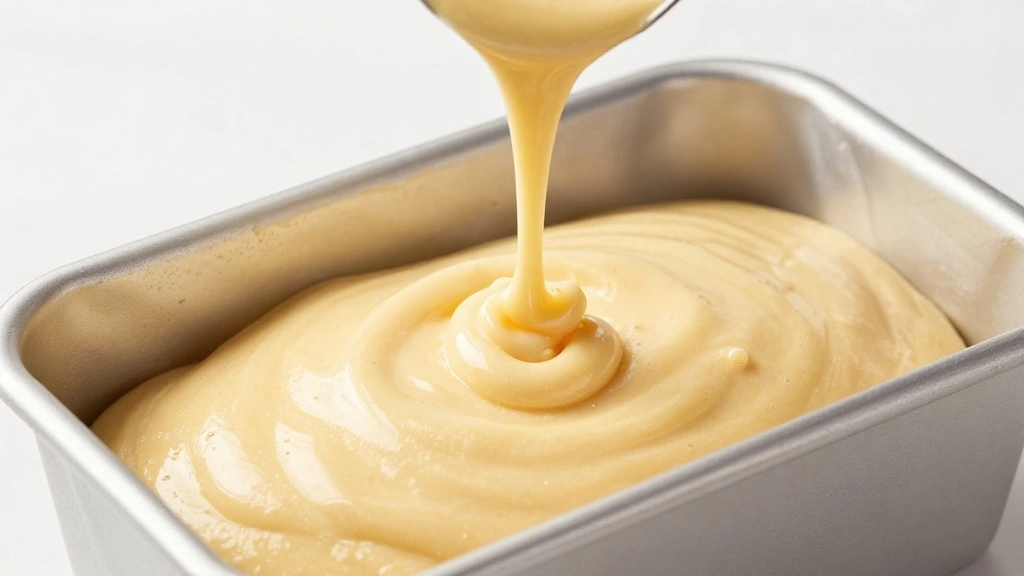
Carefully pour the batter into the prepared loaf pan.
Smooth the top with a spatula to ensure even baking.
Tap the pan gently on the counter to remove air bubbles.
Ensure the batter is evenly spread in the pan.


Step 8: Bake the Bread
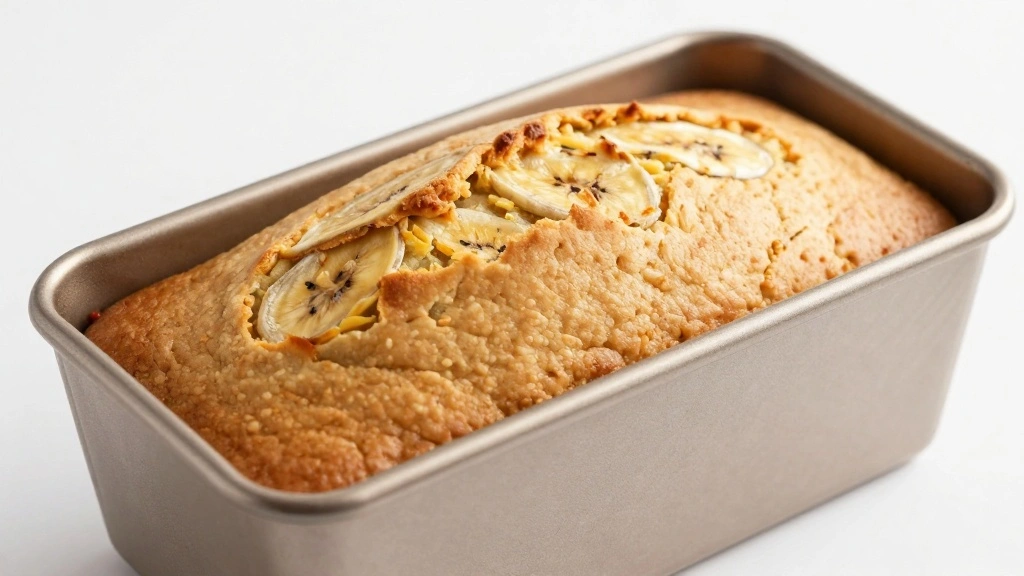
Place the loaf pan in the preheated oven.
Bake for 50 minutes, or until a toothpick inserted in the center comes out clean.
The top should be golden brown and firm to the touch.
Adjust baking time as needed based on your oven.


Step 9: Cool the Bread
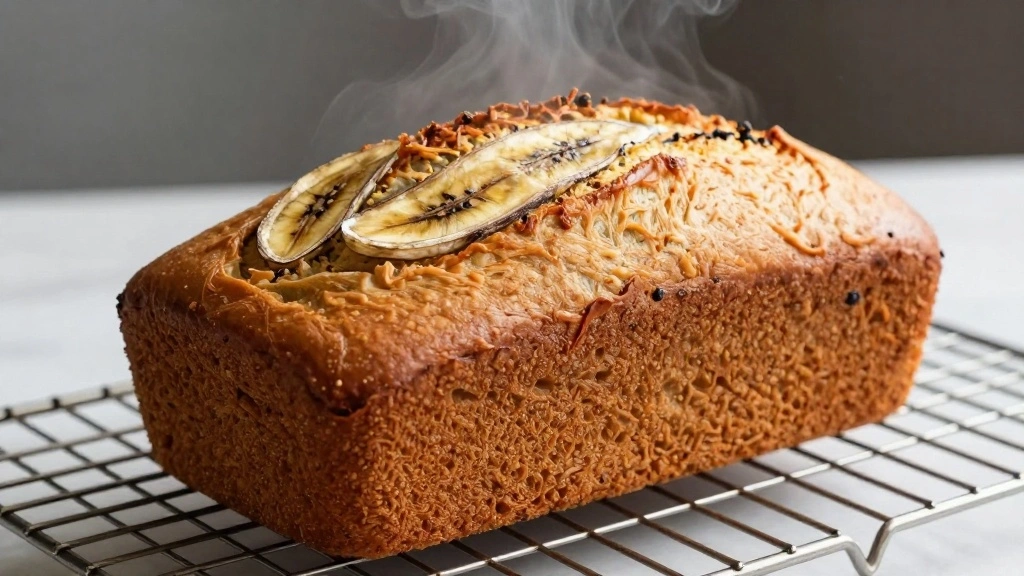
Remove the loaf from the oven and place it on a wire rack.
Allow the bread to cool in the pan for 10 minutes.
Gently remove the bread from the pan and let it cool completely on the wire rack.
Cooling ensures the bread slices cleanly.


Step 10: Serve and Enjoy
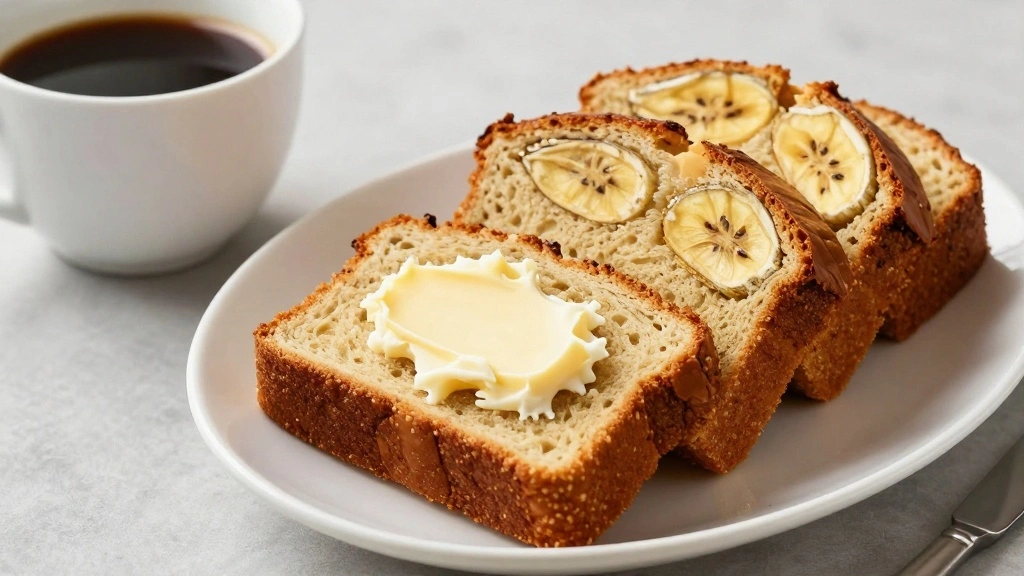
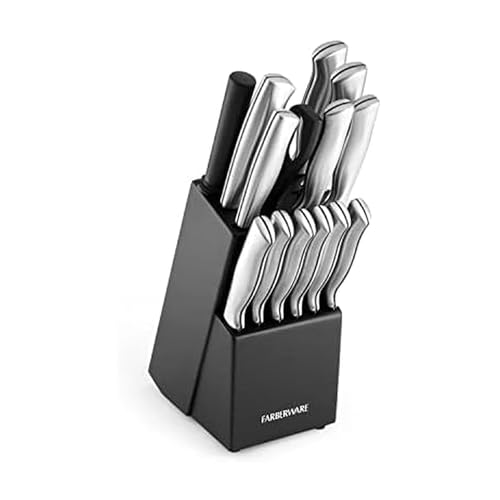
Once fully cooled, slice the banana bread using a serrated knife.
Serve plain or with a spread of your choice, like butter or cream cheese.
The bread should be moist and flavorful with distinct banana and walnut notes.
Enjoy as a snack or with your favorite beverage.


Critical Timing and Temperature Guide
Preheating the Oven: Preheat to 350°F (175°C) for at least 10 minutes before baking. Ensure the temperature is consistent to avoid uneven baking.
Baking the Bread: Bake for 50 minutes, but start checking at 45 minutes. Look for a golden brown color and a clean toothpick test.
Cooling the Bread: Allow to cool for at least 30 minutes on a wire rack to prevent sogginess and ensure clean slicing.


Pro Tips for Healthy Banana Bread
• Ingredient Selection: Choose ripe bananas with brown spots for natural sweetness and flavor. Greek yogurt should be full-fat for best texture.
• Preparation Secret: Rest the batter for 10 minutes before baking to allow the flour to fully hydrate, improving texture.
• Temperature Management: Use room temperature ingredients for even mixing and a uniform bake.
• Texture Enhancement: For a lighter texture, sift the flour before measuring to avoid packing.
• Flavor Layering: Add a pinch of cinnamon or nutmeg to the dry ingredients for an extra layer of warmth.
• Make-Ahead Strategies: Prepare the batter in advance and refrigerate overnight for a quick bake the next day, allowing flavors to meld.
• Restaurant-Quality Finishing Touches: Brush the top with a light honey glaze after baking for added shine and sweetness.
• Equipment Optimization: Use a digital oven thermometer to ensure accurate baking temperatures, as home ovens can vary.


Troubleshooting Common Issues
• Dense Texture: Overmixing the batter can cause a dense loaf. Fold ingredients until just combined to avoid this.
• Sinking Middle: This can result from underbaking. Ensure the bread is baked through by checking with a toothpick.
• Overly Brown Crust: If the top browns too quickly, tent with foil halfway through baking.
• Crumbly Texture: Too much flour can cause crumbliness. Measure flour accurately using the spoon and level method.
• Lack of Banana Flavor: Use very ripe bananas for a more pronounced banana taste.
• Sticky Bread: Allow the bread to cool completely before slicing to prevent stickiness.


Variations and Regional Differences
• Southern Style: Often includes pecans instead of walnuts and adds a touch of bourbon for depth.
• Hawaiian Version: Incorporates shredded coconut and pineapple for a tropical twist.
• Gluten-Free Adaptation: Substitute all-purpose flour with a gluten-free blend and ensure baking soda is gluten-free.
• Vegan Option: Replace Greek yogurt with a plant-based yogurt and use flaxseed meal in place of eggs.


Food Science Behind the Recipe
• Maillard Reaction: Responsible for the browning of the crust, enhancing flavor through caramelization.
• Leavening Process: Baking soda reacts with the acidity of yogurt, creating carbon dioxide for rise.
• Emulsification: Coconut oil helps bind ingredients, contributing to the moist texture.
Frequently Asked Questions
What's the most common mistake people make when preparing banana bread? Overmixing the batter is a frequent error that leads to a dense loaf.
Can I use frozen bananas? Yes, thaw them completely and drain excess liquid before using.
How can I store banana bread? Wrap in plastic wrap or store in an airtight container for up to 3 days at room temperature.
Can I substitute Greek yogurt with regular yogurt? Yes, but it may affect the texture slightly as Greek yogurt is thicker.
What can I use instead of coconut oil? Melted butter or vegetable oil can be used as alternatives.
How do I prevent the bread from sticking to the pan? Grease the pan well or use parchment paper for easy removal.
Is it possible to reduce the sugar content? Yes, reduce honey or use a sugar substitute, but it may alter the taste.
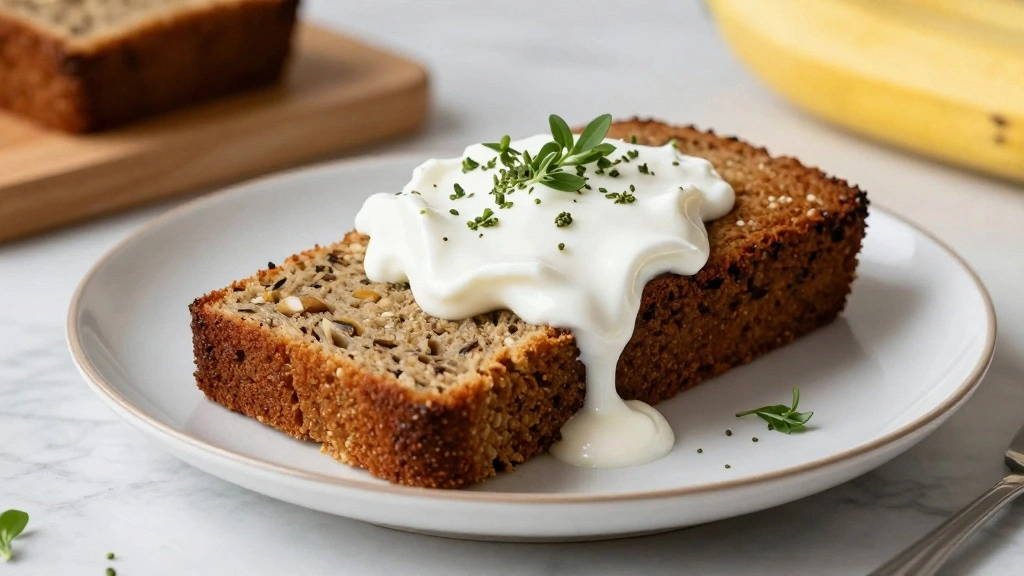
Serving and Presentation Guide
• Traditional Presentation: Serve sliced on a wooden board with butter or cream cheese on the side.
• Modern Plating: Present slices on individual plates with a dollop of Greek yogurt and a sprinkle of cinnamon.
• Casual Gathering: Arrange slices on a tiered cake stand for an inviting display at brunch.
• Gift Presentation: Wrap a loaf in parchment paper, tie with twine, and include a personalized note.


Conclusion
Healthy Banana Bread with Greek Yogurt offers a delicious balance of flavor and nutrition.
The recipe's simplicity makes it accessible to bakers of all skill levels.
Give it a try and enjoy the delightful aroma and taste of homemade banana bread.