
365 Low-Fat Main Dishes — One Recipe for Every Day!
Easy, beginner-friendly, with full nutrition info.
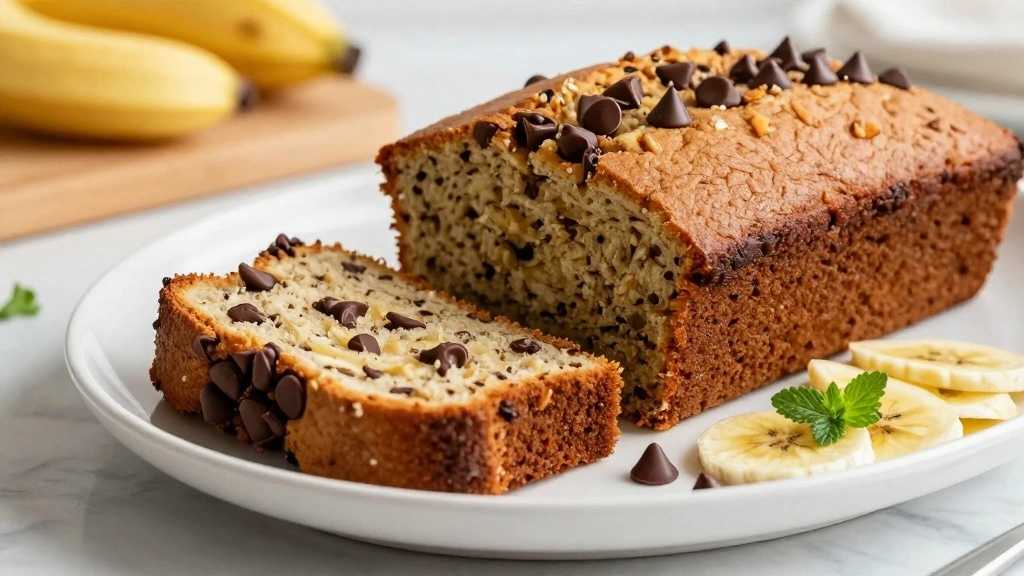
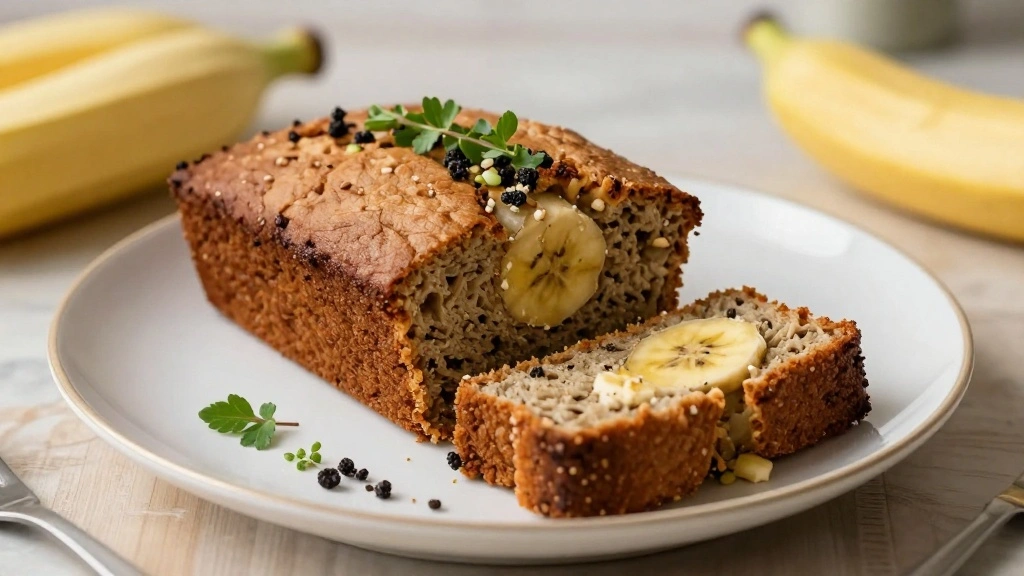
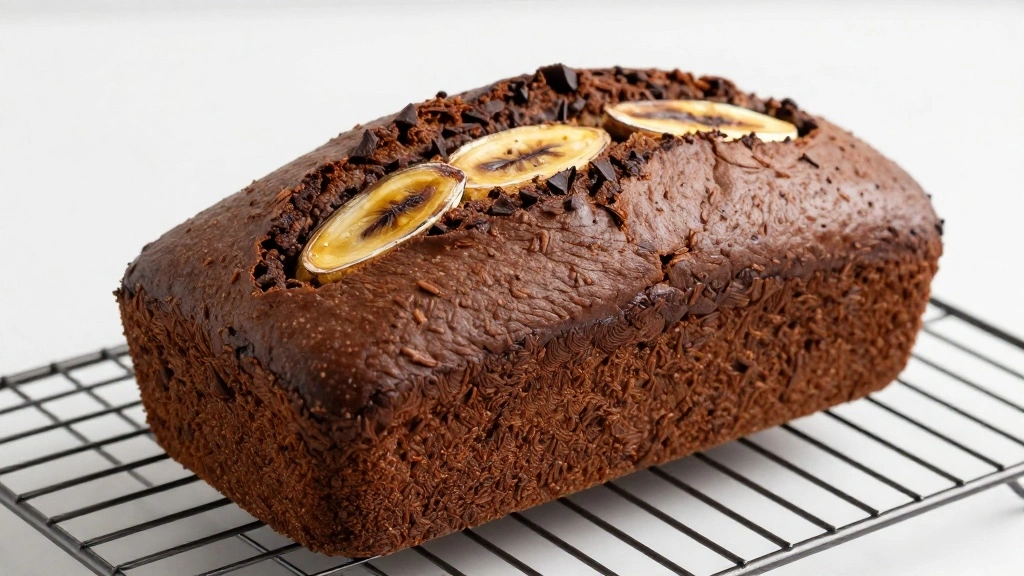
👉 Download Now – Just $2.90!There’s something truly irresistible about the combination of rich chocolate and ripe bananas.
This Chocolate Banana Bread brings these flavors together in a way that’s both comforting and indulgent.
The luscious, fudgy texture is perfect for satisfying a sweet tooth, whether as a breakfast treat or an afternoon snack.
I first encountered this recipe during a cozy winter gathering, and it quickly became a family favorite.
Its perfect balance of sweetness and decadence makes it a must-try for chocolate lovers everywhere.
The History and Cultural Significance
• Chocolate Banana Bread traces its origins to the United States during the Great Depression, where it was originally created as a way to use overripe bananas.
• The dish evolved over decades as chocolate was incorporated, adding richness and depth to the flavor profile.
• In American culture, this dish traditionally appears at family gatherings and potlucks, symbolizing warmth and home comfort.
• While many variations exist across different regions, the authentic version maintains a moist, dense texture that sets it apart from imitations.


Recipe Overview
Nutritional Information (per serving)


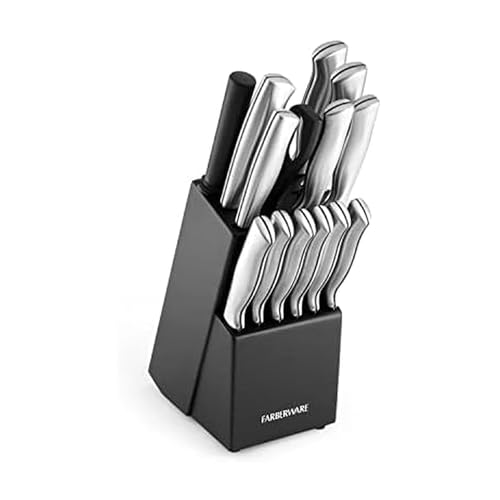
Essential Equipment Guide
Loaf Pan: A loaf pan is crucial for shaping the bread and ensuring even cooking. A standard 9×5 inch pan is ideal, but alternatives like silicone molds can work. Look for a non-stick surface to make removal easier.
Mixing Bowls: Using a set of mixing bowls helps keep ingredients organized. Stainless steel bowls are durable and easy to clean, while glass bowls allow you to see the contents clearly.
Spatula: A spatula is important for folding wet and dry ingredients together without over-mixing. Silicone spatulas are heat-resistant and flexible, making them a great choice for this recipe.
Ingredients
For the Base
|
| Amount | Ingredient | Notes |
|---|---|---|
| 1 cup | all-purpose flour | sifted for light texture |
| 1/2 cup | unsweetened cocoa powder | for rich chocolate flavor |
| 1 teaspoon | baking soda | helps the bread rise |
| 1/4 teaspoon | salt | enhances flavor |
Wet Ingredients
| Amount | Ingredient | Notes |
|---|---|---|
| 1/2 cup | unsalted butter | melted, adds richness |
| 1 cup | granulated sugar | sweetens the bread |
| 2 large | eggs | provides structure |
| 3 medium | bananas | mashed, for flavor and moisture |
| 1 teaspoon | vanilla extract | adds depth of flavor |
Add-ins
| Amount | Ingredient | Notes |
|---|---|---|
| 1/2 cup | chocolate chips | for extra chocolatey goodness |


Preparation Methods
Creaming Butter and Sugar: This technique involves beating butter and sugar together until light and fluffy. It helps create a tender crumb by incorporating air into the mix. Use room temperature butter for the best results.
Folding: Gently folding the wet and dry ingredients helps maintain the bread's texture. Over-mixing can lead to a dense loaf. Use a spatula to carefully combine the ingredients.
Testing Doneness: Insert a toothpick into the center of the bread. If it comes out clean or with a few crumbs, the bread is done. Avoid over-baking to keep the bread moist.


Step 1: Preheat Oven
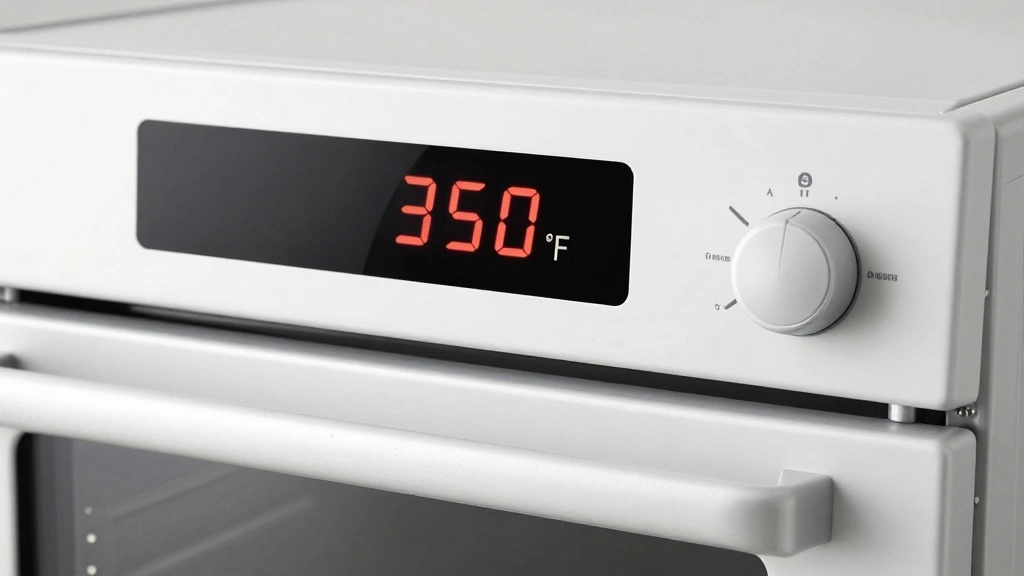
Set your oven to 350°F (175°C) to preheat.
This ensures the oven is hot and ready when the batter is prepared.
Preheating is crucial for even baking and texture.
Use an oven thermometer to verify the correct temperature.


Step 2: Prepare the Loaf Pan
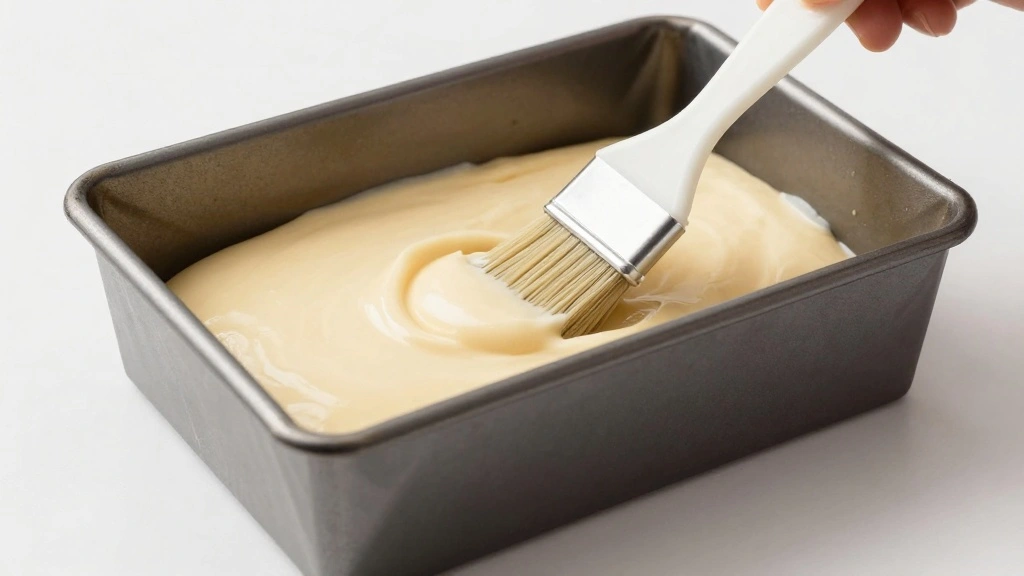
Grease a 9x5 inch loaf pan with butter or non-stick spray.
This prevents the bread from sticking to the pan during baking.
Ensure even coating for easy removal after baking.
Line with parchment paper for added assurance.


Step 3: Mix Dry Ingredients
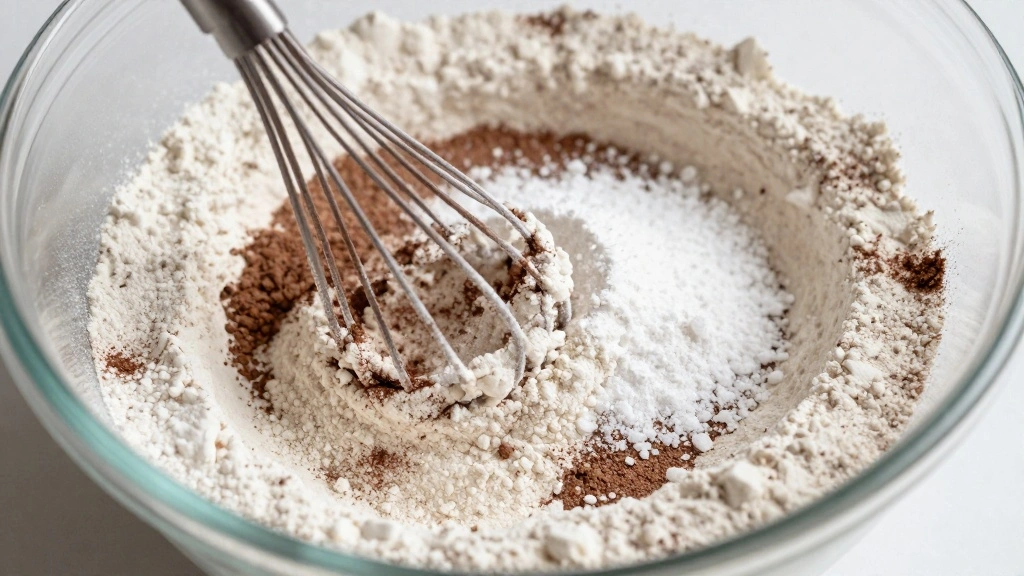
In a medium bowl, combine flour, cocoa powder, baking soda, and salt.
Use a whisk to mix until well incorporated.
Ensure no lumps remain for a smooth batter.
Set aside for later use.
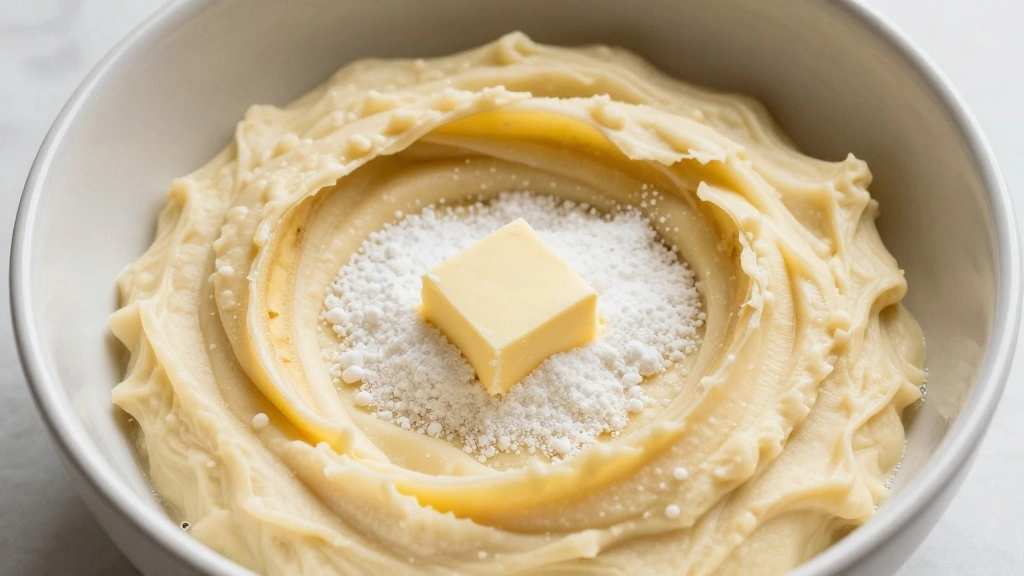
Step 4: Cream Butter and Sugar
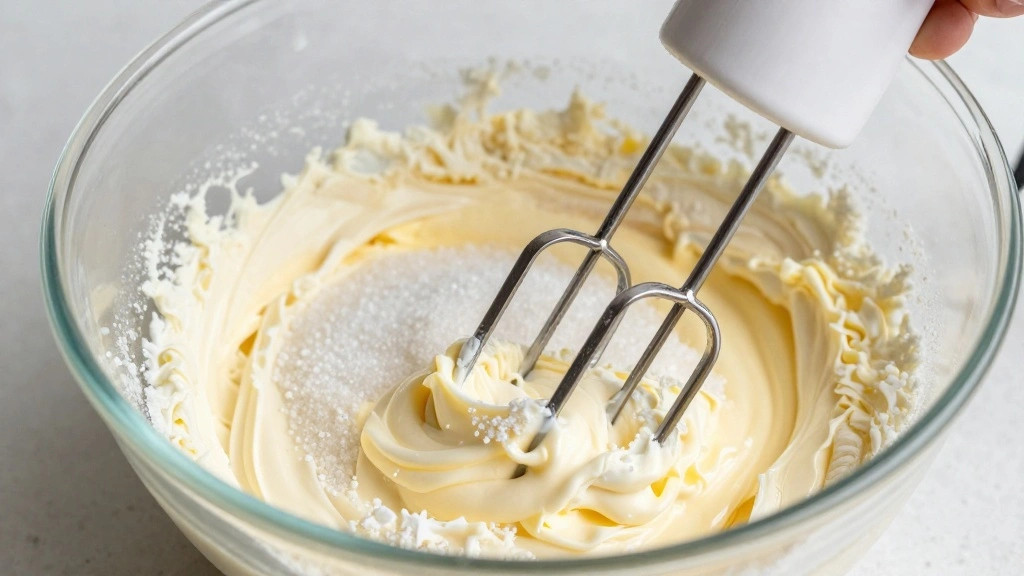
In a large bowl, beat melted butter and sugar until light and fluffy.
This process should take about 2-3 minutes.
Look for a pale, creamy mixture as an indicator.
Use an electric mixer for best results.


Step 5: Add Eggs and Bananas
Add eggs one at a time to the butter mixture, beating well after each addition.
Mash the bananas and fold them into the mixture.
Mix until just combined to avoid overworking.
The mixture should be smooth with visible banana pieces.
Step 6: Combine Wet and Dry Ingredients
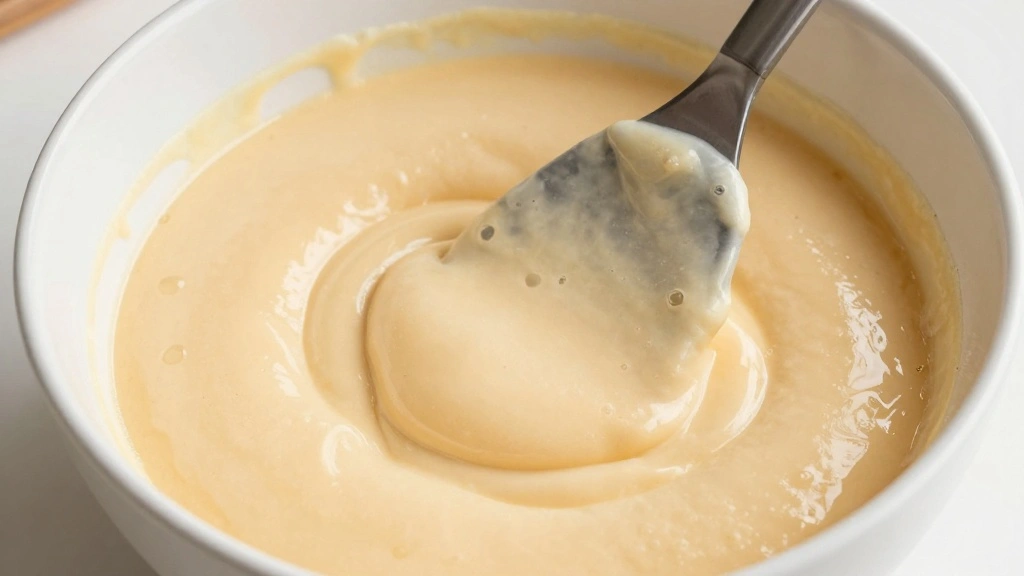
Gradually add the dry ingredients to the wet mixture, folding gently.
Use a spatula to combine, ensuring no dry spots remain.
Take care not to over-mix to maintain texture.
The batter should be thick and uniform.
Step 7: Add Chocolate Chips
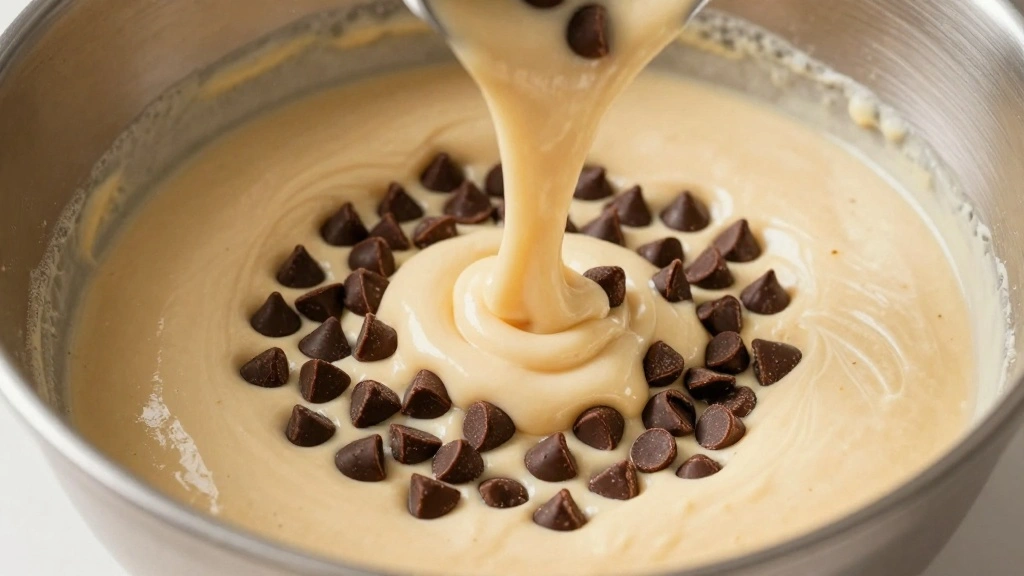
Fold in the chocolate chips until evenly distributed.
This adds bursts of chocolate flavor throughout the bread.
Ensure chips are well mixed to prevent clumping.
Reserve a few for topping if desired.
Step 8: Pour Batter into Pan
Pour the batter into the prepared loaf pan, smoothing the top with a spatula.
This ensures even baking and a neat finish.
Tap the pan gently on the counter to remove air bubbles.
Top with reserved chocolate chips if desired.
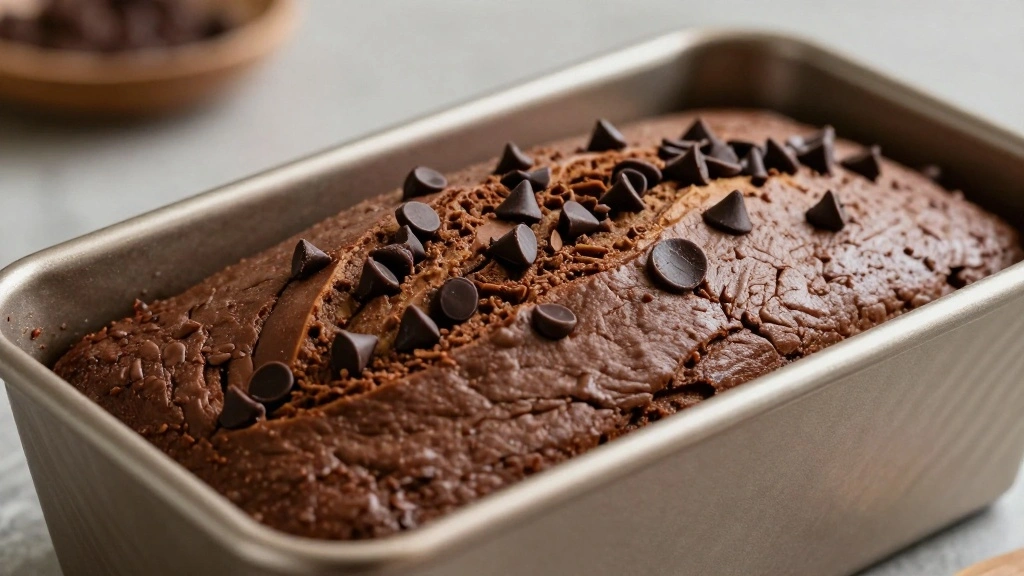
Step 9: Bake the Bread

Place the pan in the preheated oven on the middle rack.
Bake for 60 minutes or until a toothpick comes out clean.
Rotate the pan halfway through for even baking.
Avoid opening the oven frequently to maintain temperature.


Step 10: Cool the Bread
Remove the pan from the oven and place on a wire rack.
Allow the bread to cool in the pan for 10 minutes.
This helps the bread firm up slightly for easier removal.
Transfer to a wire rack to cool completely.


Critical Timing and Temperature Guide
Baking: Bake at 350°F (175°C) for 60 minutes. A toothpick should come out clean when the bread is done. Avoid over-baking to prevent dryness.
Cooling: Let the bread cool for 10 minutes in the pan, then transfer to a wire rack. This prevents sogginess from steam build-up.
Preheating: Preheat the oven for at least 10 minutes to ensure even baking. Use an oven thermometer to check the accuracy of your oven's temperature.
Pro Tips for Chocolate Banana Bread
• Ingredient Selection: Use ripe bananas for maximum sweetness and flavor. The more spots, the better!
• Preparation Secret: Mashing bananas with a fork instead of a blender keeps some texture for a more rustic feel.
• Temperature Management: Keep ingredients at room temperature for smoother mixing and even baking.
• Texture Enhancement: Fold ingredients gently and do not over-mix to maintain a light crumb.
• Flavor Layering: Adding a dash of cinnamon can enhance the chocolate and banana flavors subtly.
• Make-Ahead Strategies: Store baked bread in an airtight container for up to 3 days or freeze for longer storage.
• Restaurant-Quality Finishing Touches: A light dusting of powdered sugar can add a professional touch.
• Equipment Optimization: If a stand mixer is unavailable, a sturdy whisk or spatula works well for combining ingredients.


Troubleshooting Common Issues
• Texture Too Dense: This can occur from over-mixing the batter. Ensure to fold gently and avoid overworking the ingredients.
• Bread Sticks to Pan: Properly grease the pan or use parchment paper. Allow the bread to cool before removing to prevent sticking.
• Uneven Baking: Ensure the oven is fully preheated and avoid opening the door frequently. Rotate the pan halfway through baking if needed.
• Flavor Too Bland: Ensure ripe bananas are used for maximum flavor. Consider adding a pinch of salt or cinnamon.
• Top Burns Too Quickly: Cover the bread with aluminum foil if the top browns too fast, allowing the center to cook through.
Variations and Regional Differences
• Mexican Style: Incorporates a pinch of cayenne pepper and cinnamon for a hint of spice and warmth.
• Italian Variation: Adds a splash of espresso for a deeper, more robust chocolate flavor.
• Gluten-Free Version: Uses almond flour instead of all-purpose flour for a nutty flavor and gluten-free option.
• Vegan Adaptation: Replaces eggs with flaxseed meal and water, and uses coconut oil instead of butter for a plant-based alternative.


Food Science Behind the Recipe
• Leavening Agents: Baking soda reacts with acidic components in the bananas and cocoa powder to create carbon dioxide, which helps the bread rise.
• Maillard Reaction: This browning reaction occurs between amino acids and reducing sugars, giving the bread its appealing crust and complex flavors.
• Emulsification: The eggs help bind ingredients together and create a smooth, cohesive batter, contributing to the bread's structure.
Frequently Asked Questions
What's the most common mistake people make when preparing Chocolate Banana Bread? Over-mixing the batter is a common mistake that can lead to a dense texture.
Can I use frozen bananas? Yes, thaw them completely and drain any excess liquid before mashing.
How do I store leftover bread? Store in an airtight container at room temperature for up to 3 days or freeze for up to 3 months.
Is it possible to make the bread less sweet? Reduce the sugar by a third for a less sweet version without affecting texture.
What can I use instead of chocolate chips? Chopped nuts or dried fruit can be used as alternatives for added texture and flavor.
How do I ensure my bread is moist? Use fully ripe bananas and avoid over-baking to retain moisture.
Can I double the recipe? Yes, but ensure you have the appropriate pan size or bake in batches for even results.
Why did my bread sink in the middle? This can happen if the bread is underbaked or if the batter was over-mixed, causing it to collapse.
Serving and Presentation Guide
• Traditional Presentation: Serve sliced on a rustic wooden board, allowing guests to help themselves.
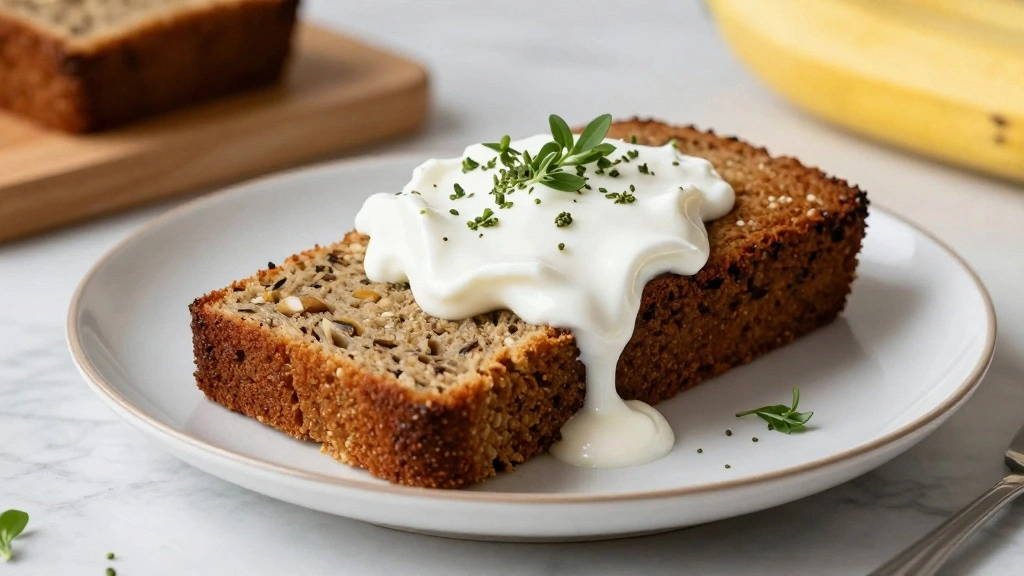
• Elegant Touch: Dust with powdered sugar and serve with a dollop of whipped cream or a scoop of vanilla ice cream.
• Casual Setting: Present slices in a basket lined with a decorative napkin for a homey feel.
• Brunch Buffet: Arrange slices on a tiered stand for an eye-catching display at brunch gatherings.


Conclusion
This Chocolate Banana Bread recipe is a delightful way to enjoy the classic combination of chocolate and bananas.
With its rich, fudgy texture and comforting flavors, it's sure to become a favorite in your recipe collection.
Whether you're serving it at a family gathering or enjoying a slice with your morning coffee, this bread is a crowd-pleaser.
Give it a try and discover the deliciousness for yourself.