
365 Low-Fat Main Dishes — One Recipe for Every Day!
Easy, beginner-friendly, with full nutrition info.
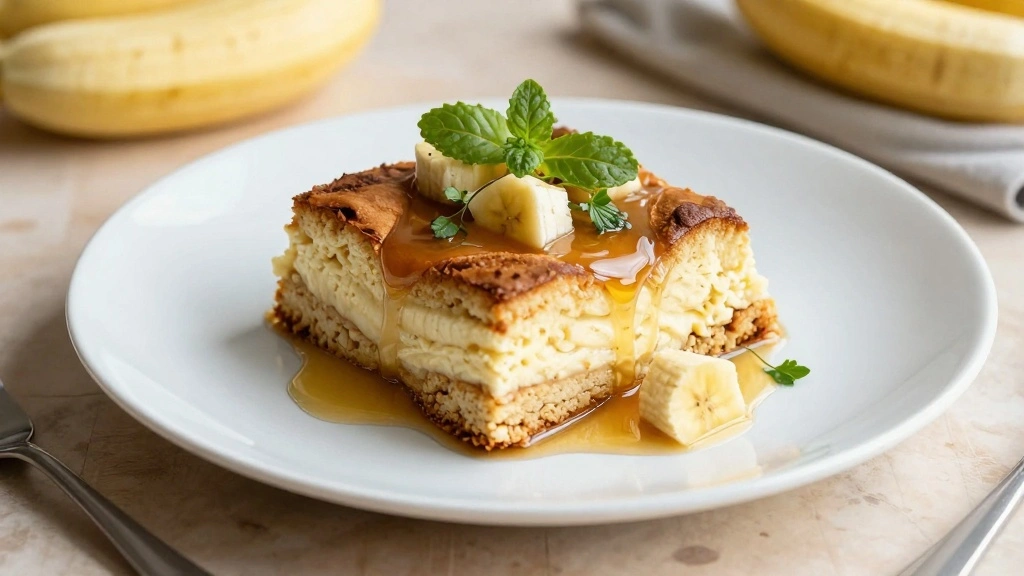
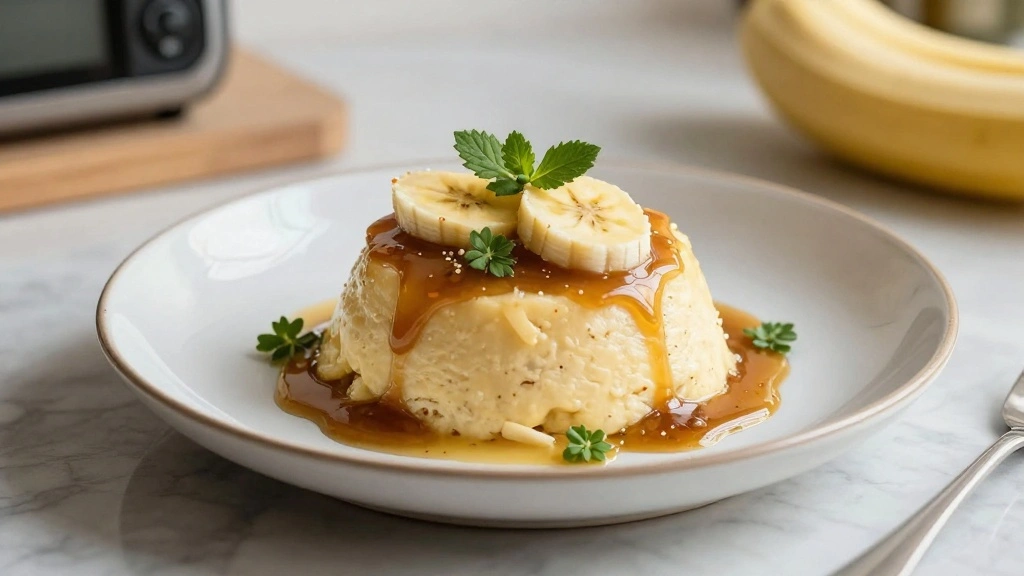
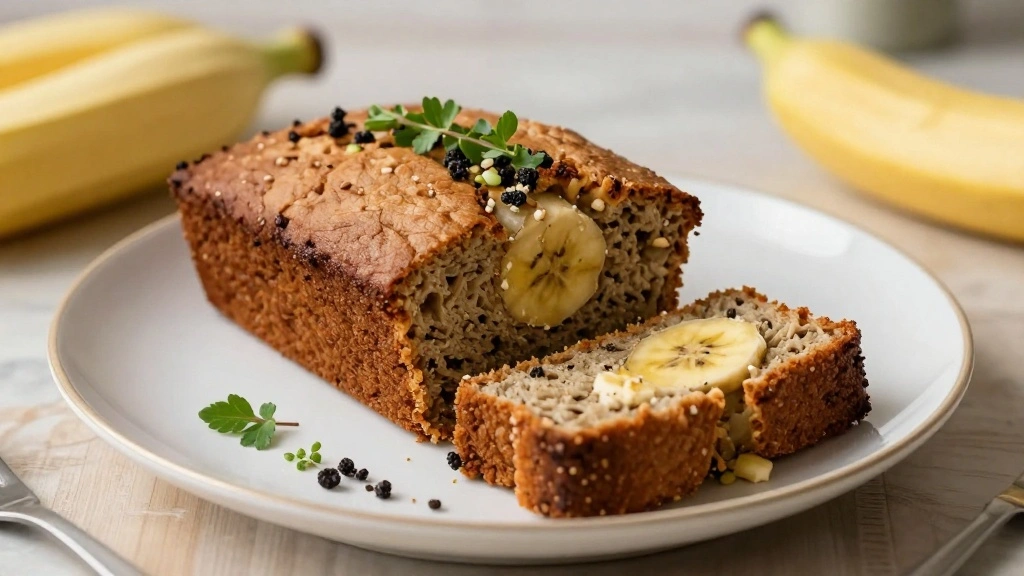
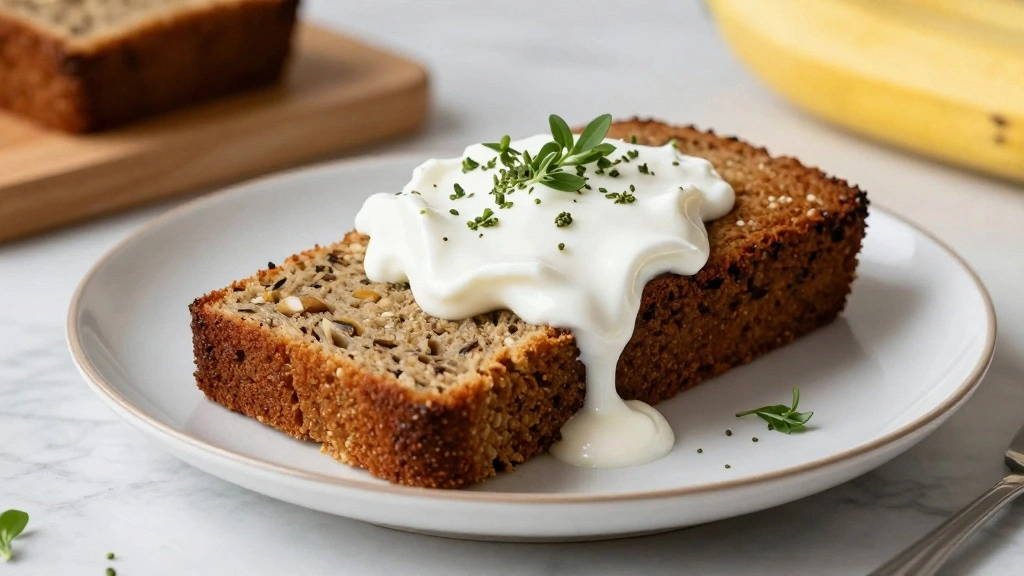
👉 Download Now – Just $2.90!Banana Pudding with Condensed Milk is a dessert that combines the comforting flavors of ripe bananas and creamy vanilla custard.
The rich and velvety texture, enhanced by condensed milk, offers an indulgent treat that tantalizes the taste buds.
I first encountered this dessert at a family gathering, where it was cherished for its simplicity and depth of flavor.
The appeal of this pudding lies in its ability to evoke nostalgia while still bringing a modern twist through its extra creaminess.
Whether served at a summer picnic or a winter festival, this pudding never fails to impress.
This recipe will guide you step-by-step to achieve that perfect creamy consistency that makes this dessert a crowd favorite.
The History and Cultural Significance
• Banana Pudding traces its origins to the United States in the late 19th century, where it was originally created as a Southern dessert combining custard, bananas, and wafers.
• The dish evolved over decades as pudding mixes and whipped toppings became available, eventually becoming the beloved version we know today.
• In Southern culture, this dish traditionally appears at gatherings and potlucks, symbolizing hospitality and comfort.
• While many variations exist across different regions, the authentic version maintains a layered structure and creamy texture that sets it apart from imitations.


Recipe Overview
Nutritional Information (per serving)
Essential Equipment Guide
Mixing Bowl: A large mixing bowl is essential for combining the pudding ingredients smoothly. Stainless steel or glass bowls are preferred for their non-reactive properties.
Whisk: Using a whisk ensures that the pudding mixture is smooth and lump-free, which is crucial for achieving the creamy texture. A balloon whisk works best for this purpose.
Serving Dish: A shallow, wide dish like a trifle bowl is ideal for layering the pudding beautifully. Alternatives include a 9×13 inch baking dish or individual serving cups.


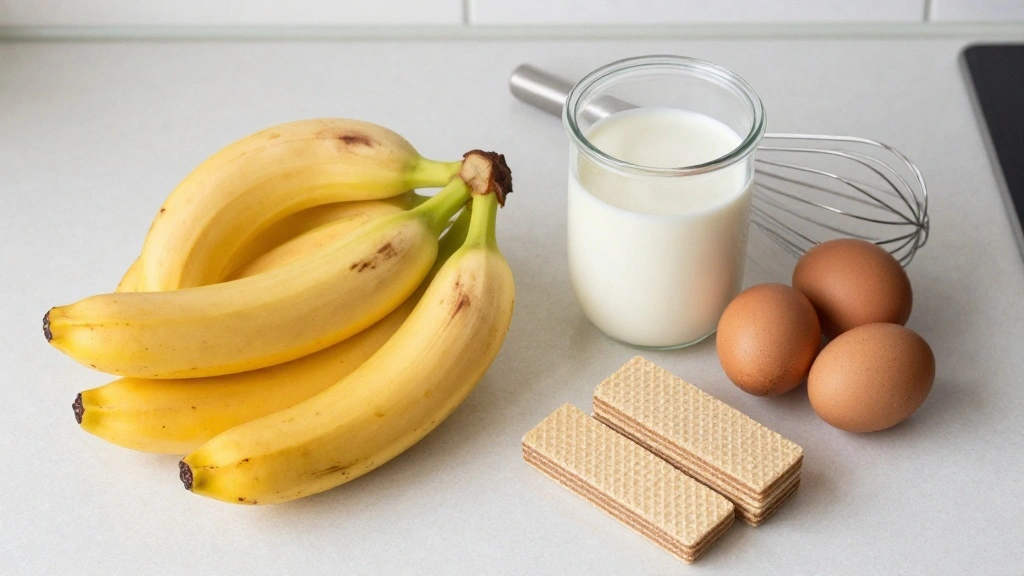
Ingredients
For the Base
|
| Amount | Ingredient | Notes |
|---|---|---|
| 4 large | bananas | sliced for layering |
| 1 box | vanilla wafers | for texture and flavor |
For the Custard
| Amount | Ingredient | Notes |
|---|---|---|
| 1 can | sweetened condensed milk | adds richness |
| 1 cup | whole milk | for creaminess |
| 3 large | egg yolks | for thickening |
| 1 tablespoon | vanilla extract | for flavor |
Topping
| Amount | Ingredient | Notes |
|---|---|---|
| 1 cup | heavy cream | whipped for garnish |
| 2 tablespoons | sugar | for sweetness |


Preparation Methods
Tempering Egg Yolks: This technique involves warming the egg yolks gradually by adding a small amount of hot liquid to them. It prevents the yolks from curdling and ensures a smooth custard.
Layering Technique: Proper layering ensures that each serving has a balance of pudding, bananas, and wafers. Start with a layer of wafers, followed by bananas, and then custard, repeating until all ingredients are used.
Whipping Cream: Whipping cream should be cold before you start. Use a chilled bowl and beaters for best results, whipping until soft peaks form.


Step 1: Gather Your Ingredients
Begin by gathering all necessary ingredients and equipment.
Ensure that all ingredients are measured accurately.
Check that bananas are ripe and wafers are fresh.
Prepare the workspace for easy access to all items.


Step 2: Prepare the Custard
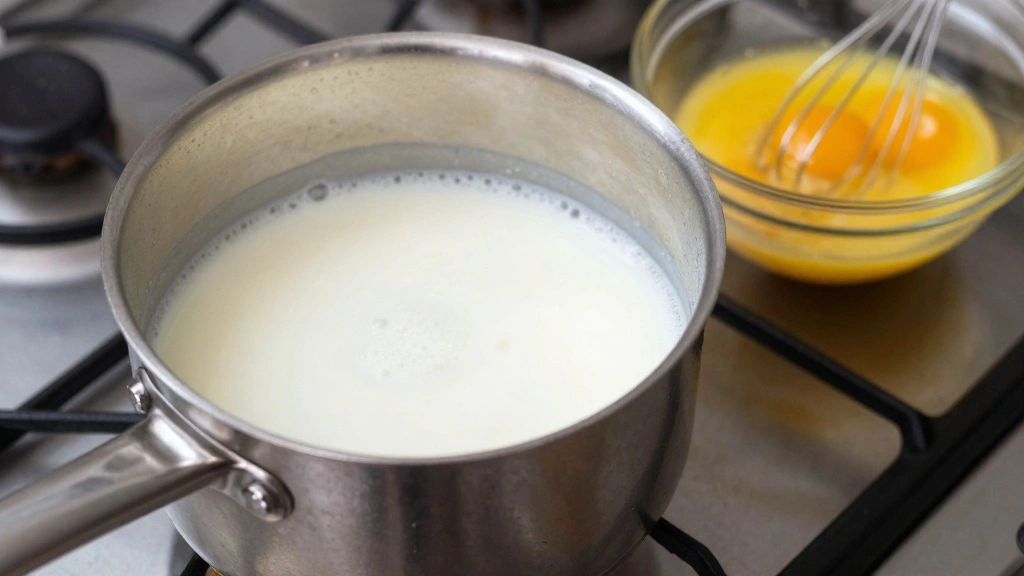
In a medium saucepan, combine the sweetened condensed milk and whole milk.
Over medium heat, stir frequently until just warm.
In a separate bowl, whisk egg yolks lightly.
Slowly add a small amount of warm milk to the yolks, whisking constantly to temper.


Step 3: Cook the Custard

Return the tempered yolks to the saucepan with the rest of the milk mixture.
Continue to cook over medium heat while stirring continuously.
The mixture should thicken enough to coat the back of a spoon.
Remove from heat and stir in the vanilla extract.


Step 4: Slice the Bananas
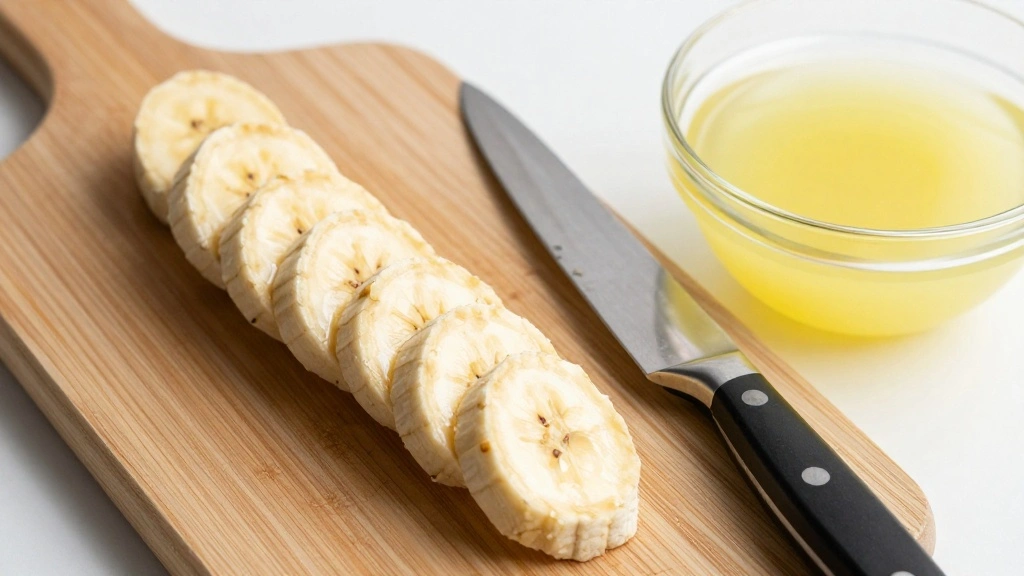
Peel the bananas and slice them evenly into thin rounds.
Place them in a bowl to prevent browning.
If desired, toss with a small amount of lemon juice.
Set aside until ready to layer the pudding.


Step 5: Layer the Pudding
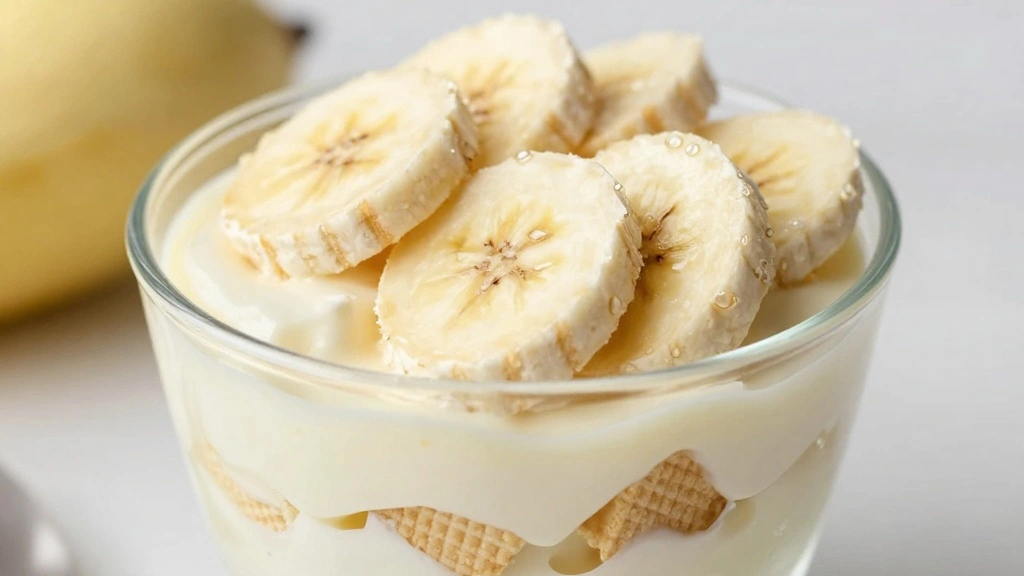
In your chosen serving dish, arrange a layer of vanilla wafers.
Top with a layer of sliced bananas.
Pour a third of the custard over the bananas and wafers.
Repeat layering until all ingredients are used, finishing with a custard layer.
Step 6: Chill the Pudding

Cover the pudding with plastic wrap, pressing it directly onto the surface.
Refrigerate for at least 4 hours or overnight.
Chilling allows the flavors to meld and the wafers to soften.
Ensure the pudding is well covered to prevent a skin forming.
Step 7: Whip the Cream
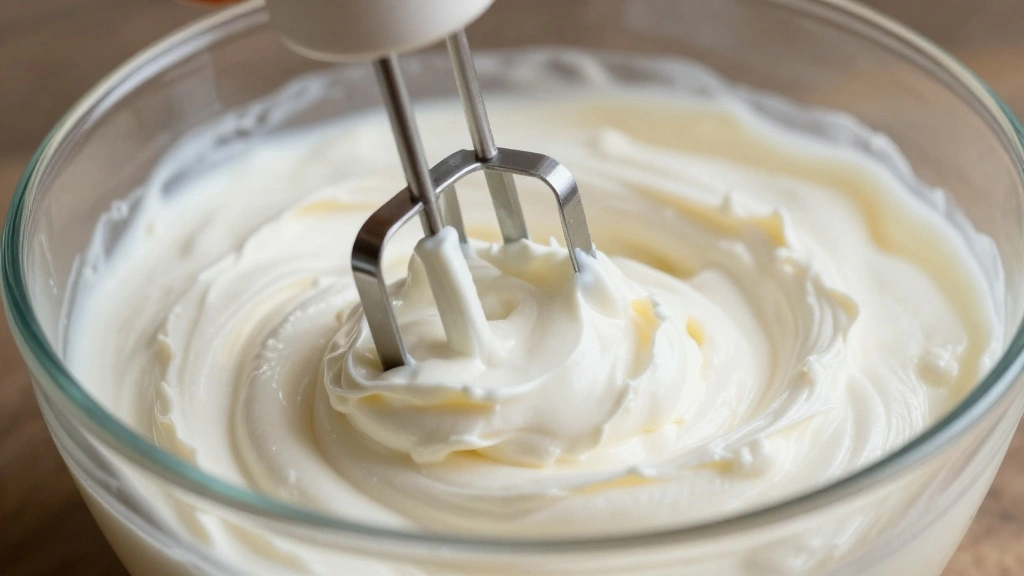
In a chilled bowl, combine heavy cream and sugar.
Beat with an electric mixer until soft peaks form.
Do not overwhip, as this will cause the cream to become grainy.
Taste and adjust sweetness if necessary.
Step 8: Serve and Garnish
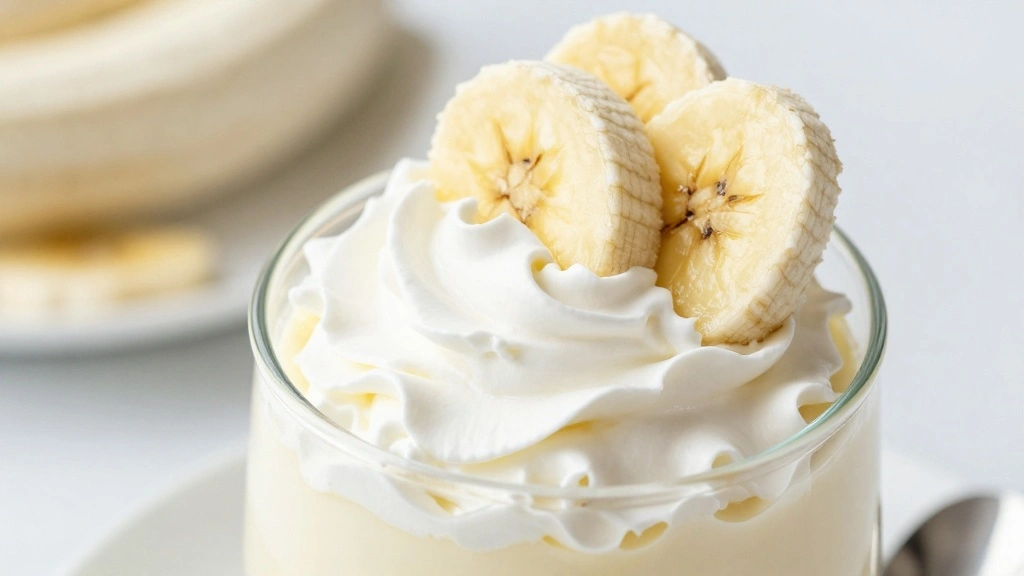
Remove the pudding from the refrigerator just before serving.
Spoon whipped cream over the top of the pudding.
Garnish with extra banana slices or crushed wafers.
Serve immediately for best texture and flavor.
Critical Timing and Temperature Guide
Custard Cooking: Cook over medium heat, stirring constantly until the custard thickens and coats the back of a spoon. Avoid overheating, which can cause curdling.
Chilling Time: Chill the pudding for at least 4 hours or overnight for best results. This ensures the wafers soften and flavors meld properly.
Whipping Cream: Keep the cream and bowl cold; beat until soft peaks form. Overwhipping will result in a grainy texture.
Pro Tips for Banana Pudding with
• Ingredient Selection: Choose ripe bananas for sweetness and a rich banana flavor. Fresh, high-quality vanilla wafers enhance the taste and texture.
• Preparation Secret: Tempering the egg yolks prevents them from scrambling and ensures a smooth custard.
• Temperature Management: Use medium heat when cooking the custard to prevent it from curdling or burning.
• Texture Enhancement: Allow the pudding to chill overnight for a perfectly set texture and enhanced flavor.
• Flavor Layering: Layering the pudding with bananas and wafers ensures each bite is flavorful and balanced.
• Make-Ahead Strategies: Banana pudding can be made a day ahead; store it well-covered in the fridge.
• Restaurant-Quality Finishing Touches: Top with freshly whipped cream and a sprinkle of crushed wafers before serving.
• Equipment Optimization: Use a heavy-bottomed saucepan for even heat distribution when cooking the custard.
Troubleshooting Common Issues
• Custard Too Runny: This can occur if the custard wasn't cooked long enough. Ensure it coats the back of a spoon before removing it from heat. If too thin, return to the heat and cook longer.
• Bananas Browning: Toss sliced bananas in a little lemon juice to prevent browning. Make sure they're covered with custard if storing.
• Wafers Too Crunchy: Ensure the pudding chills for enough time for wafers to soften properly. If still crunchy, allow additional chilling time.
• Curdled Custard: Overheating can cause this. Keep the heat medium and stir constantly. If it starts to curdle, pour into a blender and blend until smooth.
• Whipped Cream Too Runny: Ensure the cream is cold and beat until soft peaks form. Avoid overbeating.
• Lack of Flavor Depth: Make sure to use high-quality vanilla extract and ripe bananas. Proper layering will also enhance flavor distribution.
Variations and Regional Differences
• Southern Style: Often includes meringue on top instead of whipped cream, baked until golden.
• Caribbean Variation: Adds a touch of rum or coconut milk for a tropical twist.
• Modern Twist: Incorporates chocolate or caramel layers for added richness.
• Vegan Version: Uses coconut cream, almond milk, and cornstarch as the custard base.


Food Science Behind the Recipe
• Emulsification: The process of tempering yolks and slowly adding them to the custard base helps emulsify the mixture, creating a smooth, creamy texture.
• Retrogradation: Chilling the pudding allows starches in the wafers to absorb moisture and set, giving the pudding its characteristic texture.
• Maillard Reaction: If baking a meringue topping, the Maillard reaction contributes to the browning and flavor development.


Frequently Asked Questions
What's the most common mistake people make when preparing Banana Pudding? Overcooking the custard or not allowing enough time for chilling are common mistakes that can affect texture.
Can I use store-bought whipped topping instead of whipping cream? Yes, but freshly whipped cream provides a superior texture and flavor.
How can I prevent my pudding from becoming watery? Ensure the custard is thickened properly and avoid adding too much liquid to the bananas.
What is the best way to store leftovers? Cover tightly with plastic wrap and refrigerate for up to 3 days.
Can I make this pudding gluten-free? Yes, use gluten-free vanilla wafers for a gluten-free version.
How do I know when my custard is thick enough? It should coat the back of a spoon without running off quickly.
Why is my whipped cream not forming peaks? Ensure the cream is cold and that you're using a high-fat cream suitable for whipping.
Serving and Presentation Guide
• Traditional Presentation: Serve in a large trifle bowl with visible layers for a classic look.
• Individual Servings: Layer in individual glass jars or cups for personal servings.
• Garnish Options: Top with banana slices, a sprinkle of cinnamon, or chocolate shavings for added flair.
• Decorative Touches: Add a sprig of mint or edible flowers for a pop of color and elegance.
Conclusion
Banana Pudding with Condensed Milk is a timeless dessert that brings joy to any occasion.
Its rich, creamy texture and sweet banana flavor create a delightful experience.
With this guide, even novice cooks can achieve perfect results.
Try this recipe for your next gathering and watch it become a beloved favorite.