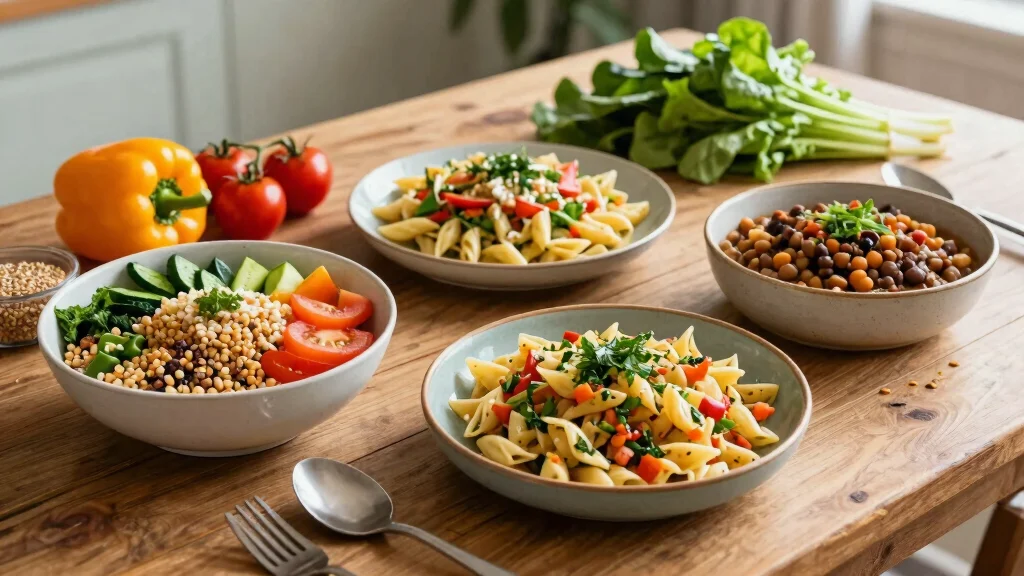

You probably don’t know that most people ruin lentils before they even hit the pot. You skip the rinse, you salt too early, you walk away and forget them. I’ve done it all, and I’ve learned the fixes.
Here’s what actually works.
Skip the Soak: Cook Lentils in 20 Minutes
Why waste hours soaking beans when you don’t have to? Dried lentils skip that step entirely. You save precious time and get dinner on the table faster.
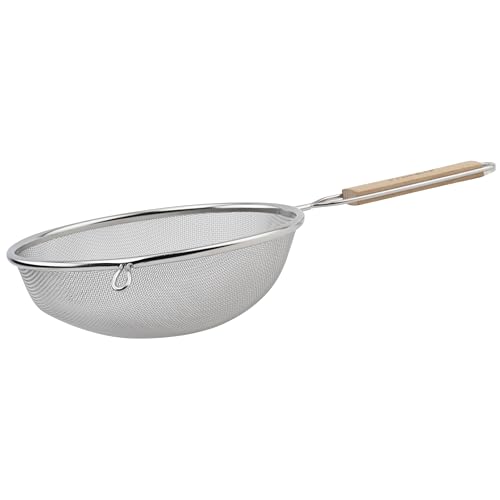
Rinse lentils in a fine mesh sieve under cold water. Remove debris and dust before cooking.
Cooking time stays short: Bring 3 cups water per 1 cup lentils to a boil. Reduce heat to a gentle simmer. Cook until tender, about 15 to 20 minutes for whole green or brown varieties.
Best For: Weeknight meals, meal prep, and last-minute cooking.
Add salt after cooking. Salting too early toughens the lentils and ruins the texture.
You control the firmness. Check at 15 minutes for al dente, or simmer longer for softer lentils. Taste as you go.
Recommended Products

VERSATILE PANTRY STAPLE: Add a hearty and nutritious touch to any meal with our Fancy Green Lentils. Our Green Lentils can be used in a wide range of recipes, perfect for use in soups, salads, curries, and stews.

Green lentils is an excellent source of iron, protein, and fiber.
![The Great Vegan Bean Book: More than 100 Delicious Plant-Based Dishes Packed with the Kindest Protein in Town! - Includes Soy-Free and Gluten-Free Recipes! [A Cookbook] (Great Vegan Book)](https://m.media-amazon.com/images/I/51uqZa77FVL._SL500_.jpg)
Pick Your Type: Green, Brown, or Red
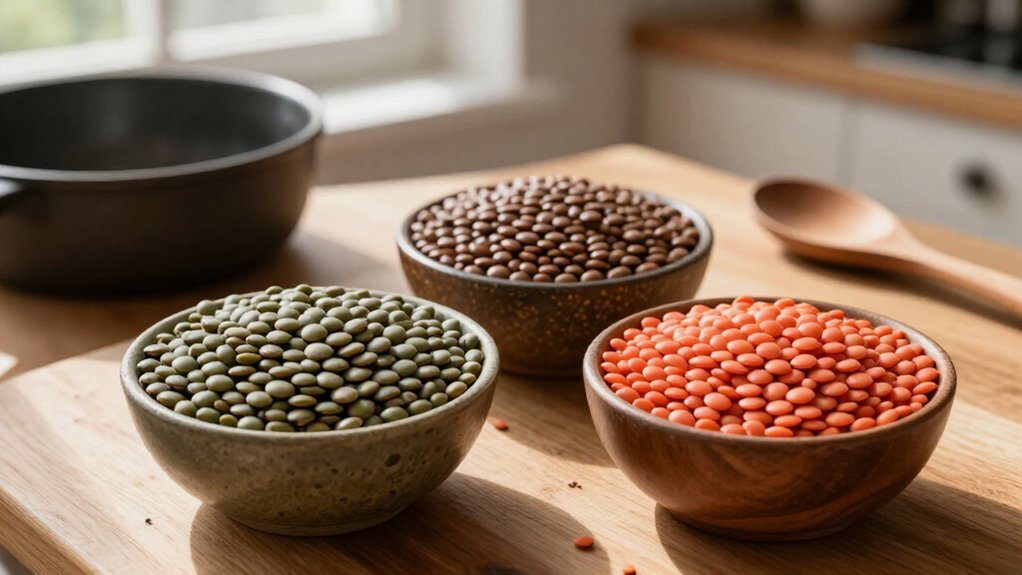
Which lentils belong in your pot? You’ve got three main choices: green, brown, and red. Each behaves differently in your kitchen.
Green and Brown Lentils
Green and brown lentils hold their shape beautifully—perfect for salads, grain bowls, or anywhere you want distinct, tender bites.
Green and brown lentils work almost anywhere. They cook in 15–20 minutes and hold their shape beautifully. You’ll love them in salads, grain bowls, or anywhere you want distinct, tender bites.
– Best For: Soups that need texture, side dishes, meal prep
Red Lentils
Red lentils cook fastest at 5–7 minutes. They break down into a creamy, almost puréed consistency. You won’t get firm bites here.
– Best For: Thickening soups, dal, curry bases, baby food
Your Choice Matters
Pick green or brown when you want structure. Grab red when you want smooth, velvety results. Match the lentil to your dish, and you’ll cook with confidence every time.
Recommended Products


Natural: We've Removed The Corn Syrup And Added Spinach, Carrots And Butternut Squash

Iberia dry lentils can be used in a variety of recipes
Cook Perfect Lentils: Step-by-Step
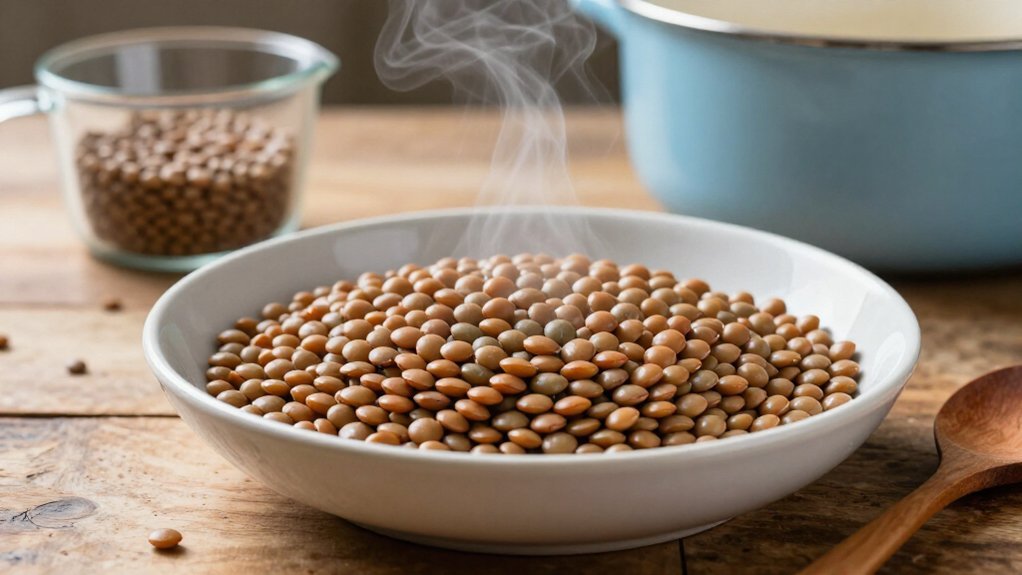
You’ll master dried lentils by following a few essential cooking steps and sidestepping common mistakes that ruin texture. Start with a fine-mesh rinse, stick to the 3:1 liquid ratio, and time your simmer precisely: 15–20 minutes for green or brown, 5–7 for red. Hold the salt until after cooking, skip acidic add-ins during the boil, and you’ll have perfect lentils every time.
Recommended Products

PACKED WITH NUTRIENTS: Our Red Lentils are a great source of protein, fiber, iron, and other essential nutrients, making them a healthy addition to your diet.

16-ounce organic red lentils

VERSATILE INGREDIENT: From soups and stews to curries and salads, these red lentils add a rich flavor and hearty texture, making them a versatile choice for various recipes.
Essential Cooking Steps
How do you turn a cup of dried lentils into something worth eating? Start with rinsing. You’ll pour your lentils into a fine-mesh sieve and run cold water over them until the water runs clear. This removes dust and debris you don’t want in your pot.
Next, you’ll combine 3 cups of water or stock with your rinsed lentils. Bring everything to a boil, then immediately reduce the heat. You’re aiming for a gentle simmering pace: just a few bubbles breaking the surface.
Cook green or brown lentils for 15–20 minutes until they’re tender but hold their shape. Red lentils need only 5–7 minutes. You’ll add salt after cooking, not before. Early salting toughens the skins and leaves your lentils unpleasantly crunchy. Taste at the end, then season.
Common Mistakes Avoided
Many home cooks sabotage their lentils before they even hit the pot. You don’t need to soak them, just rinse under cold water to remove debris. That’s it.
Don’t Drown or Dry Them Out
Use a 3:1 liquid-to-lentil ratio. Three cups water per one cup dried lentils works for most varieties. Too much liquid turns them soupy, too little leaves them crunchy.
Control Your Heat
Bring to a boil, then reduce to a gentle simmer. Cook 15–20 minutes for whole green or brown lentils until tender. A rolling boil breaks them apart.
Season at the Right Time
Never add salt or acid during cooking; they toughen the skins. Salt after cooking, then adjust to taste. Drain promptly to stop mushiness.
Avoid the Mushy Mistake
Vigorous boiling splits skins and ruins texture. You want a steady, low simmer that coaxes lentils to tenderness without collapse. Stick to 3 cups water per 1 cup lentils, and taste frequently after 15 minutes. Whole green or brown varieties typically need 15, 20 minutes.
Gentle simmer, not rolling boil—coax lentils to tender perfection without collapse.
Three signs you’re on track:
- Only occasional bubbles break the surface
- Lentils hold their shape when stirred gently
- They yield easily to a bite without disintegrating
Pull them when just tender. You’ll preserve that intact texture every time.
Recommended Products

Three Graduated Sizes: This colander set includes three strainers in multiple sizes, a 3.15 inch mini strainer fine mesh, a 5.5 inch small strainer and a 7.87 inch large strainer with a deep bowl

3-Piece Set for Every Kitchen Task: This Cuisinart kitchen strainer set includes three sizes— 3⅛″, 5½″, and 7⅞″. Perfect as a small strainer, large strainer, or everyday colander set for all your cooking needs, from rinsing to draining.
Single Mesh – Fine filtration for refined results
Add Salt Last for Better Texture
You’ll get better results when you add salt only after your lentils finish cooking, since salting early can tighten proteins and starches, leaving you with a firmer, less tender bite. Acidic ingredients like tomatoes or vinegar should wait too, because acids harden lentil skins and slow softening just like premature salt does.
For every cup of dry lentils you started with, stir in ¼ to ¾ teaspoon kosher salt after draining and tasting. If you cooked with broth, skip extra salt until you’ve checked the flavor.
Recommended Products
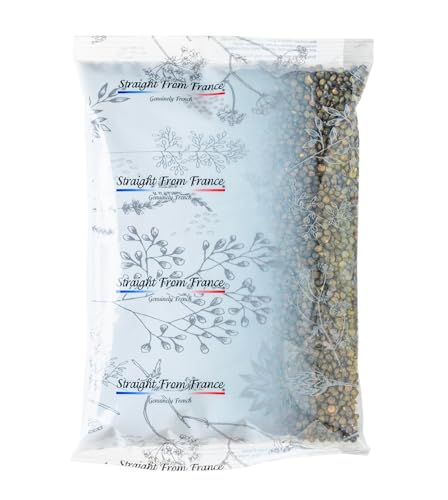
AUTHENTIC FRENCH GREEN LENTILS: Premium green lentils cultivated in France, featuring a unique peppery flavor and a distinctive mottled dark green-grey color.
COOKS QUICKLY: Green Lentils typically cook within 25-35 minutes without any need for overnight soakking.

REGENERATIVE ORGANIC CERTIFIED GREEN LENTILS FOR A HEALTHIER YOU - SIMPLi Regenerative Organic Certified Green Lentils are a kitchen staple reimagined with purpose. USDA Organic, Kosher, and Fair for Life certified, these whole green lentils are grown on regenerative farms in Saskatchewan, Canada that build soil health and protect the ecosystem with every harvest.
Why Timing Matters
Why does a pot of lentils turn mealy one day and creamy the next? You’ve got lentils timing down, and simmering under control, but your liquid ratio might be off. Precision separates good lentils from great ones.
Best For: Weeknight dinners, meal prep, and restaurant-quality results at home.
Here’s what you need to nail:
- Green and brown lentils: Cook 15–20 minutes at a gentle simmer after an initial rapid boil
- Red split lentils: Cook 5–7 minutes; they break down faster, so watch closely
- Salt timing: Add only after cooking and draining to avoid tough, crunchy textures
Maintain that 3:1 liquid ratio. Too much water makes mush; too little creates hard centers. You control the outcome through attention, not luck.
Acidic Ingredients Wait
How do you keep lentils from turning out tough and underdone? You wait on salt and acid until the very end.
Hold the Salt
If you add salt early, lentils resist softening. They stay firm and never reach full tenderness. You cook them longer and waste time. Wait until they’re fully tender, then season.
Acid Goes Last
Vinegar, lemon juice, and tomatoes toughen lentil skins during cooking. You add these after simmering finishes. The lentils stay creamy and evenly cooked.
Best For:
- Red lentils: delicate, split quickly
- Green lentils: hold shape, need gentle handling
- Brown lentils: everyday cooking, most forgiving
You season the final dish, not the pot. This simple shift gives you control over texture every time.
You taste and adjust. The result is tender, not crunchy.
Check Freshness Before You Cook
Where exactly do your lentils stand on the freshness scale? You need to check before you start cooking. Lentil freshness matters more than you might think.
Fresh lentils cook faster and more evenly. Older lentils take longer and may shed skins during cooking. You should purchase and use lentils within a few months for best quality. Storage quality affects texture more than safety.
Older lentils take longer to cook and may shed their skins, so use your lentils within a few months for the best texture.
Tiny white flecks may appear as sprouts, but they’re edible.
Before cooking, rinse and sort your lentils. This removes dust and debris. Pick out shriveled or discolored pieces.
Best For: Ensuring even cooking and proper texture.
- Check the purchase date. Use lentils within a few months.
- Inspect visually. Look for sprouts, shriveled pieces, or discoloration.
- Rinse and sort. Remove debris before cooking.
Store lentils in a cool, dry place in an airtight container. This preserves quality.
Recommended Products

Great for delicious homemade soup! These are the small brown lentils.

You'll LOVE our Desi Masoor Whole by Rani Brand--Here's Why:

CERTIFIED GLYPHOSATE RESIDUE FREE by the detox project.
Store Leftovers for Up to 5 Days
When exactly should you transfer those cooked lentils to storage?
You should let them cool slightly first, but don’t wait more than two hours at room temperature. Bacteria grow fast, and you’re not trying to waste a batch you just cooked. Once they’ve cooled to about room temperature, transfer your leftovers to an airtight container. Seal it tight, then move it straight into refrigerator storage.
Label the container with the date so you’ll know when your five days are up. You’ll keep the texture better this way, and you won’t play guessing games with food safety.
When you’re ready to eat, you can reheat them quickly. Just stir in a splash of water if they’ve dried out a bit. Store them right, and you’ve got lunch half made for the week.
Recommended Products

Easy to Cook: Spicy world Masoor Dahl don't require soaking and can be easily cooked in 30 minutes or less.

❤️️ You'll love our Certified USDA Organic Pure Split Red Lentils Dry (also known as Masoor Dal). Here's why:

EASY TO COOK: Our Spicy World Split Red Lentils are easy to cook. No soaking required and cooks in 20 minutes or less
Repurpose Extras: Puree or Freeze
You’ve got options when that container starts filling up. Those green lentils you cooked for 15–20 minutes, following standard cooking times, don’t need to go to waste. You can puree or freeze them instead.
Best For: Quick Future Meals****
- Puree into soup: Blend cooked lentils with broth for instant protein-packed soup base.
- Freeze flat: Spread cooled lentils in a freezer bag, press flat, and freeze; they’ll thaw fast.
- Portion into cups: Measure 1-cup servings into containers for easy grabbing later.
Frozen lentils keep for three months. Pureed lentils work in dips, spreads, or baby food. You’ll save time on busy nights when you’ve already done the work.
Label bags with dates so you know what you’ve got.
Recommended Products

Food Grade Stainless Steel 18/8 Construction: Our kitchen strainer is made of first class Stainless Steel 18/8 304 that is BPA free, Lead and Cadmium free. It is rust free and will never affect the taste of your food!

9 inch Premium Metal strainer - Our high grade stainless steel food strainer is a must have kitchen essentials. It won`t bend or rust.

4PCS Mesh Strainer With Long Handle: Our fine mesh straine in four different sizes: 2.8“, 3.2”, 3.9“, and 4.7”. Multiple storage options help you effortlessly complete all your screen tasks.
Make 10-Minute Meals With Lentils
Why let a busy weeknight stop you from eating well? You can build 10-minute meals with lentils when you choose red split lentils. Their cook time drops to just 5–7 minutes, compared to 20–30 minutes for whole green or brown varieties.
Best For: Weeknight curries, quick soups, and dal.
Rinse your red lentils in a fine-mesh sieve first. Use a 3:1 liquid-to-lentil ratio. Bring to a boil, then simmer gently. You’ll watch them soften fast. Skip the salt until after cooking; it’ll keep them tender. No soaking required.
Drain, season, and serve. They’ll double or triple in size, giving you plenty to work with. You just turned a nearly empty pantry into dinner.
Recommended Products

AUTHENTIC FRENCH GREEN LENTILS: Premium green lentils cultivated in France, featuring a unique peppery flavor and a distinctive mottled dark green-grey color.

THE VERSATILE LENTIL, AT ITS MOST FLAVORFUL: With a speckled appearance and a firm texture, these little green legumes are packed with both protein and flavor. Their slightly peppery, nutty taste and aroma make them perfect for homemade chilis or soups with a kick!

1 - 16 oz bag of Arrowhead Mills Organic Green Lentils