
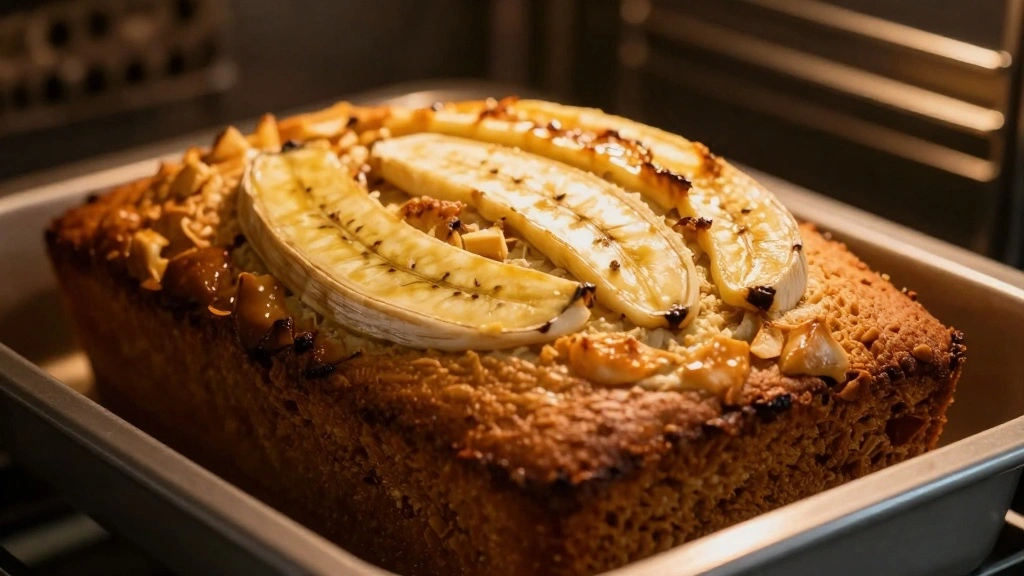
There’s something inherently comforting about a slice of banana nut bread on a cool autumn day.
The sweet aroma of ripe bananas mingling with the earthy notes of nuts fills the kitchen, promising warmth and coziness.
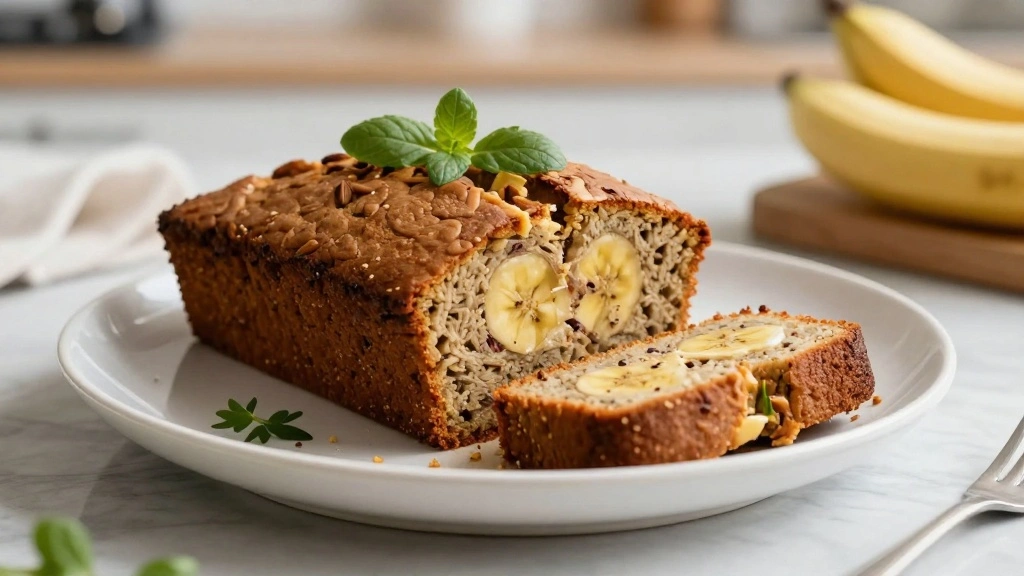
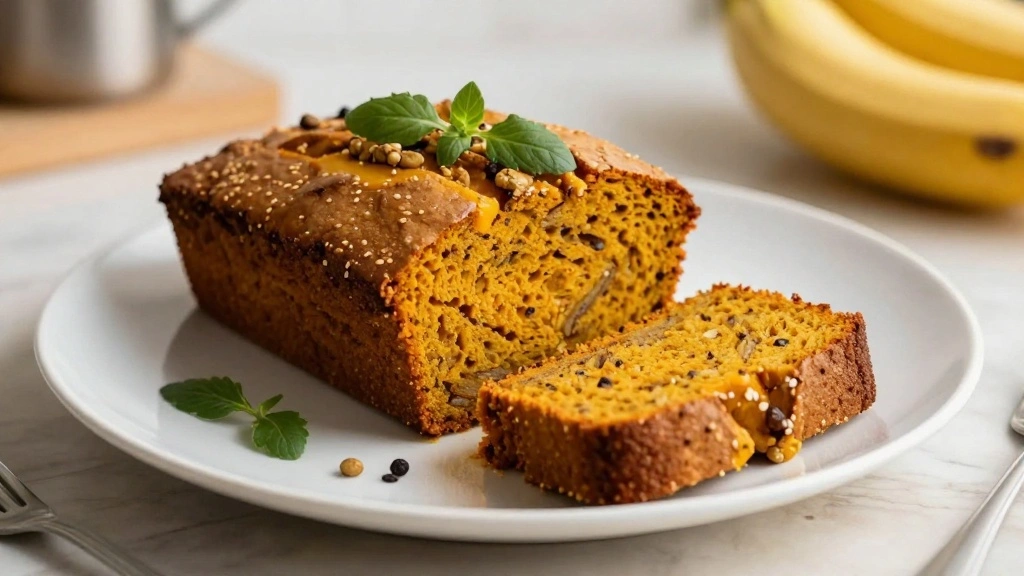
This classic banana nut bread recipe is a timeless favorite, perfect for breakfast or an afternoon snack.
Its moist, tender crumb and crunchy nut topping create a delightful contrast that pleases every palate.
Whether you’re a novice baker or a seasoned pro, this recipe’s straightforward approach ensures success.
Join me as we explore the simple joys of baking this beloved classic.
The History and Cultural Significance
• Banana Nut Bread traces its origins to the United States during the 1930s, where it was originally created as a way to use overripe bananas during the Great Depression.
• The dish evolved over decades as baking soda and baking powder became popular, eventually becoming the beloved version we know today.
• In American culture, this dish traditionally appears at family gatherings and potlucks, symbolizing comfort and home-cooked warmth.
• While many variations exist across different regions, the authentic version maintains a moist texture and rich banana flavor that sets it apart from imitations.


Recipe Overview
Nutritional Information (per serving)


Essential Equipment Guide
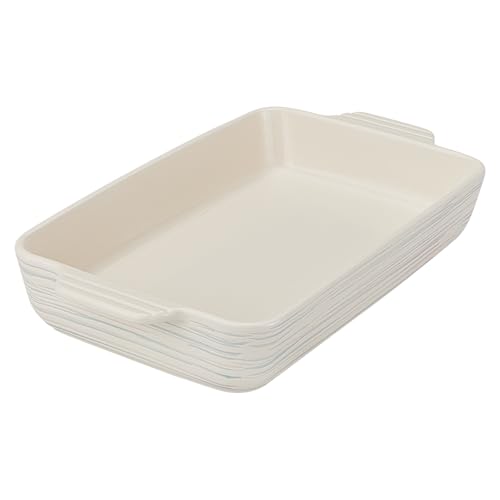
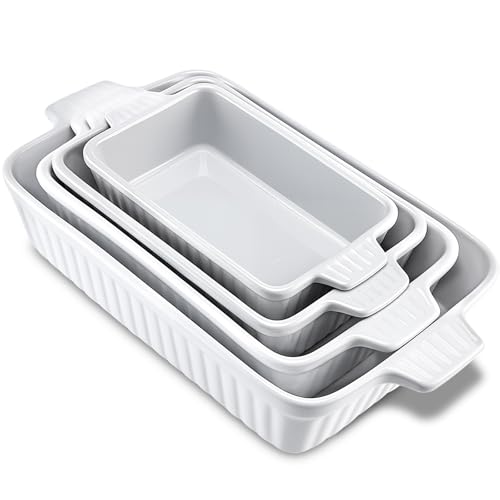
Loaf Pan: A standard 9×5-inch loaf pan is crucial for achieving the classic shape and even cooking. Alternatives like mini loaf pans can be used, but they may require adjustments in cooking time. Look for a non-stick or lightly greased pan to prevent sticking.
Mixing Bowls: Using at least two mixing bowls helps separate wet and dry ingredients for optimal texture. Glass or metal bowls are preferred for stability and ease of mixing.
Wire Rack: A wire cooling rack allows for proper air circulation around the bread as it cools, preventing sogginess. If unavailable, a stovetop with the burners off can be used as a makeshift rack.


Ingredients
For the Base
|
| Amount | Ingredient | Notes |
|---|---|---|
| 1 1/2 cups | all-purpose flour | provides structure |
| 1 teaspoon | baking soda | helps the bread rise |
| 1/4 teaspoon | salt | enhances flavor |
Wet Ingredients
| Amount | Ingredient | Notes |
|---|---|---|
| 1/2 cup | unsalted butter | softened, adds richness |
| 1 cup | sugar | sweetens the bread |
| 2 large | eggs | room temperature, binds ingredients |
| 3 medium | ripe bananas | mashed, provides moisture and flavor |
| 1 teaspoon | vanilla extract | adds aroma and depth |
Add-ins
| Amount | Ingredient | Notes |
|---|---|---|
| 1/2 cup | chopped walnuts | provides crunch and flavor |


Preparation Methods
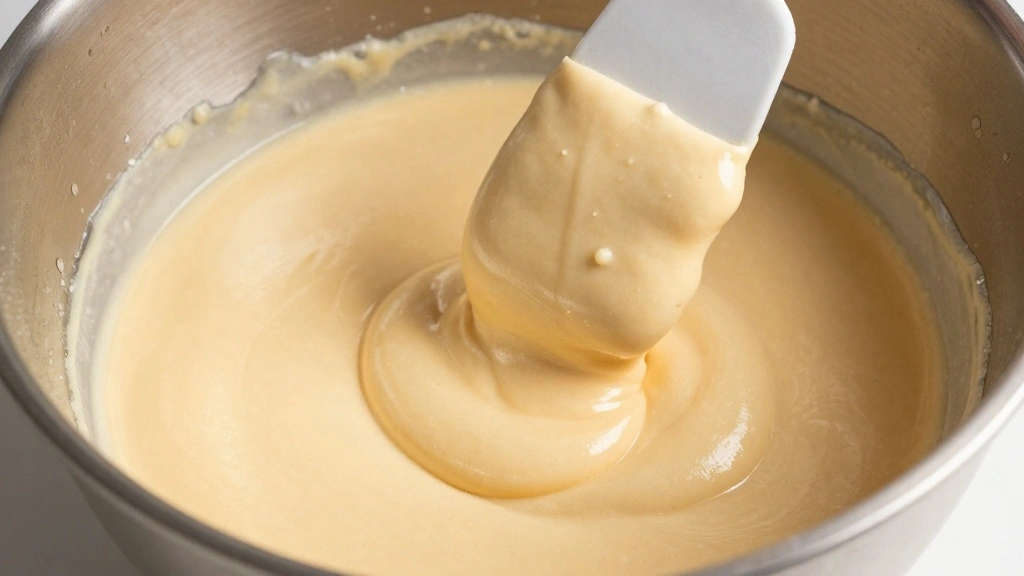
Creaming Butter and Sugar: Creaming is the process of beating butter and sugar together until light and fluffy. This technique incorporates air, contributing to the bread's rise and texture. Use a hand mixer on medium speed for best results.
Folding Ingredients: Folding is a gentle mixing method used to combine dry ingredients with wet without deflating the batter. A spatula is ideal for this technique, ensuring a tender crumb.
Testing for Doneness: Insert a toothpick into the center of the bread. If it comes out clean or with a few moist crumbs, the bread is done. Avoid overbaking to keep the bread moist.


Step 1: Preheat the Oven

Preheat your oven to 350°F (175°C).
Ensure the oven rack is in the center position for even baking.
Allow the oven to preheat fully before proceeding with the recipe.
This step ensures that the bread bakes evenly from start to finish.


Step 2: Prepare the Loaf Pan
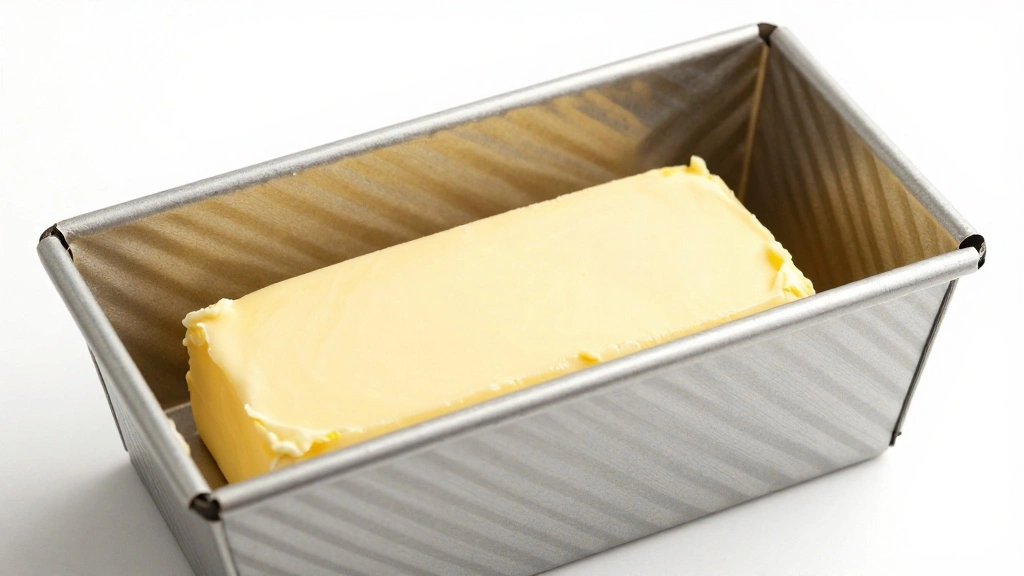
Grease a 9x5-inch loaf pan with butter or non-stick spray.
Ensure all corners and edges are well-coated to prevent sticking.
Alternatively, line the pan with parchment paper for easy removal.
Proper preparation prevents the bread from breaking apart when removed.


Step 3: Mix Dry Ingredients
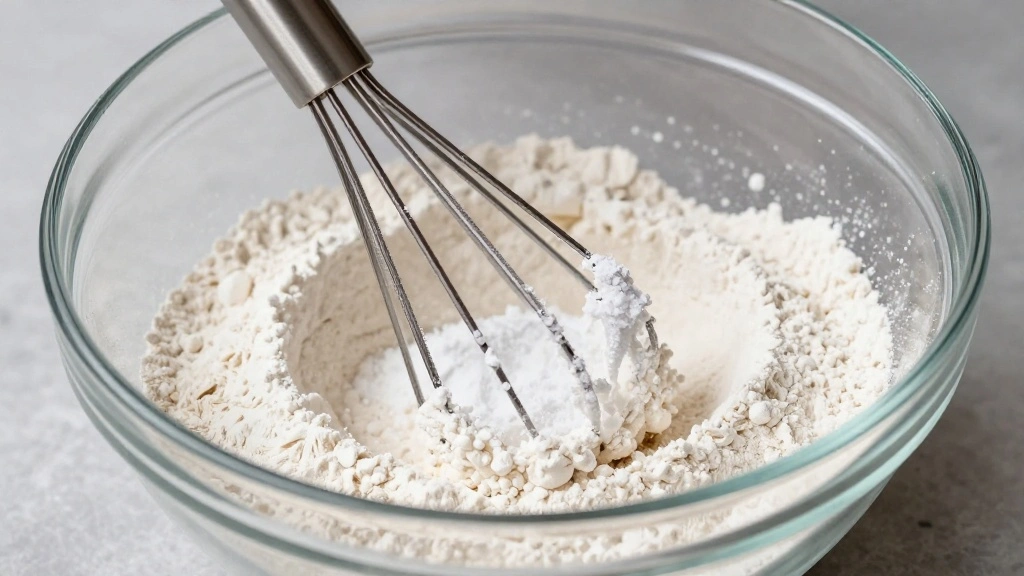
In a medium bowl, whisk together the flour, baking soda, and salt.
Ensure all ingredients are evenly distributed to prevent clumping.
Set the bowl aside for later use.
Proper mixing of dry ingredients ensures a uniform rise and texture.
Step 4: Cream Butter and Sugar
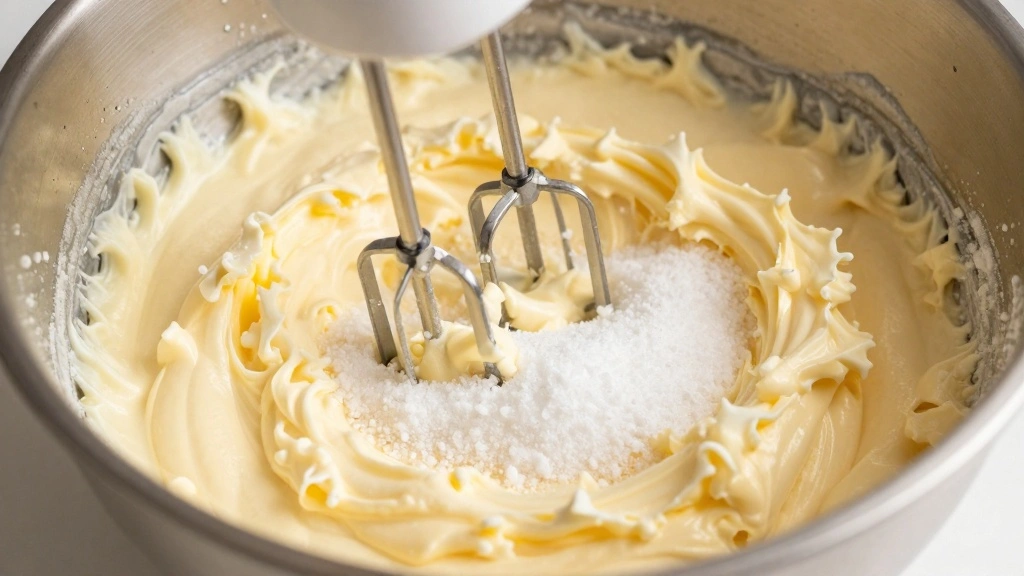
In a large mixing bowl, beat the softened butter and sugar until light and fluffy, about 3 minutes.
Use a hand mixer on medium speed for best results.
Watch for a pale, creamy texture as an indicator of proper creaming.
This step incorporates air, resulting in a lighter bread.


Step 5: Add Eggs and Vanilla
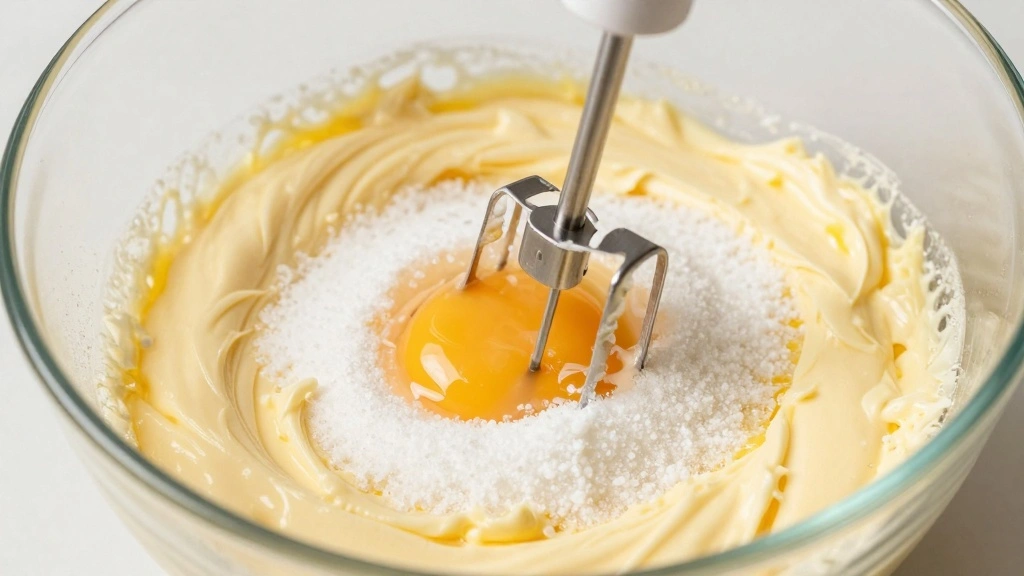
Add the eggs one at a time to the creamed mixture, beating well after each addition.
Pour in the vanilla extract and mix until combined.
Ensure the mixture is smooth and well-incorporated.
This step builds the structure of the bread, ensuring it holds together.
Step 6: Incorporate Bananas
Mash the ripe bananas in a separate bowl until smooth.
Add the mashed bananas to the wet ingredients and mix until just combined.
Avoid overmixing to maintain a tender texture.
Bananas add moisture and flavor, crucial for the bread's character.
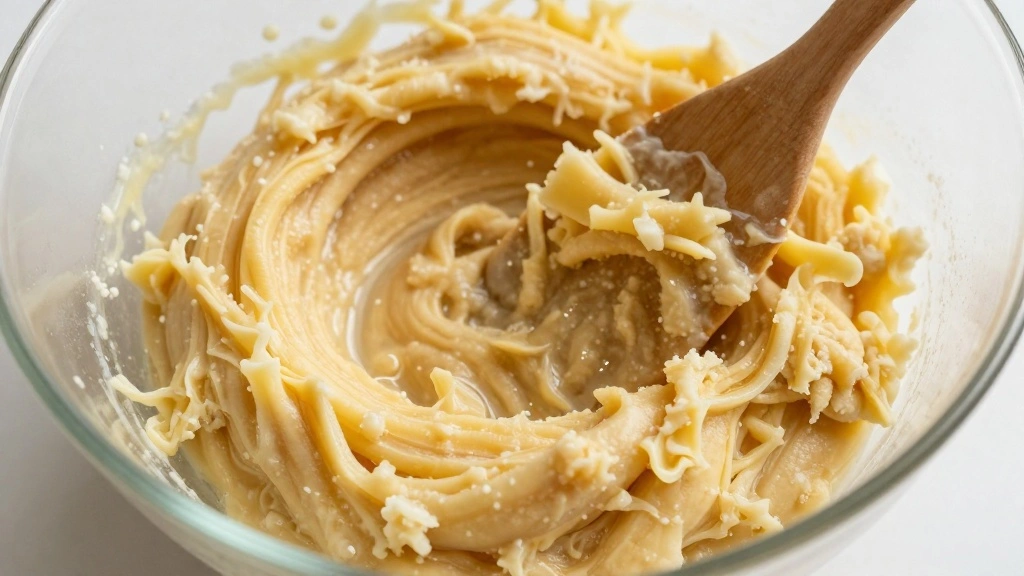
Step 7: Combine Wet and Dry Ingredients
Gradually fold the dry ingredients into the wet mixture using a spatula.
Mix until just combined, being careful not to overwork the batter.
Look for a thick, slightly lumpy batter as an indicator of proper mixing.
This step ensures a tender crumb without overdeveloping the gluten.
Step 8: Add Walnuts
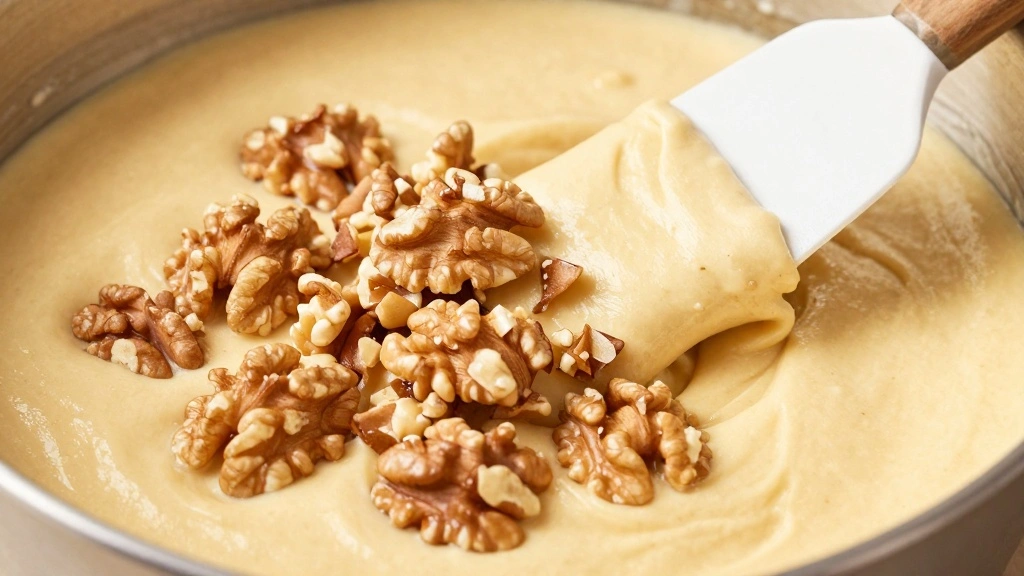
Gently fold the chopped walnuts into the batter until evenly distributed.
Ensure the nuts are coated in batter to prevent sinking during baking.
Reserve a few nuts to sprinkle on top for extra crunch.
Walnuts add texture and a nutty flavor, enhancing the bread.
Step 9: Pour Batter into Pan
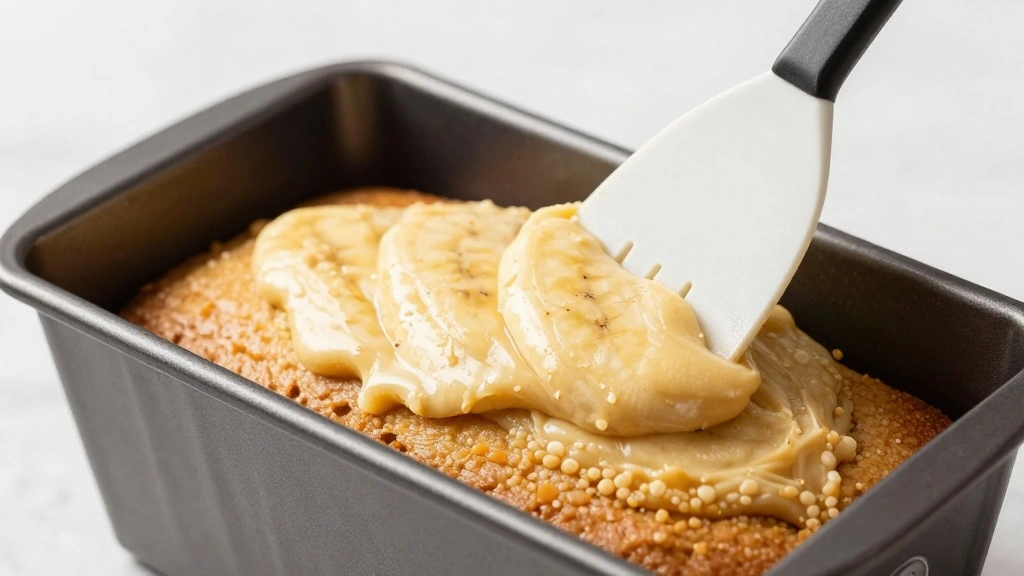
Pour the batter into the prepared loaf pan, smoothing the top with a spatula.
Tap the pan gently on the counter to remove air bubbles.
Sprinkle reserved walnuts on top for decoration.
This step ensures an even rise and attractive appearance.


Step 10: Bake the Bread
Place the loaf pan in the preheated oven on the center rack.
Bake for 60 minutes, or until a toothpick inserted in the center comes out clean.
Look for a golden-brown crust as an indicator of doneness.
Proper baking time ensures a moist interior and well-developed crust.


Step 11: Cool the Bread

Remove the loaf pan from the oven and place it on a wire rack.
Allow the bread to cool in the pan for 10 minutes.
Gently remove the bread from the pan and let it cool completely on the rack.
Cooling ensures the bread sets properly and slices cleanly.


Step 12: Slice and Serve

Once cooled, slice the banana nut bread into even pieces.
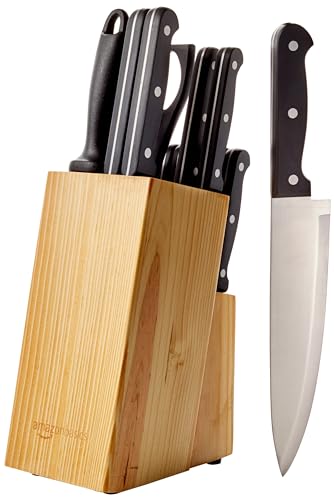
Use a serrated knife for clean cuts without tearing.
Serve with butter or enjoy plain for a delightful treat.
Slicing properly enhances the presentation and ease of serving.
Critical Timing and Temperature Guide
Oven Preheating: Preheat to 350°F (175°C) for at least 10 minutes. Ensure the oven reaches the correct temperature before baking. Common mistake: starting with a cold oven, resulting in uneven baking.
Baking Time: Bake for 60 minutes or until a toothpick comes out clean. Watch for a golden-brown crust as a visual indicator. Common mistake: underbaking, leading to a doughy center.
Cooling Duration: Cool in the pan for 10 minutes, then on a rack until completely cool. Look for the bread to firm up, indicating readiness for slicing. Common mistake: slicing too soon, causing crumbling.
Pro Tips for Banana Nut Bread
• Ingredient Selection: Choose ripe bananas with brown spots for maximum sweetness and flavor.
• Preparation Secret: Rest the batter for 10 minutes before baking to allow flavors to meld.
• Temperature Management: Use room temperature eggs and butter for better emulsification.
• Texture Enhancement: Avoid overmixing the batter to maintain a tender crumb.
• Flavor Layering: Add a pinch of cinnamon or nutmeg for a warm, spicy note.
• Make-Ahead Strategies: Store baked bread in an airtight container for up to 3 days or freeze for longer storage.
• Restaurant-Quality Finishing Touches: Brush the top with melted butter before serving for a glossy finish.
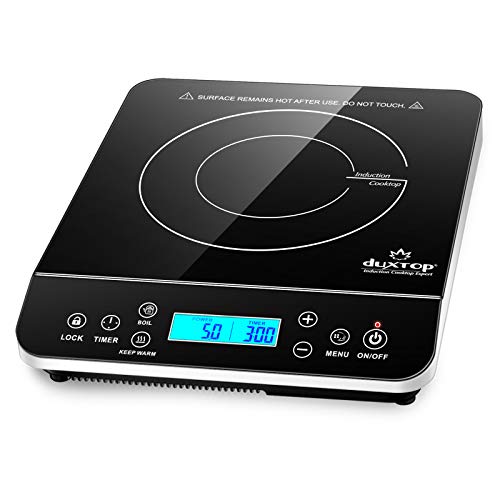
• Equipment Optimization: Ensure your oven is calibrated for accurate temperature control.


Troubleshooting Common Issues
• Texture Too Dense: Caused by overmixing the batter. Recognize it by a heavy, compact loaf. To fix, fold ingredients gently and avoid overworking.
• Flavors Unbalanced: Result of unripe bananas or insufficient salt. Notice a bland taste. Adjust by using ripe bananas and the correct amount of salt.
• Bread Sinks in the Middle: Occurs from underbaking or excess moisture. Identify with a wet center. Prevent by ensuring the correct baking time and checking doneness.
• Crumbly Texture: Due to too much flour or overbaking. Spot by a dry, crumbly loaf. Remedy by measuring flour accurately and monitoring baking time.
• Burnt Edges: Result of high oven temperature or too long in the oven. Recognize by dark, hard edges. Avoid by checking oven calibration and using the middle rack.
Variations and Regional Differences
• Southern Style: Includes pecans instead of walnuts and a touch of molasses for a deeper flavor, reflecting Southern culinary traditions.
• Caribbean Influence: Adds shredded coconut and a hint of rum, showcasing tropical flavors common in Caribbean desserts.
• Gluten-Free Version: Utilizes almond flour and gluten-free baking powder, catering to dietary restrictions while maintaining flavor.
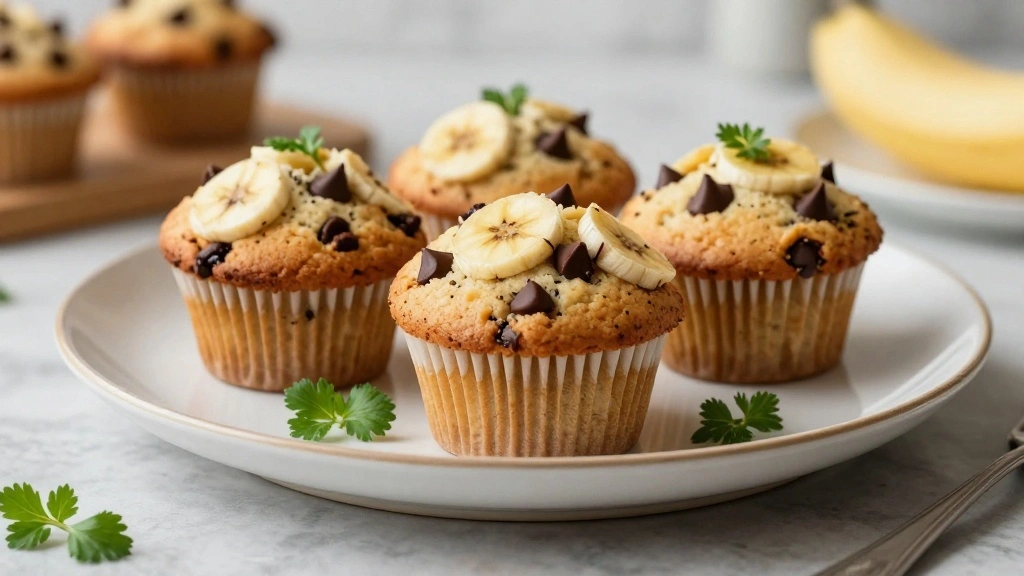
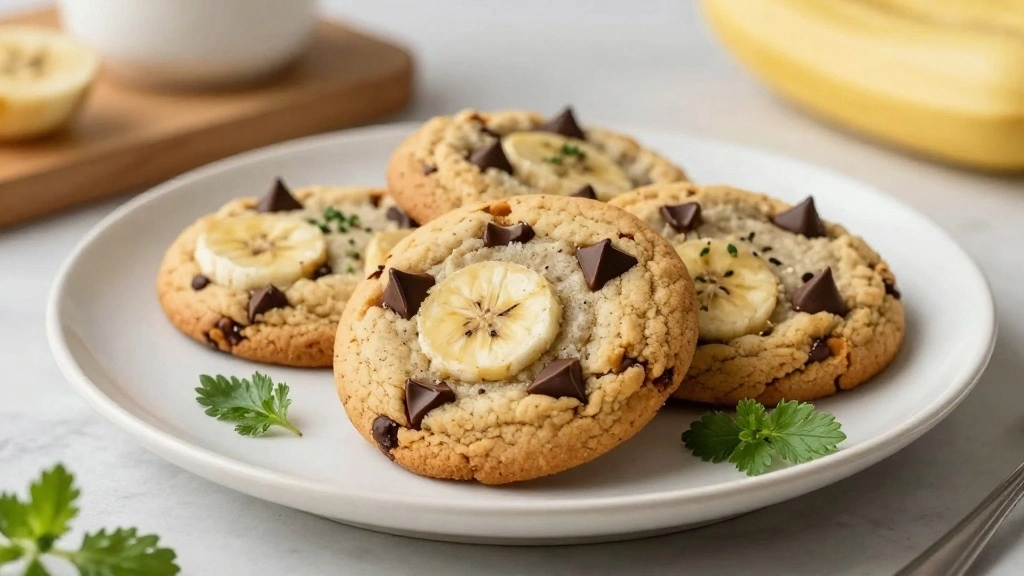
• Chocolate Banana Bread: Incorporates cocoa powder and chocolate chips, creating a rich, dessert-like variation popular in modern baking.


Food Science Behind the Recipe
• Leavening Agents: Baking soda reacts with acidic banana to release carbon dioxide, aiding the bread's rise and creating a light texture.
• Maillard Reaction: The browning of the crust involves complex reactions between sugars and proteins, enhancing flavor and aroma.
• Emulsification: Eggs and butter work together to emulsify and stabilize the batter, contributing to the bread's structure and moisture.
Frequently Asked Questions
What's the most common mistake people make when preparing banana nut bread? Overmixing the batter, which leads to a dense texture, is the most common error. To avoid this, fold ingredients gently.
Can I use frozen bananas for this recipe? Yes, thaw frozen bananas completely and drain any excess liquid before mashing and adding to the batter.
How can I make this recipe vegan? Replace eggs with flaxseed meal mixed with water and use a vegan butter alternative for a plant-based version.
Why did my bread turn out dry? Overbaking or too much flour can cause dryness. Ensure accurate measuring and check doneness earlier.
Is it possible to add other nuts or seeds? Absolutely, you can customize by adding pecans, almonds, or sunflower seeds for different textures and flavors.
How should I store banana nut bread? Store in an airtight container at room temperature for up to 3 days or freeze for longer preservation.
Can I double the recipe? Yes, but use separate bowls for mixing to ensure even distribution of ingredients and proper baking.
Serving and Presentation Guide
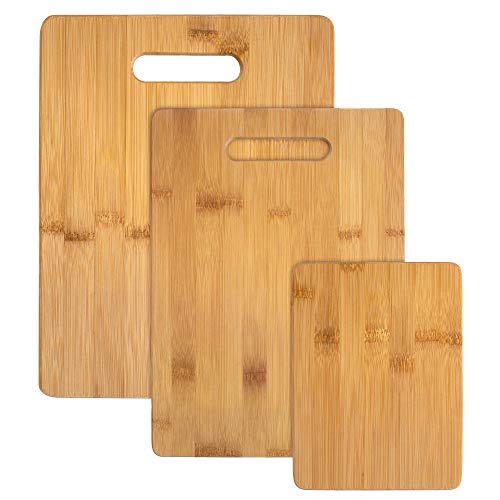
• Traditional Presentation: Serve slices on a wooden board with a pat of butter or a dollop of cream cheese on the side.
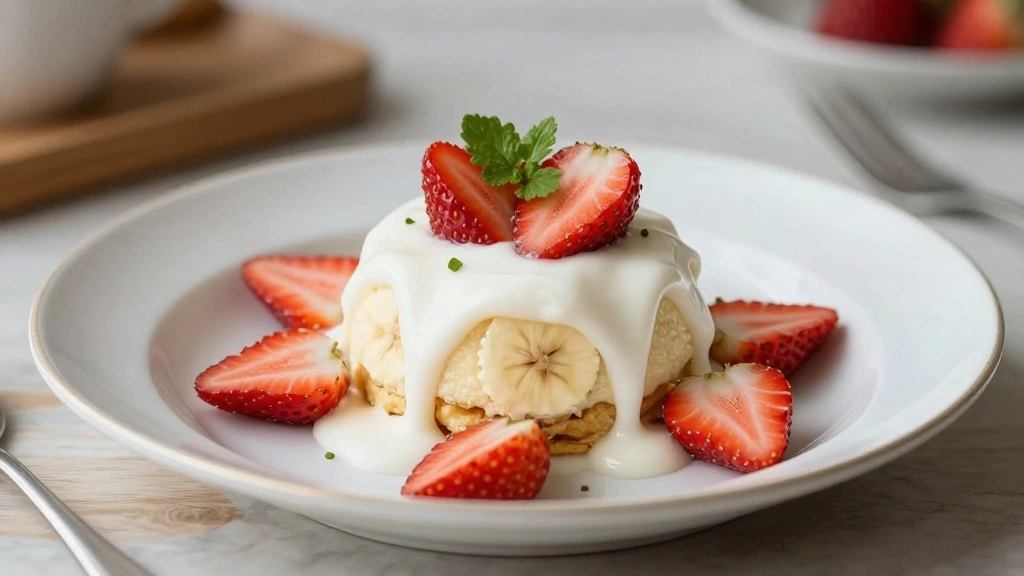
• Café Style: Present on a plate with a dusting of powdered sugar and a sprig of mint for a touch of elegance.
• Breakfast Platter: Include slices alongside fresh fruit, yogurt, and a cup of coffee for a balanced breakfast offering.
• Gift-Worthy Packaging: Wrap a loaf in parchment paper, tie with twine, and attach a handwritten note for a thoughtful homemade gift.


Conclusion
Embrace the simplicity and satisfaction of baking your own banana nut bread.
With its warm flavors and comforting aroma, this recipe is sure to become a household favorite.
Take the time to savor each bite and share this delightful treat with loved ones.