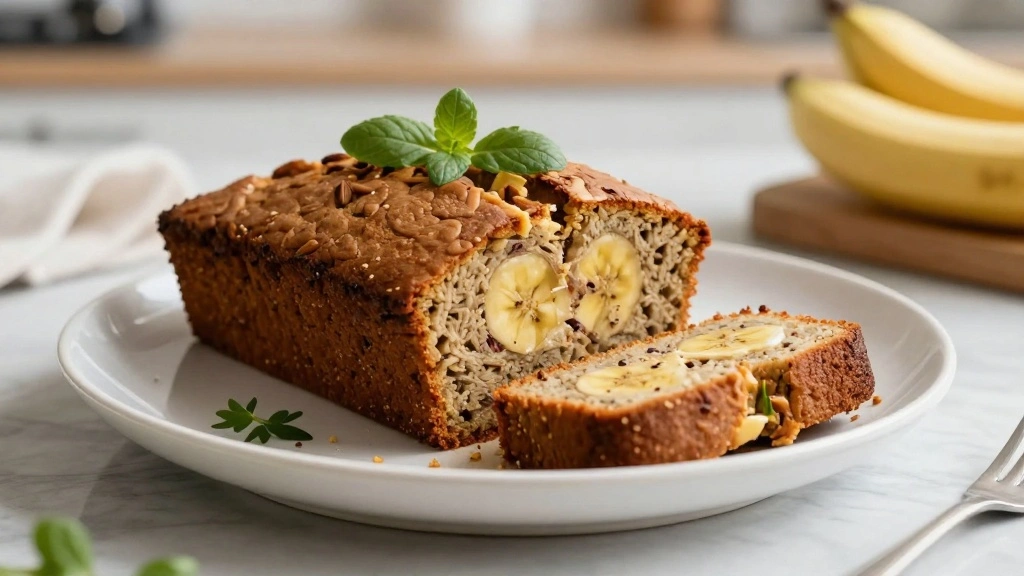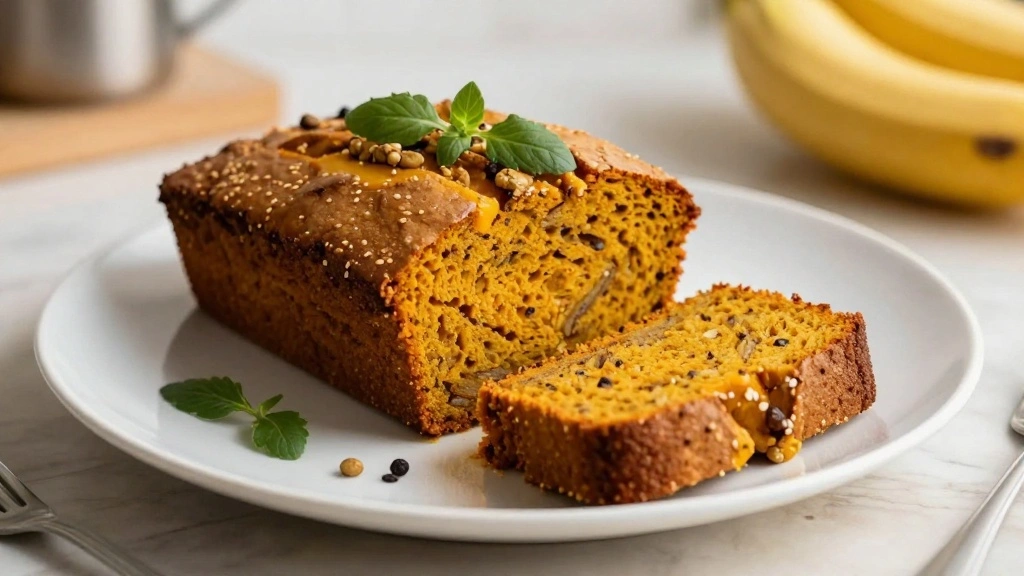

The fragrance of ripe bananas and the richness of cream cheese frosting come together to create an irresistible treat.
These Banana Bars with Cream Cheese Frosting are moist, flavorful, and incredibly easy to make.
Whether you have a bunch of overripe bananas or simply crave a comfort dessert, this recipe is perfect for any occasion.
I first stumbled upon this recipe while searching for a way to use up extra bananas and was delighted by its simplicity and taste.
Perfect for a cozy afternoon snack or a delightful dessert, this recipe promises to satisfy your sweet tooth.
With a tender crumb and a luscious topping, these bars will soon become a family favorite.
The History and Cultural Significance
• Banana Bars trace their origins to the United States in the mid-20th century, where they were initially created as a way to use overripe bananas.
• The dish evolved over decades as home bakers experimented with different spices and frostings, eventually becoming the beloved version we know today.
• In American culture, this dish traditionally appears at potlucks and family gatherings, symbolizing community and sharing.
• While many variations exist across different regions, the authentic version maintains a moist texture and rich banana flavor that sets it apart from imitations.
Recommended Products

One 16 oz can of Duncan Hines Creamy Cream Cheese Frosting

Eight 14 oz cans of Duncan Hines Whipped Cream Cheese Frosting

CREAM CHEESE FLAVORED FROSTING: Top cakes, cupcakes, cookies, and other baked treats with rich and creamy Betty Crocker frosting featuring the indulgent taste of cream cheese


Recipe Overview
Recommended Products

Receive 1 box of Simple Mills Almond Flour Banana Bread Mix. Real banana flavor from real, actual bananas. Real banana flavor from real, actual bananas. Great for fun and nutritious baking.


Receive 3 boxes of Simple Mills Almond Flour Banana Bread mix. Real banana flavor from real, actual bananas. Great for fun and nutritious baking.
Nutritional Information (per serving)
Recommended Products

Hoosier Hill Farm Cream Cheese Powder, made from real cream cheese, is always ready to elevate your recipes. Powdered cream cheese is a great pantry staple for easy desserts and better baked goods.

Contains: 1 Container of Organic Frosting

The information below is per-pack only


Essential Equipment Guide
Mixing Bowl: A sturdy mixing bowl is essential for combining ingredients evenly. Look for a bowl with a non-slip base to prevent it from moving during vigorous mixing.
Electric Mixer: An electric mixer ensures that your batter is smooth and well-incorporated. Hand mixers are an alternative, but a stand mixer offers the best results.
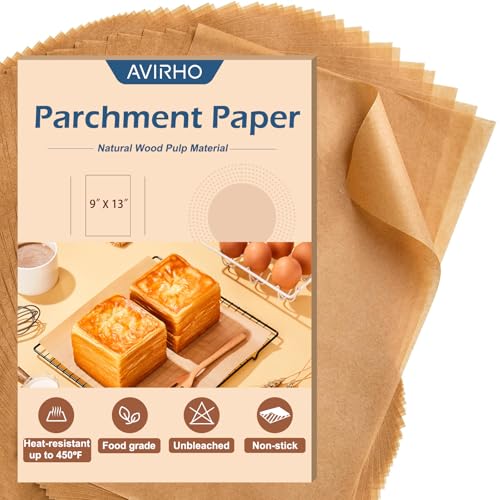
Baking Pan: A 9×13-inch baking pan provides the ideal surface area for these bars, ensuring even cooking. Non-stick pans are recommended, but parchment paper can be used as a liner in regular pans.
Recommended Products

🍃【140 SHEETS - HIGH VALUE PACK】 Get 140 generously sized sheets! This large pack offers exceptional value compared to smaller packs, ensuring you're always prepared for baking, roasting, and meal prep.

EXTRA STRONG - 200pcs pre-cut parchment paper sheets made of extra thicker 45gsm paper vs commonly used 35gsm or 40gsm paper, it's about 12% thicker than others'. We define it as heavy duty parchment paper.

SIMPLIFY BAKING: Our 9x13 inch Pre-Formed Parchment Paper ensures mess-free, non-stick baking, making cleanup a breeze!


Ingredients
Recommended Products

🧇【𝐀𝐋𝐋-𝐈𝐍-𝐎𝐍𝐄 & 𝟑𝟎𝟒 𝐃𝐈𝐒𝐇𝐖𝐀𝐒𝐇𝐄𝐑 𝐒𝐀𝐅𝐄】:1* Whisk, 2* Beaters, 2*Dough Hooks. 2026 Newly upgraded all-pure copper motor. 304 Dishwasher safe attachments. Effectively improves the stirring speed solves many problems for your kitchen, such as mixing eggs, whipping cream, beating dough for chocolate chip cookies, biscuits, cakes, pizzas, etc.

NO MORE LOST BEATERS: The snap-on storage case that comes with the Hamilton Beach hand mixer neatly holds the 2 beaters and whisk in one easy-to-find place, reducing the chance that the attachments are lost or misplaced.

SELF-CONTROL SPEED – Features 5 adjustable speeds, ranging from 1 (Lowest) to 5 (Highest), allowing you to choose the ideal mixing speed for perfectly customizable texture and consistency in any recipe. Perfect for whipping cream, making butter, beating egg whites and batter, or preparing mashed potatoes and other dishes.
For the Base
|
| Amount | Ingredient | Notes |
|---|---|---|
| 1 cup | mashed bananas | use ripe bananas for best flavor |
| 1 cup | sugar | adds sweetness |
| 1/2 cup | butter | softened, adds richness |
| 2 large | eggs | room temperature |
| 1 teaspoon | vanilla extract | enhances flavor |
| 1 1/2 cups | all-purpose flour | provides structure |
| 1 teaspoon | baking soda | helps the bars rise |
| 1/4 teaspoon | salt | enhances flavor |
For the Cream Cheese Frosting
| Amount | Ingredient | Notes |
|---|---|---|
| 8 ounces | cream cheese | softened, adds tang and creaminess |
| 1/2 cup | butter | softened, adds richness |
| 3 1/2 cups | powdered sugar | creates smooth, sweet frosting |
| 1 teaspoon | vanilla extract | adds depth of flavor |


Preparation Methods
Folding: Folding is a gentle mixing technique used to incorporate ingredients without deflating air. This is important for keeping the batter light and ensuring a tender crumb.
Creaming: Creaming involves beating butter and sugar together until light and fluffy, which is crucial for creating a tender, moist texture in baked goods.
Sifting: Sifting flour and other dry ingredients aerates them, preventing lumps and ensuring they mix more evenly with wet ingredients.
Recommended Products

CREAM CHEESE FLAVORED FROSTING: A delicious artificially flavored cream cheese frosting; Goes great with baked goods such as cakes, cupcakes, and cookies


Step 1: Preheat Oven and Prepare Pan

Preheat your oven to 350°F (175°C).
Grease a 9x13-inch baking pan or line it with parchment paper.
Ensure the oven reaches the correct temperature before baking.
Proper pan preparation prevents the bars from sticking and ensures even baking.


Step 2: Mash Bananas
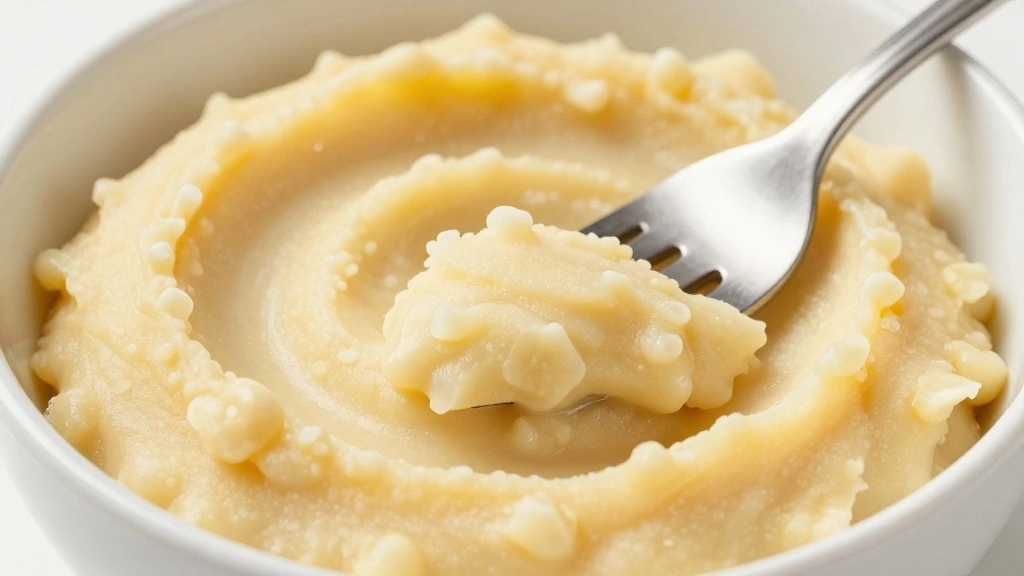
Peel and mash bananas until smooth.
Use a fork or potato masher to achieve a consistent texture.
Look for a creamy consistency without large chunks.
This step ensures the banana flavor is evenly distributed throughout the batter.
Recommended Products

Cream Cheese Powder - Whether you're creating delicious homemade cheesecake, whipping up frosting or making spreads, Judee’s Cream Cheese is a perfect baking essential to add to your recipes and kitchen


CREAM CHEESE FROSTING: A delicious whipped cream cheese frosting that's perfect for cakes, cupcakes and cookies


Step 3: Cream Butter and Sugar
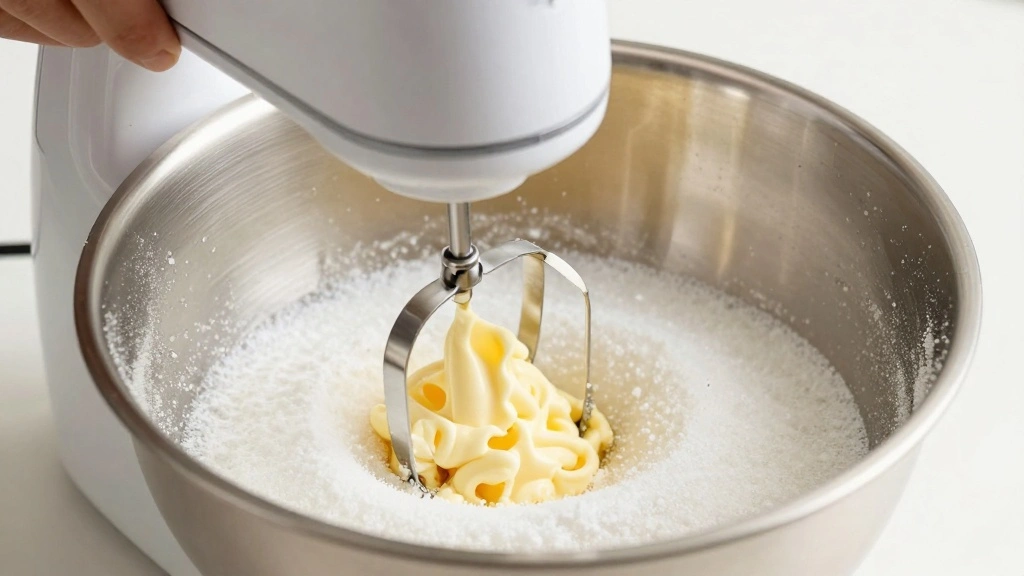
In a mixing bowl, combine softened butter and sugar.
Use an electric mixer to beat until light and fluffy.
This process should take about 2-3 minutes.
Achieving the right texture here is key to a tender crumb in your bars.
Recommended Products

EXTRA STRONG - 200pcs pre-cut parchment paper sheets made of extra thicker 45gsm paper vs commonly used 35gsm or 40gsm paper, it's about 12% thicker than others'. We define it as heavy duty parchment paper.

【 Conveniently Prefolded for Ease of Use 】 Our pre-cut and prefolded parchment paper sheets are designed to fit perfectly into 9x13 pans and air fryers. Say goodbye to the hassle of trimming and adjusting traditional parchment paper! The precise folds ensure the sheets lay flat and securely in your cookware, eliminating bending or curling and allowing effortless baking and cooking every time.
PLANT-BASED SILICONE OIL COATING — THE HEALTHIER CHOICE: Unlike conventional parchment paper coated with petroleum-derived silicone, our parchment sheets use 100% plant-based silicone oil — sourced from natural botanical origins, free from chlorine bleaching, fluorescent whitening agents, and synthetic chemicals. Food-grade certified, BPA-free, and safe for direct contact with your food. No waxy feeling. No chemical taste. No residue, making it the healthiest parchment paper choice for your family.


Step 4: Add Eggs and Vanilla
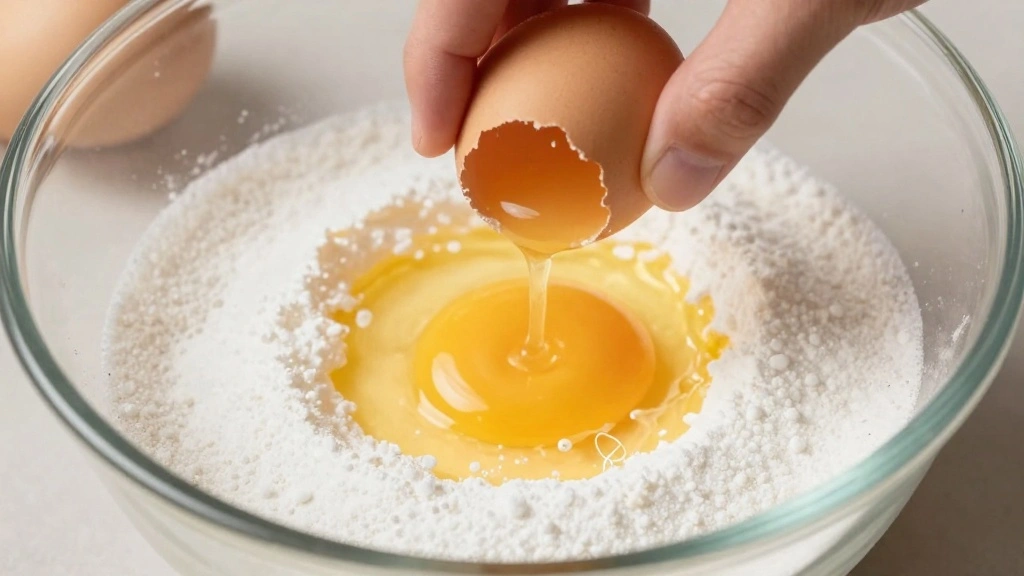
Add eggs one at a time to the butter mixture, beating well after each addition.
Pour in vanilla extract and mix until combined.
Ensure each egg is fully incorporated before adding the next.
Proper mixing at this stage ensures a uniform batter.
Recommended Products

SELF-CONTROL SPEED – Features 5 adjustable speeds, ranging from 1 (Lowest) to 5 (Highest), allowing you to choose the ideal mixing speed for perfectly customizable texture and consistency in any recipe. Perfect for whipping cream, making butter, beating egg whites and batter, or preparing mashed potatoes and other dishes.

【6-Speeds& Turbo Function】:With variable 6 progressive speeds and the turbo function can choose appropriate speed for different ingredients needs. Speed 1-2 for Liquid and Butter, Speed 3-4 for Cheese and Dough, Speed 5-6 for mixing Cream and Egg yolks.

Flex edge beaters deliver 2X the surface area for faster, more thorough mixing.Compared to metal Turbo Beater II accessories based on cake batter.


Step 5: Incorporate Mashed Bananas
Add the mashed bananas to the wet mixture.
Use a spatula to fold the bananas into the batter gently.
Fold until just combined, avoiding over-mixing.
This step ensures the bars remain moist and flavorful.
Step 6: Combine Dry Ingredients
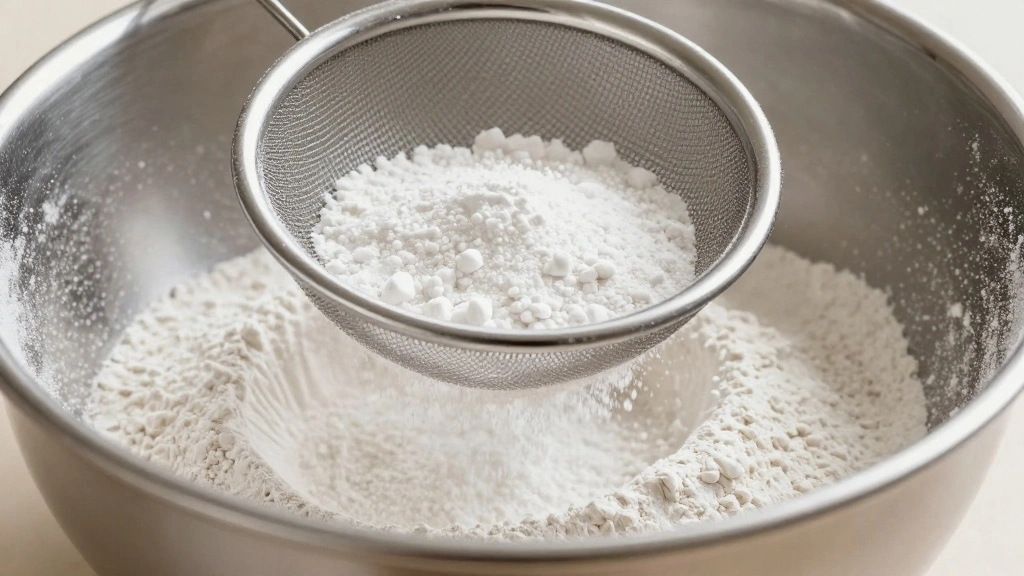
In a separate bowl, whisk together flour, baking soda, and salt.
Sift the dry ingredients to aerate and remove lumps.
The mixture should be even and free of clumps.
This ensures a smooth, consistent final batter.
Step 7: Mix Wet and Dry Ingredients
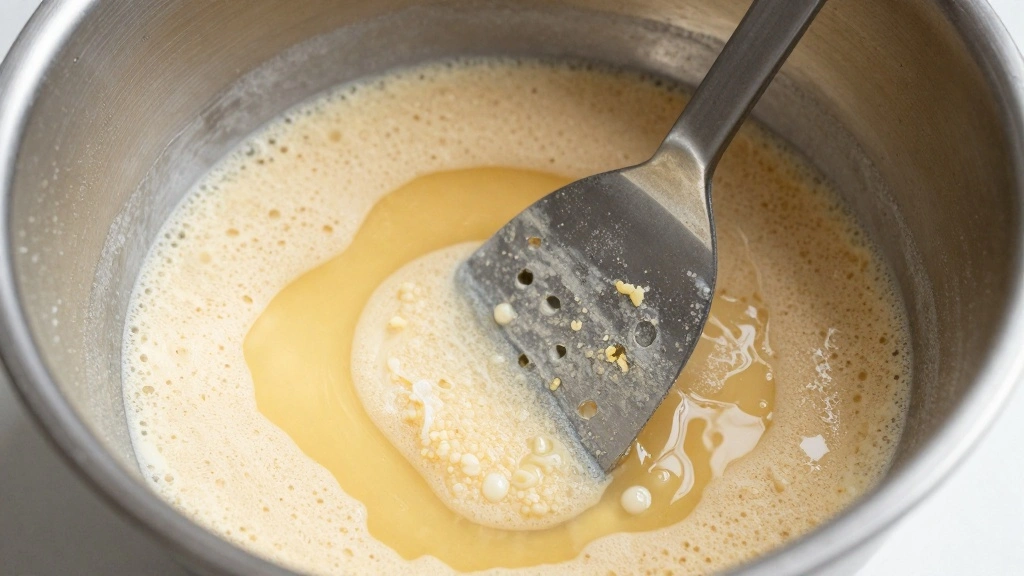
Gradually add the dry ingredients to the wet mixture.
Fold gently with a spatula until just combined.
Do not over-mix, as this can lead to dense bars.
The batter should be smooth but slightly lumpy.
Step 8: Pour Batter and Bake
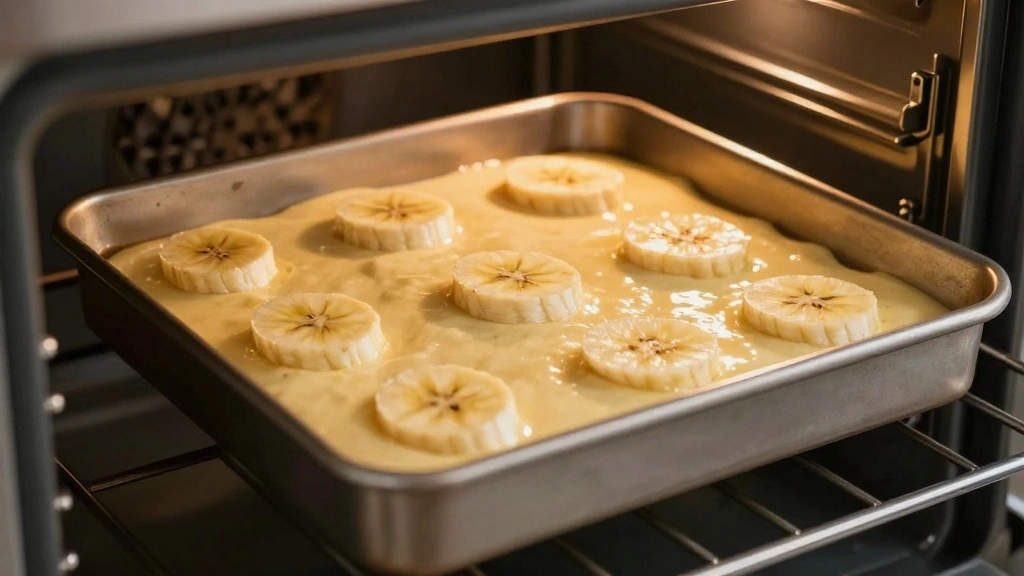
Pour the batter into the prepared baking pan.
Spread evenly with a spatula to ensure even cooking.
Bake in the preheated oven for 25 minutes.
The bars are done when a toothpick inserted in the center comes out clean.


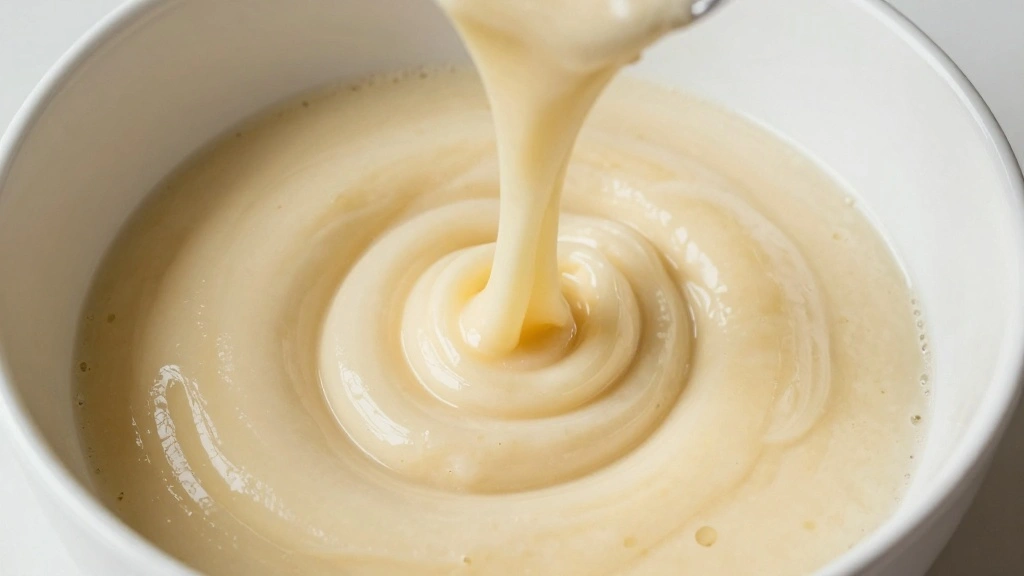
Step 9: Prepare Cream Cheese Frosting
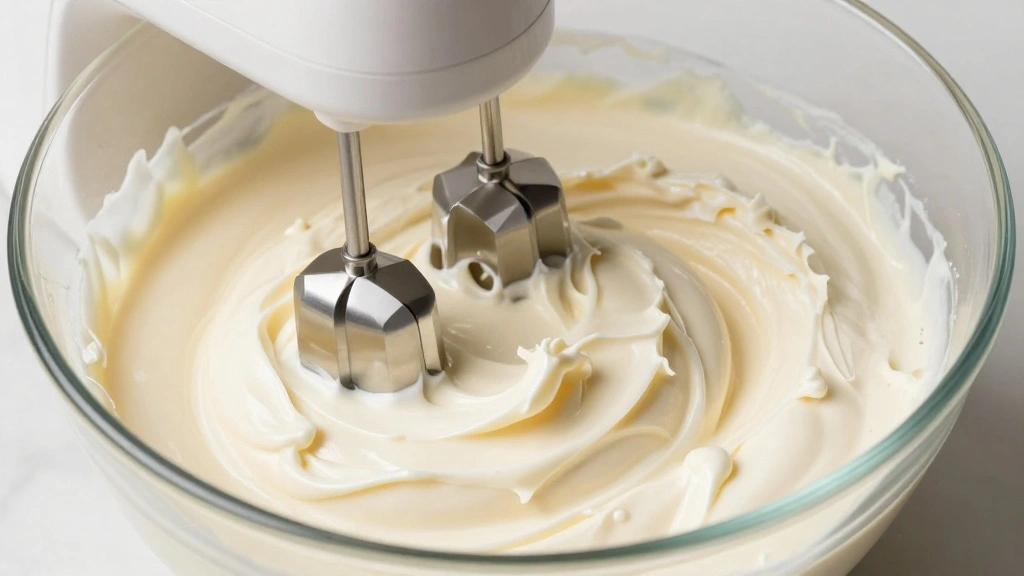
While the bars bake, beat cream cheese and butter until smooth.
Gradually add powdered sugar, mixing until creamy.
Add vanilla extract and beat until fully combined.
The frosting should be smooth and spreadable.
Step 10: Cool and Frost Bars
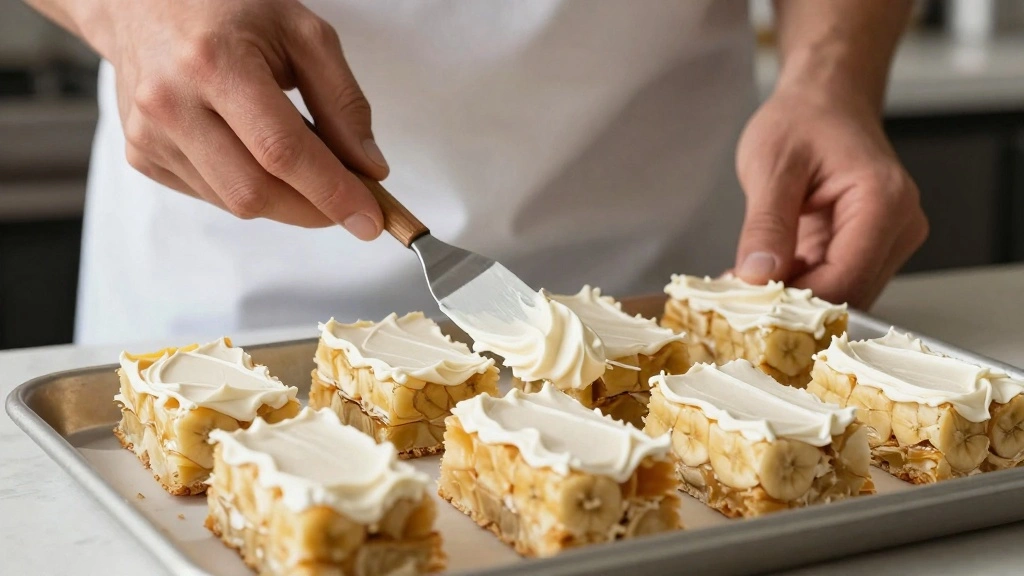
Allow the bars to cool completely in the pan.
Once cool, spread the cream cheese frosting evenly on top.
Use an offset spatula for a smooth finish.
Even cooling prevents the frosting from melting.
Critical Timing and Temperature Guide
Baking the Bars: Bake at 350°F (175°C) for 25 minutes, or until a toothpick comes out clean. Avoid opening the oven door frequently, as it can cause uneven baking.
Cooling the Bars: Allow the bars to cool for at least 30 minutes before frosting. Cooling guarantees the frosting won't melt and ensures proper texture.
Frosting Application: Apply frosting once bars are completely cool. Ensure an even spread to avoid a lopsided appearance and to maintain the ideal thickness.
Pro Tips for Banana Bars
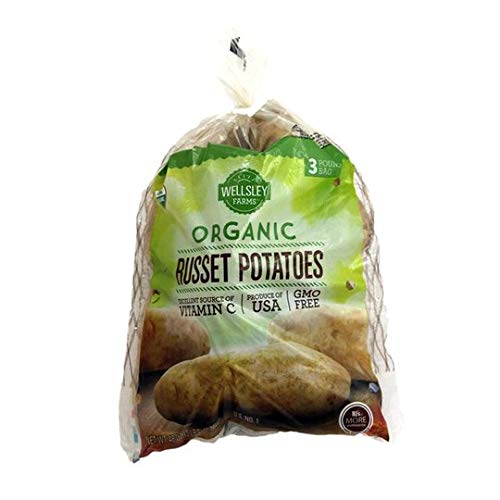
• Ingredient Selection: Choose bananas that are heavily speckled with brown spots for the sweetest flavor and best texture in the bars.
• Preparation Secret: Let the mashed bananas sit for a few minutes to release moisture, which enhances the overall moistness of the bars.
• Temperature Management: Ensure all ingredients are at room temperature to facilitate even mixing and optimal texture.
• Texture Enhancement: Use the folding technique instead of vigorous mixing to maintain a light and airy batter.
• Flavor Layering: Add a pinch of cinnamon to the batter to introduce a warm, complex flavor that complements the bananas.
• Make-Ahead Strategies: Prepare the bars a day in advance and store unfrosted in an airtight container; frost just before serving for freshness.
• Restaurant-Quality Finishing Touches: Top the frosted bars with a sprinkle of finely chopped walnuts or a dusting of cinnamon for added texture and visual appeal.
• Equipment Optimization: Use a rubber spatula for folding to maintain the desired batter texture without overworking the flour.


Troubleshooting Common Issues
• Texture Too Dense: Often caused by over-mixing the batter or using cold ingredients. Ensure ingredients are at room temperature and fold gently.
• Frosting Too Runny: This can happen if the cream cheese or butter is too soft. Chill them slightly before beating to achieve the right consistency.
• Bars Overbaked: Always check at the minimum baking time with a toothpick. If it comes out with moist crumbs, the bars are done.
• Uneven Baking: Ensure the oven is properly preheated and avoid overcrowding it with other pans.
• Frosting Not Sticking: Make sure the bars are completely cool before applying the frosting. If not, the heat will cause it to slide off.


Variations and Regional Differences
• Southern Style: Includes pecans in the batter and a dash of bourbon in the frosting for a richer, more indulgent flavor.
• Health-Conscious Variation: Substitute half the flour with whole wheat flour, and use honey instead of sugar for a nutritious twist.
• Gluten-Free Version: Use a gluten-free flour blend and ensure all other ingredients are certified gluten-free.
• Vegan Adaptation: Replace eggs with flax eggs, use vegan butter, and dairy-free cream cheese for the frosting.
Food Science Behind the Recipe
• Ripening Process: Understanding the ripening process of bananas helps in selecting those with the best sugar content, enhancing the natural sweetness and flavor.
• Role of Baking Soda: Baking soda reacts with the acidic components in bananas, creating carbon dioxide which helps the bars rise and become fluffy.
• Creaming Method: The creaming method incorporates air into the batter, which lightens the texture and contributes to a tender crumb.


Frequently Asked Questions
What's the most common mistake people make when preparing Banana Bars? Over-mixing the batter is a frequent mistake, leading to dense bars. Always fold ingredients gently.
Can I freeze Banana Bars? Yes, you can freeze the bars unfrosted. Wrap them tightly in plastic wrap and store in an airtight container for up to 3 months.
How do I know when the bars are done? The bars are done when a toothpick inserted into the center comes out clean or with a few moist crumbs.
Can I use frozen bananas? Yes, thaw them completely and drain excess liquid before mashing.
What if my frosting is too sweet? Balance the sweetness by adding a pinch of salt or a squeeze of lemon juice.
Why are my bars dry? This could be due to overbaking or not using enough bananas. Ensure correct baking time and ingredient proportions.
How can I make these bars healthier? Substitute whole wheat flour and reduce sugar to make a healthier version.
Serving and Presentation Guide
• Traditional Presentation: Serve the bars in squares on a rustic wooden platter, topped with a sprinkle of chopped nuts.
• Casual Gathering: Arrange the bars on a cake stand with a dusting of powdered sugar for a simple yet elegant look.
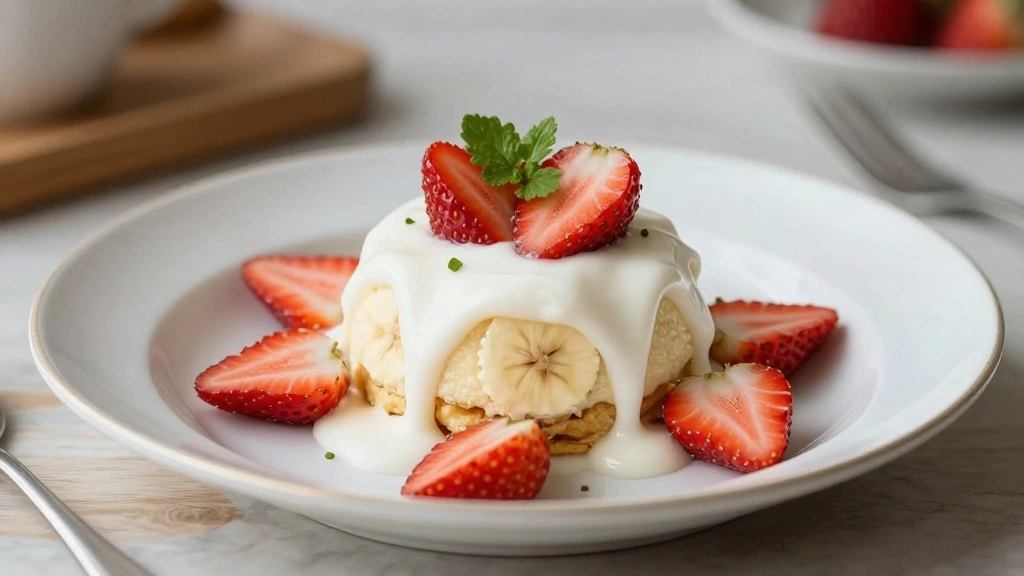
• Gourmet Style: Plate each bar individually with a drizzle of caramel sauce and a mint leaf for a restaurant-quality presentation.
• Kid-Friendly: Cut the bars into fun shapes using cookie cutters and top with colorful sprinkles.


Conclusion

With their moist texture and rich flavor, these Banana Bars with Cream Cheese Frosting are a delightful treat for any occasion.
Easy to prepare and even easier to enjoy, they’re perfect for sharing with family and friends.
Give this recipe a try and watch as it becomes a staple in your dessert repertoire.
Happy baking!