
No-Bake Banana Pudding Cheesecake is a dessert that perfectly marries the creamy, rich flavors of cheesecake with the comforting, nostalgic taste of banana pudding.
Its appeal lies in its simplicity and the fact that it requires no oven time, making it ideal for hot summer days or when you’re short on time.
The smooth, velvety texture of the cream cheese paired with the sweet, ripe bananas creates a dessert that is both decadent and refreshing.
Whether you’re a seasoned chef or a novice baker, this easy dessert will impress your friends and family with its stunning presentation and delightful taste.
I first discovered this recipe during a Southern potluck, where it was the star of the dessert table, and I’ve been perfecting it ever since.
The History and Cultural Significance
• No-Bake Banana Pudding traces its origins to the Southern United States, where it was originally created as a simple, comforting dessert.
• The dish evolved over decades as home cooks began incorporating cream cheese and other ingredients, eventually becoming the beloved version we know today.
• In Southern culture, this dish traditionally appears at family gatherings and potlucks, symbolizing warmth and hospitality.
• While many variations exist across different regions, the authentic version maintains its creamy texture and banana flavor that sets it apart from imitations.
Recommended Products


SUGAR-FREE DESSERT: Simply Desserts is a simply delish dessert made with clean ingredients. Every creamy spoonful is just as tasty—if not better—than your childhood favorite!


Recipe Overview
Recommended Products
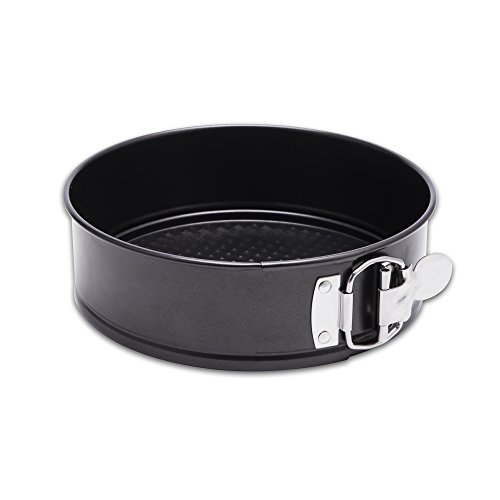
HEALTHY COATING: Our Non-stick coating is a food grade safety coating with no harsh chemicals or hazardous substances. The true double layer coating allows the cake be easily removed without damage. Avoid making it difficult to clean the cake because it sticks to the pan or leaves a lot of cake residue.

High Quality Springform Pan 9 Inch Nonstick - Leakproof springform pan set comes with 1pcs 9 inch springform pan, 1pcs cheesecake pan protector for water bath and 50pcs pre-cut parchment paper. The spring form pan for cheesecake is ideal for making cheese cake, yogurt cake, mousse, coffee cake, lasagna, quiche, paella, cookies and any similar recipes, and the spring pans for baking cheesecake also makes a great and practical gift for your friends.

7-Inch Size for Small Bakes: Ideal for mini cheesecakes, desserts and small-batch baking; please check the pan size before ordering
Nutritional Information (per serving)
Recommended Products

Twelve 9-inch Keebler Ready Crust Graham Cracker Pie Crusts

One 6 ounce ready-to-eat Graham Cracker Pie Crust

Keebler Ready Pie Crust, Graham Cracker, 10 in


Essential Equipment Guide
Springform Pan: Essential for easy removal of the cheesecake, ensuring clean edges and a professional look. Alternatives like pie dishes can work, but they may affect presentation. Look for a non-stick surface and a secure clasp.
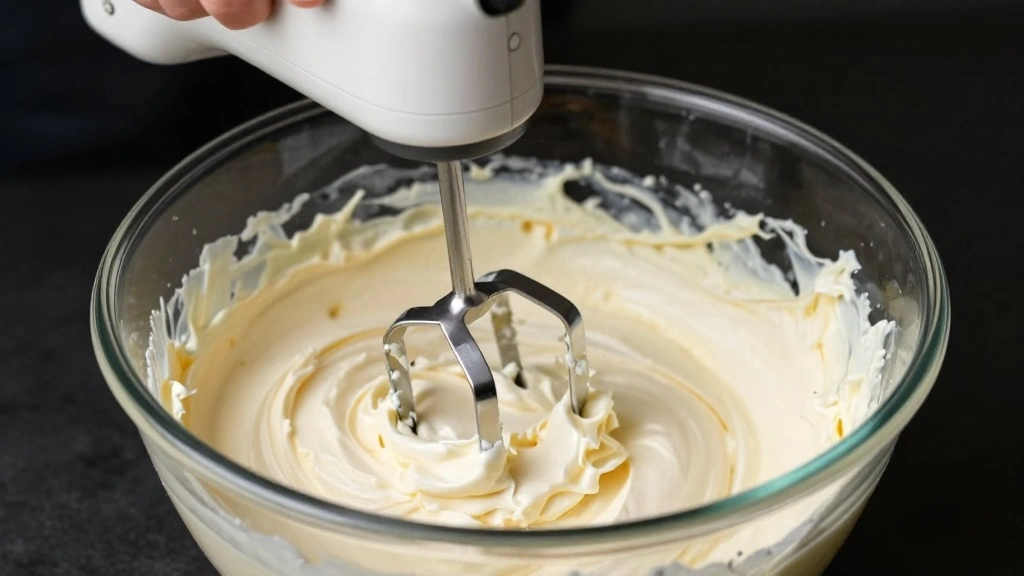
Hand Mixer: Crucial for achieving the smooth, lump-free texture of the cheesecake filling. A stand mixer is a good alternative. Ensure the mixer has multiple speed settings.
Spatula: Important for scraping down the sides of the bowl and evenly spreading the filling. A silicone spatula is flexible yet sturdy, making it ideal for this task.
Recommended Products

One 16-ounce container of Frozen Original Whipped Topping
One 8 ounce container of Frozen Original Whipped Topping


Ingredients
Recommended Products
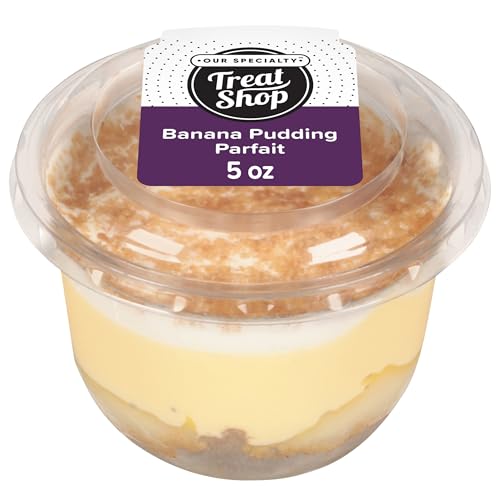
Parfait cup is shipped frozen to preserve freshness
For the Base
|
| Amount | Ingredient | Notes |
|---|---|---|
| 2 cups | graham cracker crumbs | provides a crunchy foundation |
| 1/2 cup | unsalted butter | melted, binds the crust |
For the Filling
| Amount | Ingredient | Notes |
|---|---|---|
| 16 ounces | cream cheese | softened, creates a smooth texture |
| 1 cup | granulated sugar | adds sweetness |
| 3 medium | bananas | ripe, mashed for flavor |
| 1 teaspoon | vanilla extract | enhances taste |
| 1 cup | whipped topping | folds into the filling for lightness |


Preparation Methods
Folding: Gently incorporating whipped topping into the cream cheese mixture to maintain airiness. This technique prevents the mixture from becoming dense and ensures a light, fluffy texture.
Crust Pressing: Evenly pressing the graham cracker mixture into the base of the springform pan ensures a solid foundation that holds the filling. Use the flat bottom of a glass to aid in even distribution.
Chilling: Allowing the cheesecake to set in the refrigerator is crucial for firming up the filling. This process ensures the dessert maintains its shape when sliced, enhancing presentation.


Step 1: Prepare the Crust

Combine the graham cracker crumbs and melted butter in a bowl.
Mix until the crumbs are evenly coated with butter.
Press the mixture into the bottom of a springform pan to create an even layer.
Ensure the crust is packed tightly to hold together when serving.
Recommended Products

TOXIN-FREE & DURABLE 304 STAINLESS STEEL - Crafted with food-grade 304 stainless steel, the springform pan resists rust, deformation, and corrosion for lifelong use. Oven safe up to 500°F, pressure cooker compatible, and multiple baking options for you to choose from

【Carbon Steel Material】: Made of high-quality carbon steel material. High strength and good hardness. It is not easy to break down.

Toxin-Free 304 Stainless Steel Springform Pan 9 Inch Nonstick: The 9 springform pan set include 1pcs 9 inch springform pan, 1pcs silicone cheesecake pan protector and 50pcs parchment paper, the spring form pan for cheesecake is ideal choices for making cheese cake, quiches, mousse, deep dish pizzas, smash cakes, various pies, cookies and it is also the best gadget for DIY desserts, this cheesecake pan can bring you much fun and let you enjoy baking time.


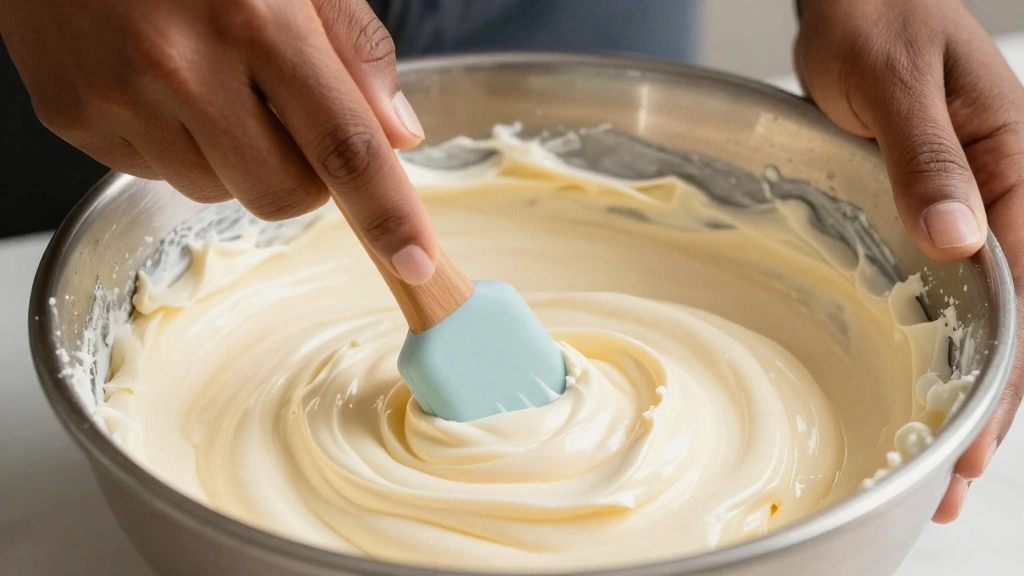
Step 2: Soften the Cream Cheese
Place the cream cheese in a large mixing bowl.
Let it sit at room temperature until softened for easier blending.
Use a hand mixer to beat the cream cheese until smooth and creamy.
Avoid any lumps in the mixture for a silky texture.
Recommended Products

Perfect for Homemade Pies: Create the ideal graham cracker pie crust for cheesecakes, pies, and more—just add butter or a substitute for a delightful base.
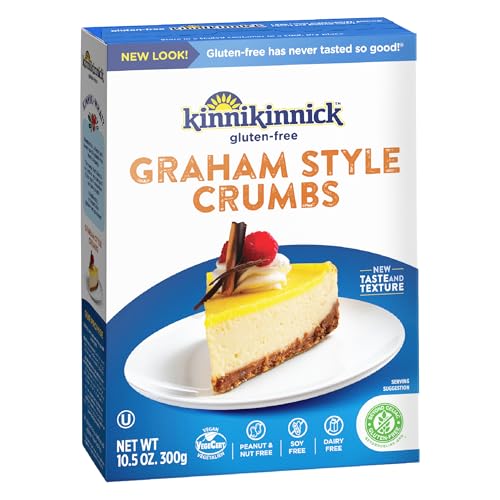
GLUTEN FREE GRAHAM STYLE CRUMBS: So good, you won't even know these graham crumbs are not only gluten-free but free from top allergens and vegan too! Keep a box in your pantry for all recipes that call for a graham cracker crust or toppings. Contains one 10.5 ounce box of Gluten Free Graham Style Crumbs


Step 3: Add Sugar and Bananas
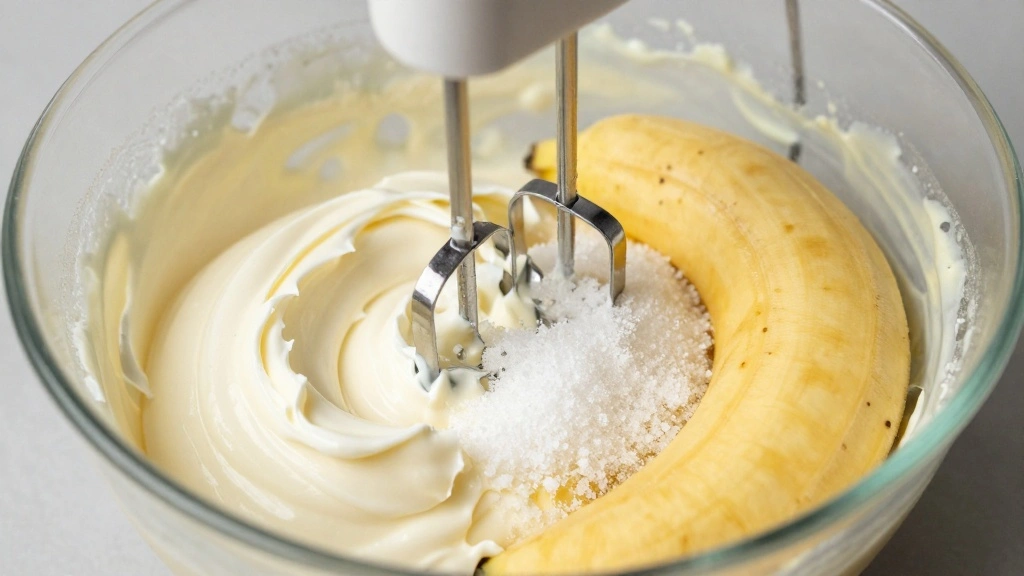
Gradually add granulated sugar to the cream cheese.
Mix until the sugar is fully incorporated and the mixture is smooth.
Add mashed bananas to the bowl and blend well.
Ensure the bananas are evenly distributed throughout the mixture.
Recommended Products

One 13 ounce container of Original Ultra Pasteurized Dairy Whipped Topping

Brought to you by Whole Foods Market


Step 4: Enhance with Vanilla
Add vanilla extract to the cream cheese mixture.
Stir until the vanilla is evenly mixed in.
This step enhances the overall flavor profile of the dessert.
Ensure the mixture remains smooth and creamy.
Recommended Products
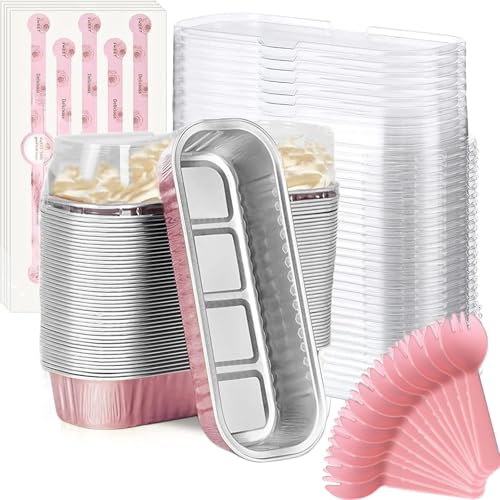
About this items: The foil cups size:6.5”x2.5”x1.2”,the dome lids 0.8” high. Including 50pcs aluminum foil pans with 50 clear lids,free 50 individually wrapped spoons.

Disposable: Our small plastic cups with lids are 100% BPA-free, sturdy, and durable. The crystal clear appearance is great for displaying a beautifully layered parfait cup, banana pudding cup, jello shooter, cheesecake, or trifle.

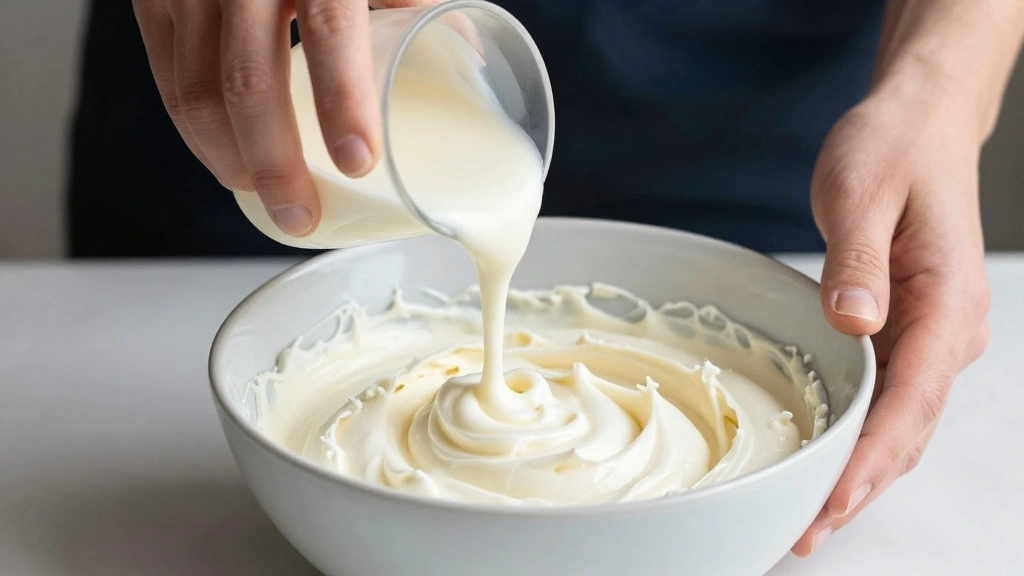
Step 5: Fold in Whipped Topping
Gently fold the whipped topping into the cream cheese mixture.
Use a spatula to avoid deflating the whipped topping.
Continue folding until no streaks remain, ensuring a uniform mixture.
This step contributes to the light, airy texture of the filling.
Step 6: Assemble the Cheesecake
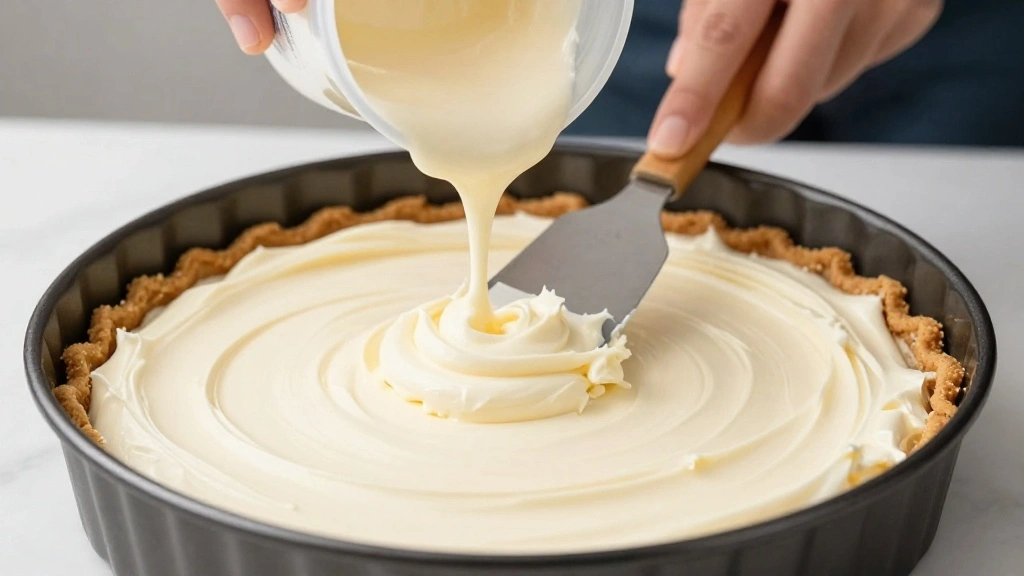
Pour the cream cheese mixture over the prepared graham cracker crust.
Spread the filling evenly with a spatula.
Smooth the top for a clean, professional look.
Ensure the filling is level for even setting.


Step 7: Chill the Cheesecake
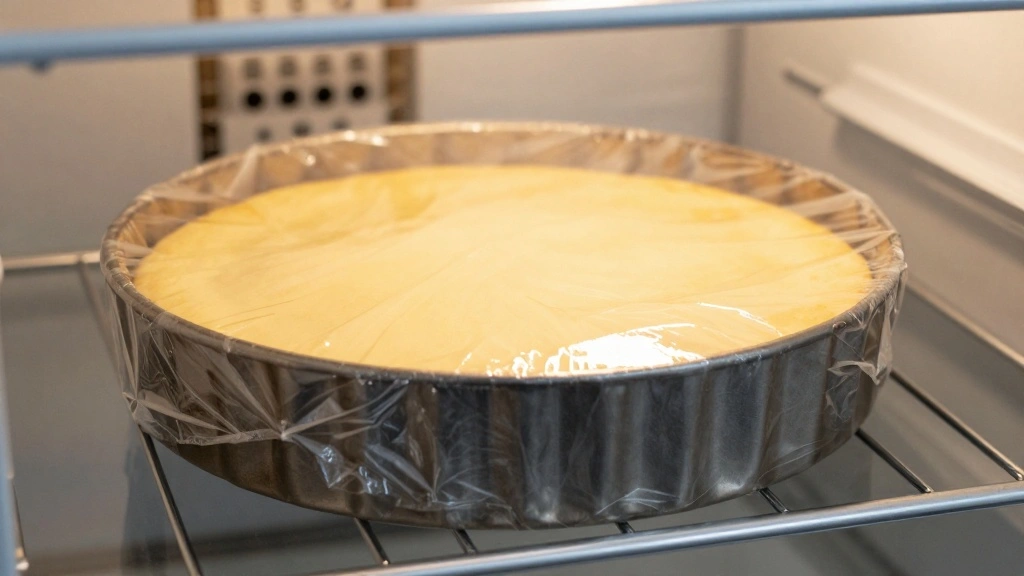
Cover the cheesecake with plastic wrap or a lid.
Place it in the refrigerator to chill for at least 4 hours.
This step allows the filling to set and firm up.
Ensure the cheesecake is fully chilled before serving for the best texture.
Step 8: Garnish and Serve
Remove the cheesecake from the springform pan.
Transfer to a serving platter for presentation.
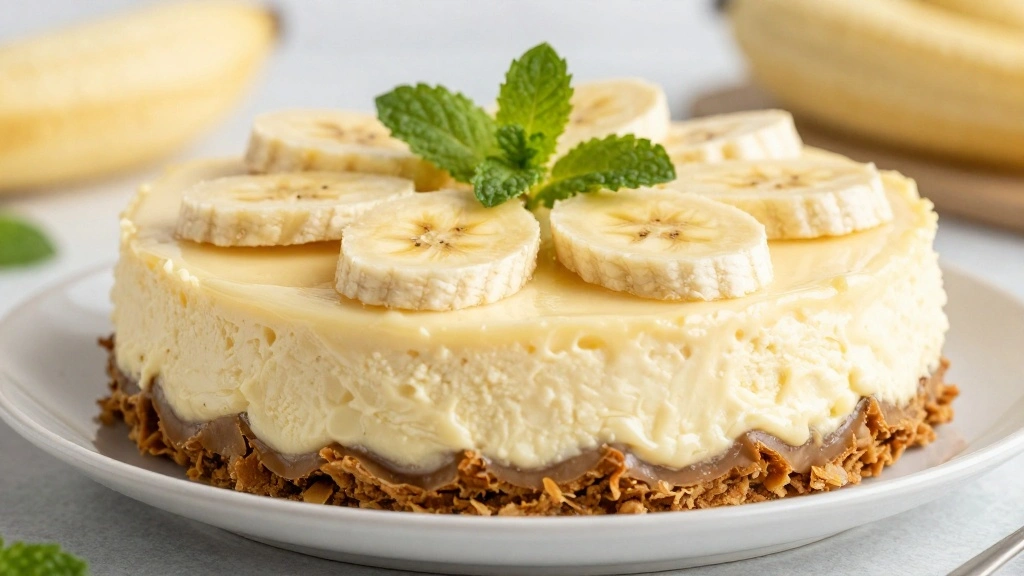
Garnish with banana slices and a sprig of mint for visual appeal.
Serve chilled for optimal flavor and texture.


Critical Timing and Temperature Guide
Chilling Process: Chill the cheesecake for a minimum of 4 hours at refrigerator temperature (about 37°F or 3°C). The filling should be firm to the touch with no liquid spots. Avoid opening the refrigerator frequently to maintain a consistent temperature.
Serving Temperature: Serve the cheesecake chilled directly from the refrigerator for the best texture. If left out for too long, the filling may soften excessively, impacting the presentation.
Banana Ripeness: Use bananas that are fully ripe but not overly brown. Overripe bananas can add too much moisture, affecting the texture of the filling.
Pro Tips for No-Bake Banana Pudding
• Ingredient Selection: Choose high-quality cream cheese and fresh, ripe bananas for the best flavor and texture in the final product.
• Preparation Secret: Let the cream cheese come to room temperature before mixing to ensure smooth blending and prevent lumps.
• Temperature Management: Keep the cheesecake in the refrigerator until ready to serve to maintain its firm texture and fresh taste.
• Texture Enhancement: Gently folding the whipped topping into the filling helps achieve a light, airy consistency that is key to a great cheesecake.
• Flavor Layering: Adding vanilla extract enhances the fruitiness of the bananas, creating a well-rounded flavor profile.
• Make-Ahead Strategies: Prepare the cheesecake a day in advance to allow flavors to meld and the filling to fully set. Store covered in the refrigerator.
• Restaurant-Quality Finishing Touches: Use a hot, dry knife to slice the cheesecake for clean, professional-looking cuts.
• Equipment Optimization: Ensure your springform pan is non-stick and secure to prevent leaks and make removal easier.


Troubleshooting Common Issues
• Filling Too Soft: This can occur if the cheesecake wasn't chilled long enough. Ensure at least 4 hours of refrigeration time. Use a firmer whipped topping to help hold the structure.
• Crust Falls Apart: Ensure the butter is evenly mixed with the graham cracker crumbs and pressed firmly into the pan. Too little butter can cause crumbling.
• Lumpy Filling: Lumps often result from cream cheese that isn't fully softened. Beat cream cheese thoroughly before adding other ingredients.
• Bland Flavor: Ensure ripe bananas are used and properly mashed to release their natural sweetness and flavor into the filling.
• Discolored Bananas: If banana slices used for garnish brown quickly, brush them lightly with lemon juice to prevent oxidation.
Variations and Regional Differences
• Southern Style: This variation often includes additional layers of vanilla wafers or ladyfingers, adding texture and a hint of vanilla flavor.
• Tropical Twist: Incorporates coconut flakes in the crust and a splash of coconut extract in the filling for a tropical flavor profile.
• Chocolate Banana: Adds a layer of chocolate ganache on the crust and uses cocoa powder in the filling for a rich chocolate-banana combination.
• Low-Fat Version: Uses low-fat cream cheese and light whipped topping, with a reduced amount of sugar for a lighter dessert option.
Food Science Behind the Recipe
• Emulsification: The blending of cream cheese and whipped topping is an example of emulsification, where fat and water phases combine to create a stable, creamy texture.
• Chilling Effect: The refrigeration process allows the gelatinization of the filling, which helps it set and hold its shape—important for a no-bake dessert.
• Browning Reaction: Understanding the enzymatic browning of bananas helps in selecting the right ripeness and preparing them to avoid unsightly discoloration.


Frequently Asked Questions
What's the most common mistake people make when preparing No-Bake Banana Pudding Cheesecake? The most common mistake is not allowing enough chilling time, resulting in a soft, unstable filling.
Can I use frozen bananas in this recipe? It's not recommended, as frozen bananas can become watery when thawed, affecting the texture.
How long can I store the cheesecake in the refrigerator? The cheesecake can be stored for up to 3 days, covered, to maintain freshness.
What can I use instead of a springform pan? A deep pie dish can be used, but it may be difficult to remove clean slices.
Can I make this cheesecake gluten-free? Yes, by using gluten-free graham cracker crumbs for the crust.
Is there a dairy-free option for this recipe? Substitute dairy-free cream cheese and whipped topping to create a dairy-free version.
Why does my crust crumble when serving? Ensure the crust is firmly pressed and evenly mixed with butter to prevent crumbling.
How do I prevent the bananas from browning? Brush sliced bananas with lemon juice before using them as garnish to prevent browning.
Serving and Presentation Guide
• Traditional Presentation: Serve the cheesecake whole on a decorative platter, garnished with banana slices and mint, for a classic, elegant look.
• Individual Servings: Cut the cheesecake into individual slices and plate each with a dollop of whipped cream and a sprinkle of graham cracker crumbs.
• Layered Dessert Cups: Serve in individual dessert cups with layers of crust, filling, and banana slices for a modern twist.
• Garnish Variations: Experiment with different garnishes such as chocolate shavings, caramel drizzle, or toasted nuts for added texture and flavor.
Conclusion
This No-Bake Banana Pudding Cheesecake is a delightful fusion of flavors and textures that will captivate your taste buds.
With its straightforward preparation and impressive presentation, it's a perfect dessert for any occasion.
Give this recipe a try, and enjoy the sweet, creamy satisfaction of a homemade treat.
Your friends and family will surely be asking for seconds!