
365 Low-Fat Main Dishes — One Recipe for Every Day!
Easy, beginner-friendly, with full nutrition info.
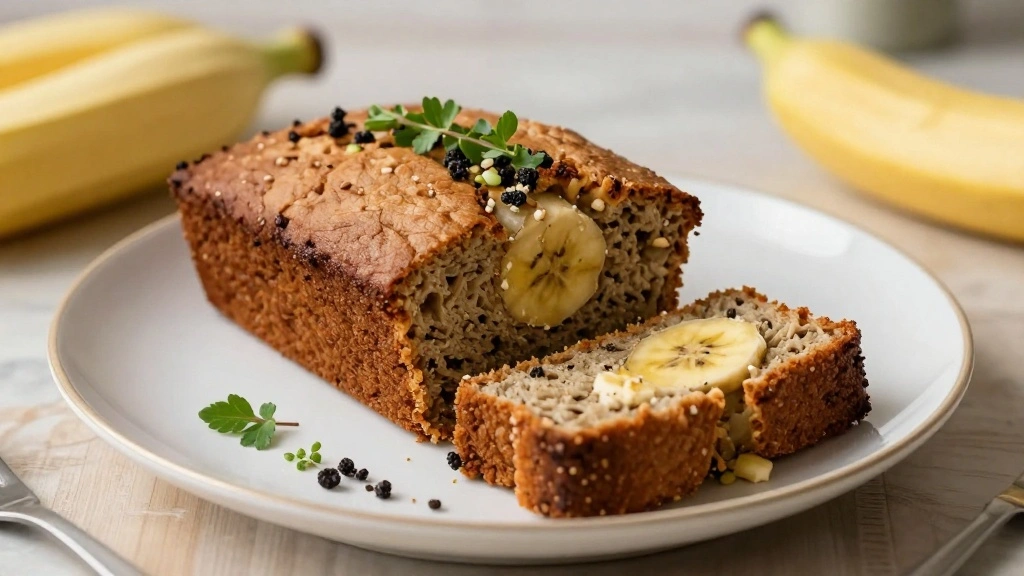
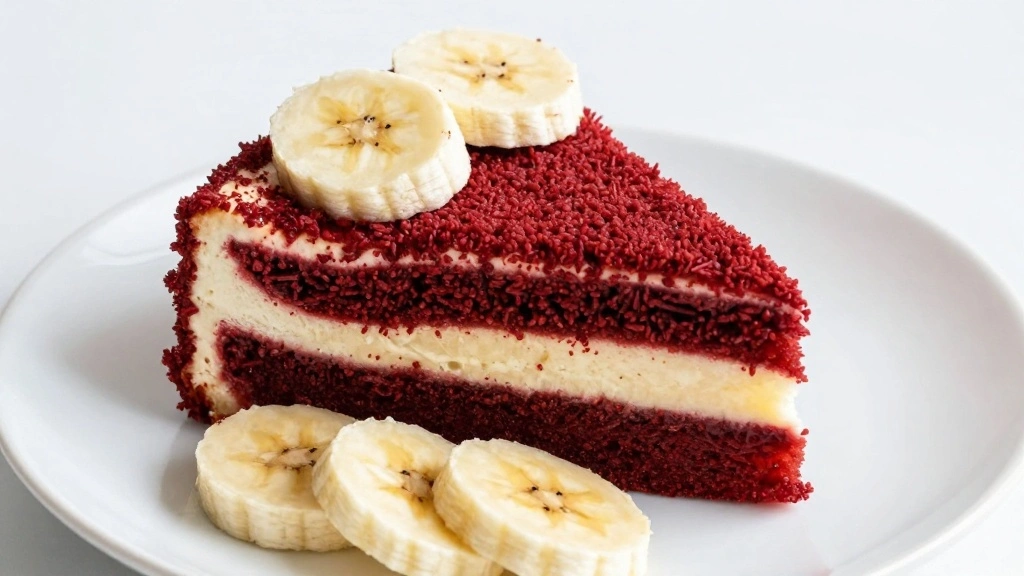
👉 Download Now – Just $2.90!Red Velvet Banana Pudding is a dessert that marries the rich, cocoa-infused flavors of red velvet with the creamy, sweet comfort of banana pudding.
I first encountered this delightful fusion at a family gathering, where its vibrant color and unique taste made it the star of the dessert table.
The dish offers a perfect balance between the tangy cream cheese, the smooth vanilla pudding, and the subtle banana undertones.
Ideal for any occasion, its bold appearance and delectable taste guarantee to impress guests and family alike.
The History and Cultural Significance
• Red Velvet Banana traces its origins to the Southern United States in the mid-20th century, where it was originally created by inventive home bakers.
• The dish evolved over decades as bakers began incorporating banana pudding into the traditional red velvet cake, eventually becoming the beloved version we know today.
• In Southern culture, this dish traditionally appears at family reunions and holiday gatherings, symbolizing unity and comfort.
• While many variations exist across different regions, the authentic version maintains a moist, velvety texture that sets it apart from imitations.


Recipe Overview
Nutritional Information (per serving)
Essential Equipment Guide
Stand Mixer: Crucial for achieving the smooth, fluffy texture needed for both the cake and the pudding layers. A hand mixer can be used as an alternative, but a stand mixer offers more consistent results.
Springform Pan: Important for easy removal of the layered dessert. Look for one with a non-stick coating to prevent sticking.
Whisk: Essential for combining ingredients smoothly and preventing lumps in the pudding. A balloon whisk is preferable for better aeration.


Ingredients
For the Base
|
| Amount | Ingredient | Notes |
|---|---|---|
| 1 box | red velvet cake mix | adds rich cocoa flavor and vibrant color |
For the Pudding
| Amount | Ingredient | Notes |
|---|---|---|
| 2 cups | whole milk | for creamy texture |
| 1 package | instant vanilla pudding mix | provides a smooth, sweet layer |
For the Topping
| Amount | Ingredient | Notes |
|---|---|---|
| 2 ripe | bananas | sliced, adds natural sweetness |
| 1 cup | whipped cream | for a light, airy finish |


Preparation Methods
Creaming Method: This technique involves beating butter and sugar together until light and fluffy, which is crucial for creating a tender crumb in the cake.
Layering Technique: Important for achieving distinct layers of flavor and texture in the dessert. Mastering this technique ensures a visually appealing presentation.
Folding: Gently incorporating ingredients without deflating air bubbles is essential for maintaining the pudding's lightness.


Step 1: Prepare the Cake Mix
Preheat your oven to 350°F (175°C).
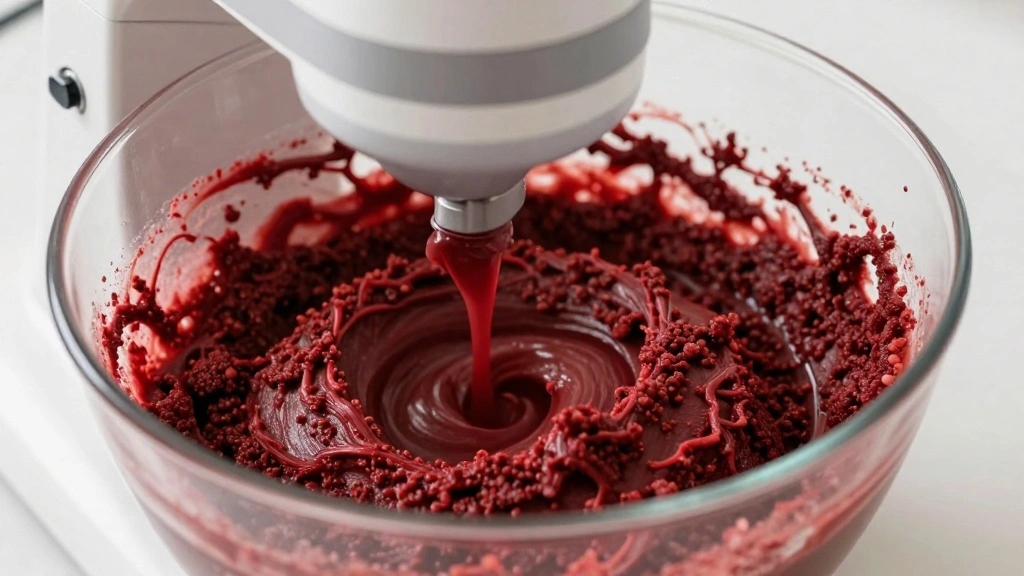
Combine the red velvet cake mix with eggs, oil, and water in a large bowl.
Mix on medium speed until well blended.
Pour the batter into a greased springform pan.


Step 2: Bake the Cake
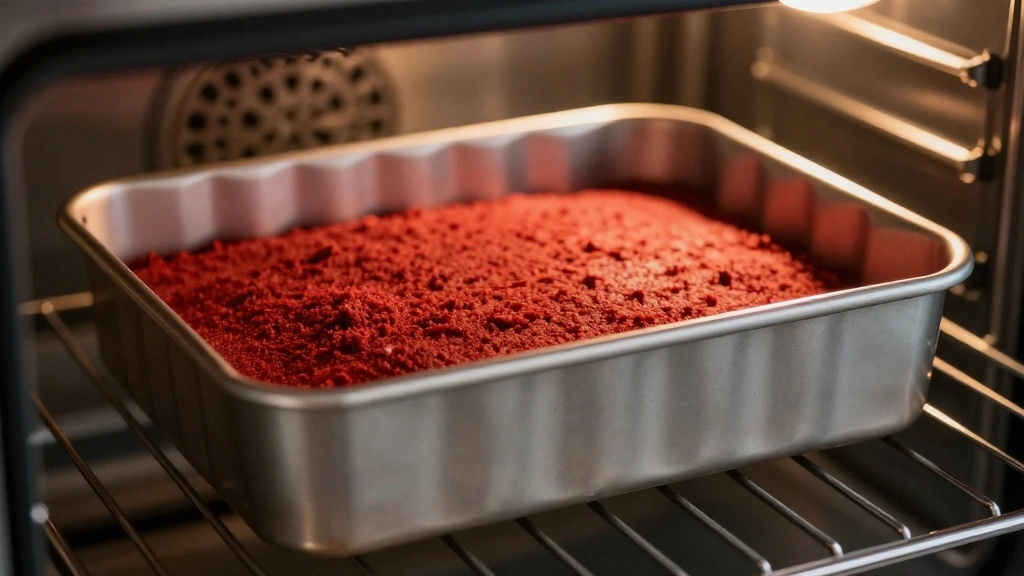
Place the pan in the preheated oven.
Bake for 25-30 minutes or until a toothpick inserted into the center comes out clean.
Allow the cake to cool completely in the pan.
This prevents the layers from becoming too moist.


Step 3: Prepare the Pudding
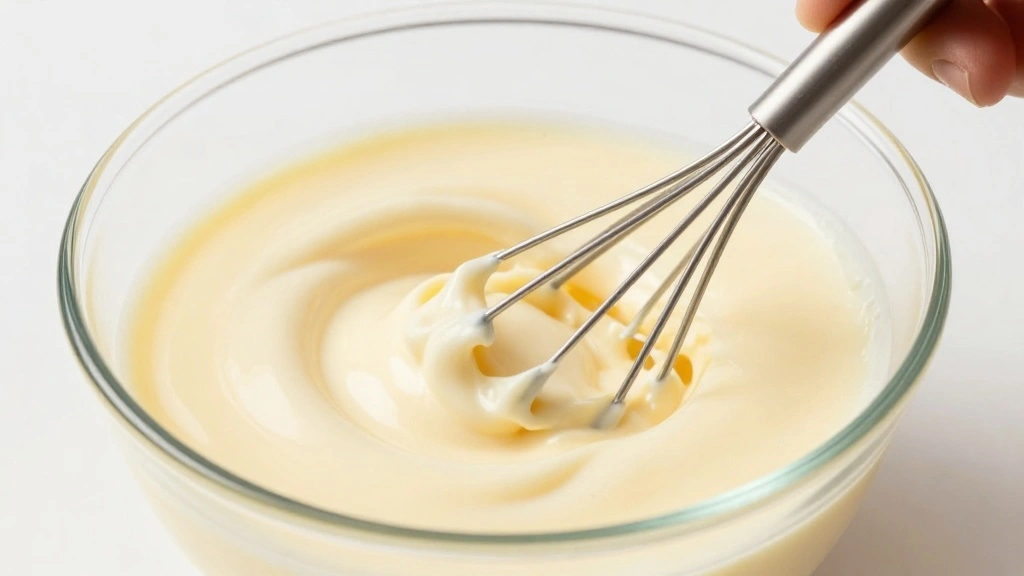
In a medium bowl, whisk together the milk and vanilla pudding mix.
Continue whisking for 2 minutes until the mixture begins to thicken.
Let it set for 5 minutes to reach the desired consistency.
This creates a smooth, creamy layer for the dessert.


Step 4: Slice the Bananas
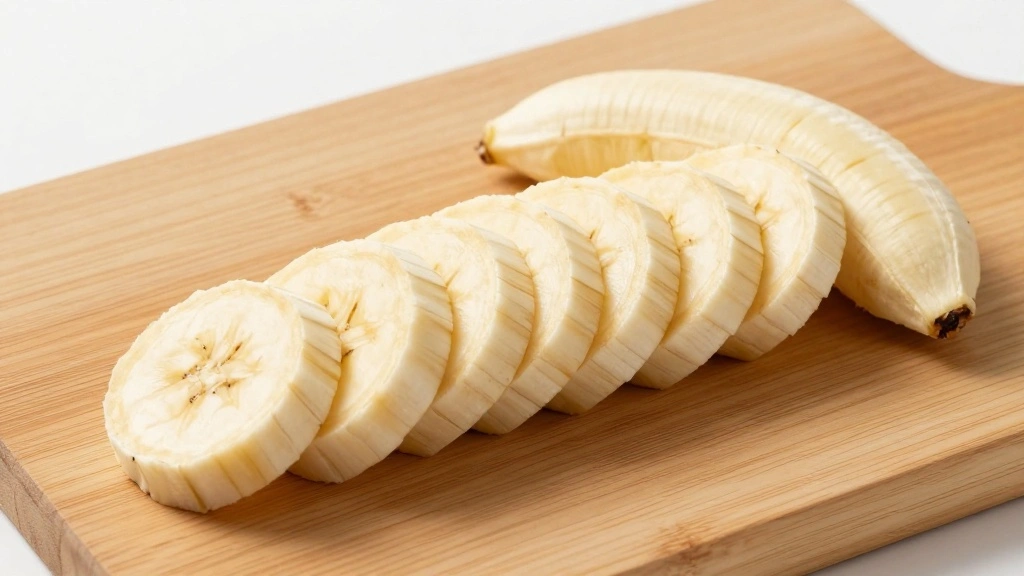
Peel and slice the ripe bananas into even, thin slices.
Arrange them in a single layer on a plate.
This ensures even distribution in the dessert.
Keep bananas covered to prevent browning.


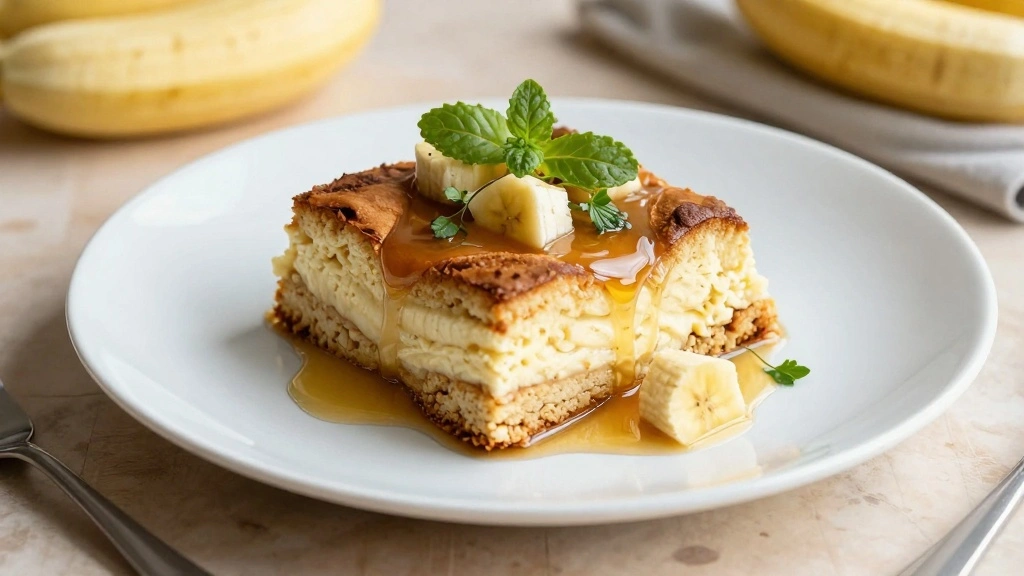
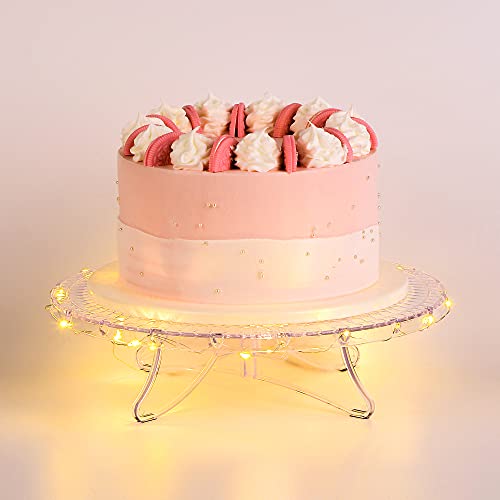
Step 5: Layer the Dessert
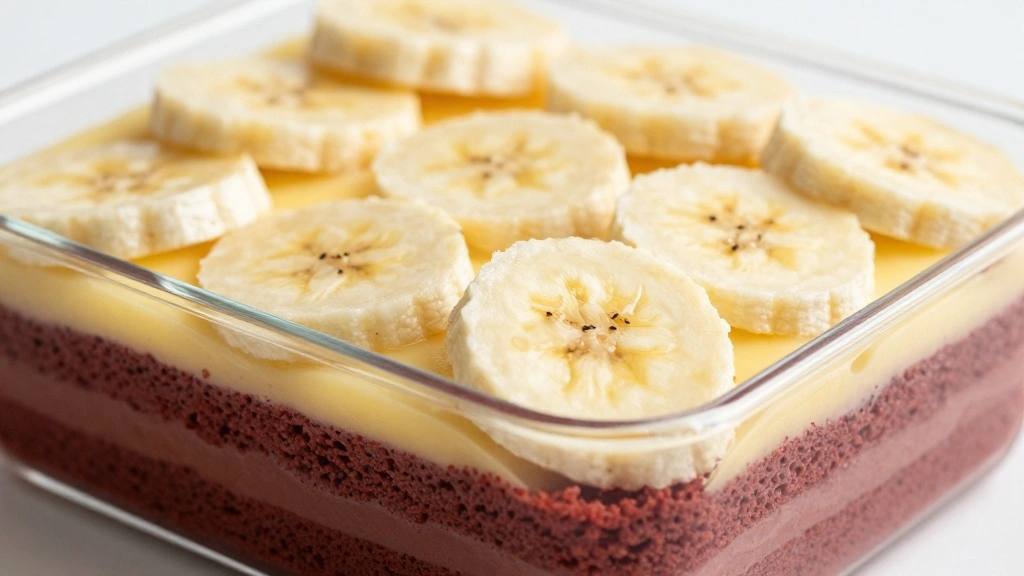
Once the cake is cool, cut it into two even layers.
Place one layer at the bottom of a large serving dish.
Spread half of the pudding over the cake layer evenly.
Arrange banana slices over the pudding layer.


Step 6: Add the Second Layer

Place the second cake layer on top of the bananas.
Spread the remaining pudding over the top.
Ensure the pudding covers the entire surface evenly.
This helps to lock in moisture and flavor.
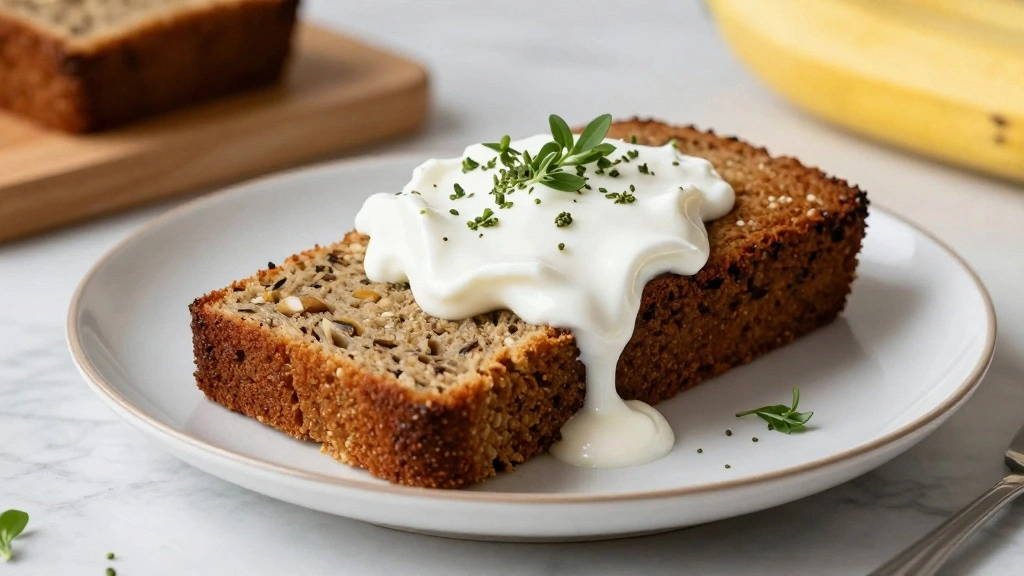
Step 7: Top with Whipped Cream
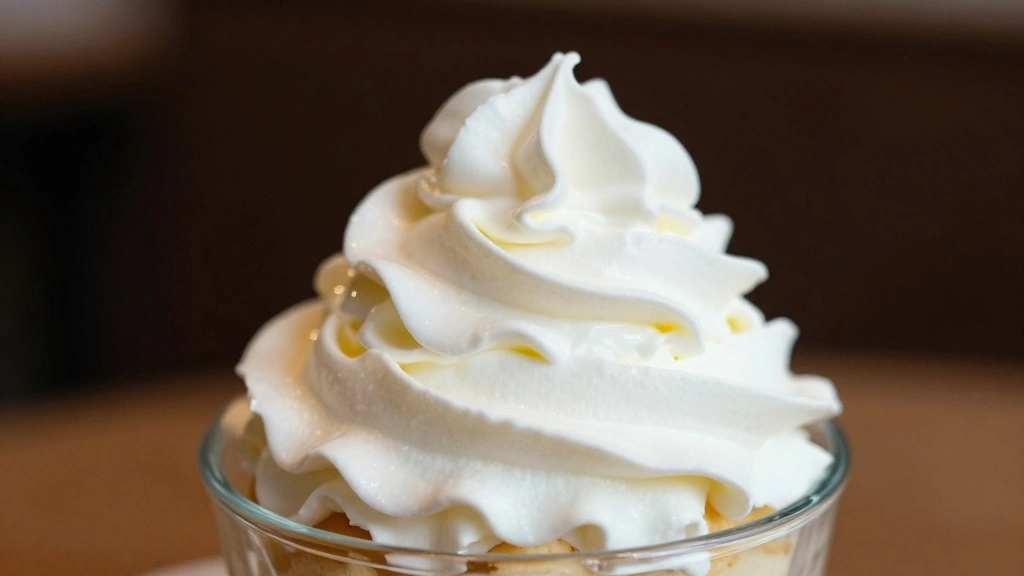
Spread a generous layer of whipped cream over the top pudding layer.
Use a spatula to create decorative swirls.
This adds an airy, light finish to the dessert.
Chill the dessert in the refrigerator for at least 2 hours.


Step 8: Serve the Dessert
Remove the dessert from the refrigerator.
Slice it into individual servings with a sharp knife.
Serve chilled to maintain the integrity of the layers.
Garnish with extra banana slices or chocolate shavings if desired.


Critical Timing and Temperature Guide
Baking the Cake: Bake for 25-30 minutes at 350°F. Look for a toothpick to come out clean. Avoid opening the oven frequently to prevent sinking.
Setting the Pudding: Whisk for 2 minutes and allow to set for 5 minutes. Ensure it thickens properly to avoid runny layers.
Chilling the Dessert: Chill in the refrigerator for at least 2 hours. This helps the layers to set and flavors to meld.


Pro Tips for Red Velvet Banana
• Ingredient Selection: Choose ripe bananas for optimal sweetness and flavor impact, and ensure your milk is fresh for the best pudding texture.
• Preparation Secret: Sift the cake mix to avoid lumps and ensure a smoother batter.
• Temperature Management: Use room temperature ingredients for better mixing and more consistent baking results.
• Texture Enhancement: Beat the cake batter until just combined to prevent a dense texture.
• Flavor Layering: Use a hint of vanilla extract in the whipped cream to enhance the overall flavor profile.
• Make-Ahead Strategies: Prepare the cake a day in advance and store it in an airtight container to save time on the day of assembly.
• Restaurant-Quality Finishing Touches: Add chocolate shavings or a dusting of cocoa powder on top of the whipped cream for a professional presentation.
• Equipment Optimization: Use a serrated knife to cut the cake layers evenly, ensuring clean edges.


Troubleshooting Common Issues
• Cake Too Dense: Often caused by overmixing or using cold ingredients. Ensure ingredients are at room temperature and mix just until combined.
• Pudding Too Runny: This can happen if not whisked long enough. Ensure you whisk the pudding mix for the full 2 minutes.
• Bananas Browning: To prevent, slice just before assembly or toss with a little lemon juice.
• Layers Sliding: Chill the dessert thoroughly to set the pudding and hold the layers in place.
• Whipped Cream Melting: Ensure the dessert is fully chilled before adding whipped cream. Use stabilized whipped cream for better hold.
• Uneven Layers: Use a leveler or serrated knife and ensure the cake is completely cooled before slicing.
Variations and Regional Differences
• Southern Style: This version includes pecans between layers for added crunch and flavor, reflecting local agricultural products.
• Modern Twist: A variation with mascarpone cheese in the whipped cream for a richer taste and smoother texture.
• Vegan Adaptation: Uses almond milk and a flaxseed egg substitute to cater to dietary preferences, while maintaining flavor integrity.
• Gluten-Free Version: Utilizes gluten-free cake mix and pudding for those with gluten sensitivities, without sacrificing taste.


Food Science Behind the Recipe
• Maillard Reaction: This browning process in baking contributes to the red velvet cake's rich flavor and color.
• Emulsification: The pudding's smooth texture relies on proper emulsification of fats and liquids, creating a stable mixture.
• Gelatinization: Starch in the pudding mix thickens the milk, creating a creamy consistency.
• Aeration: Whipping cream introduces air, lightening the texture and enhancing the overall mouthfeel of the dessert.


Frequently Asked Questions
What's the most common mistake people make when preparing Red Velvet Banana Pudding? Overmixing the cake batter, which can lead to a dense texture.
Can I use a different type of pudding? Yes, you can experiment with chocolate or banana pudding for a unique twist, but it will alter the classic flavor.
How far in advance can I make this dessert? You can prepare the cake and pudding a day ahead and assemble the day of serving.
What can I use if I don't have a springform pan? A regular cake pan works, but ensure it's well-greased to prevent sticking.
How do I prevent the bananas from turning brown? Slice bananas just before assembly or toss with lemon juice to slow browning.
Can I freeze the dessert? Freezing is not recommended as it can alter the texture of both the cake and pudding.
How do I achieve a perfectly smooth pudding? Whisk vigorously for the full 2 minutes and let it set properly before layering.
What if I only have salted butter? You can use it, but reduce any added salt in the recipe to balance the flavors.
Is there a non-dairy alternative for whipped cream? Coconut cream can be whipped as a dairy-free alternative, offering a slight coconut flavor.
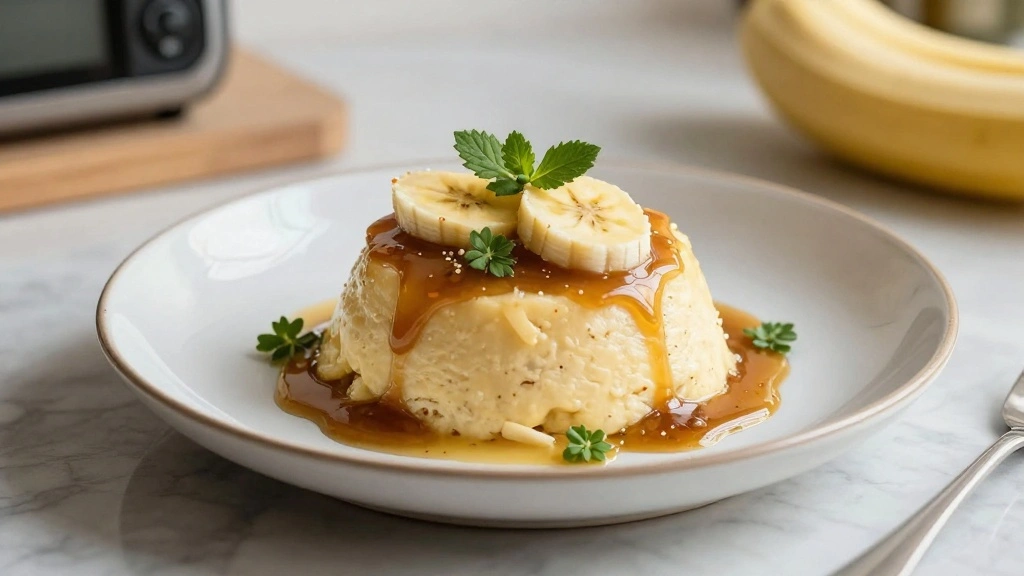
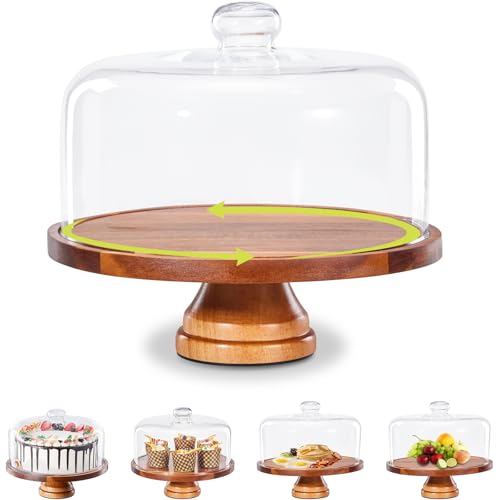
Serving and Presentation Guide
• Traditional Presentation: Serve in a glass trifle dish to showcase the beautiful layers.
• Individual Servings: Prepare in small mason jars for personal-sized portions, perfect for parties.
• Elegant Plating: Use a ring mold to create perfectly round portions for a sophisticated touch.
• Garnished Style: Top with fresh mint leaves or edible flowers for a pop of color and extra flair.


Conclusion
Red Velvet Banana Pudding is a delightful fusion of flavors and textures that is sure to impress any crowd.
With its vibrant color and rich taste, this dessert is perfect for any occasion.
Try this recipe and enjoy the compliments from your friends and family.
Embrace the joy of creating a dessert that is as beautiful as it is delicious.