
As the leaves turn and the air becomes crisp, the allure of pumpkin spice fills our kitchens and hearts.
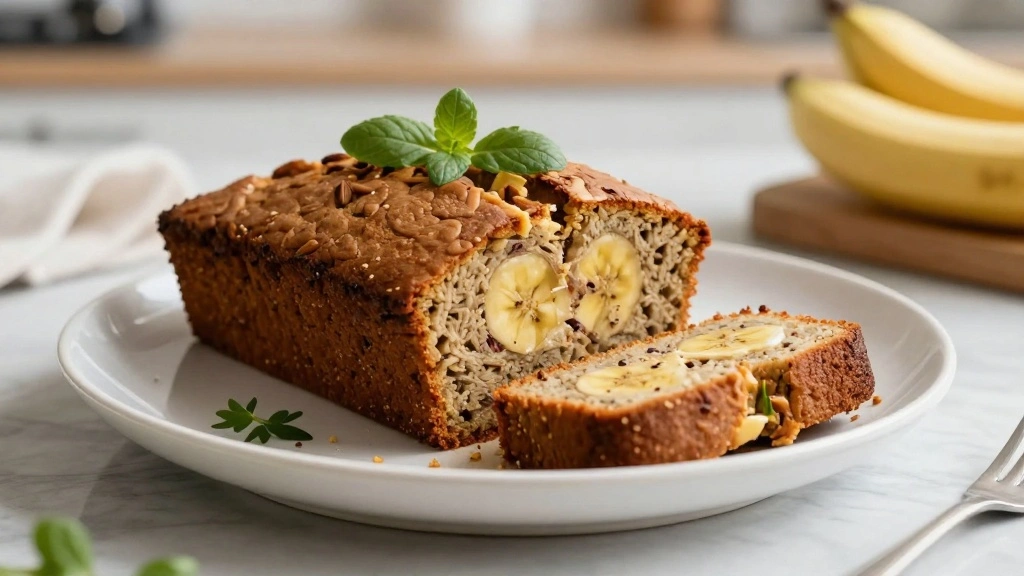
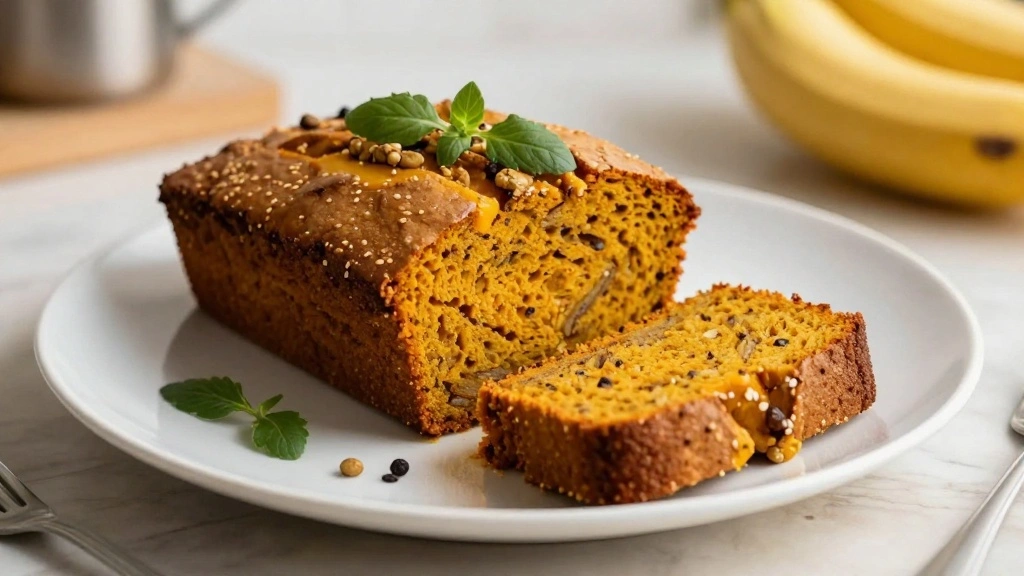
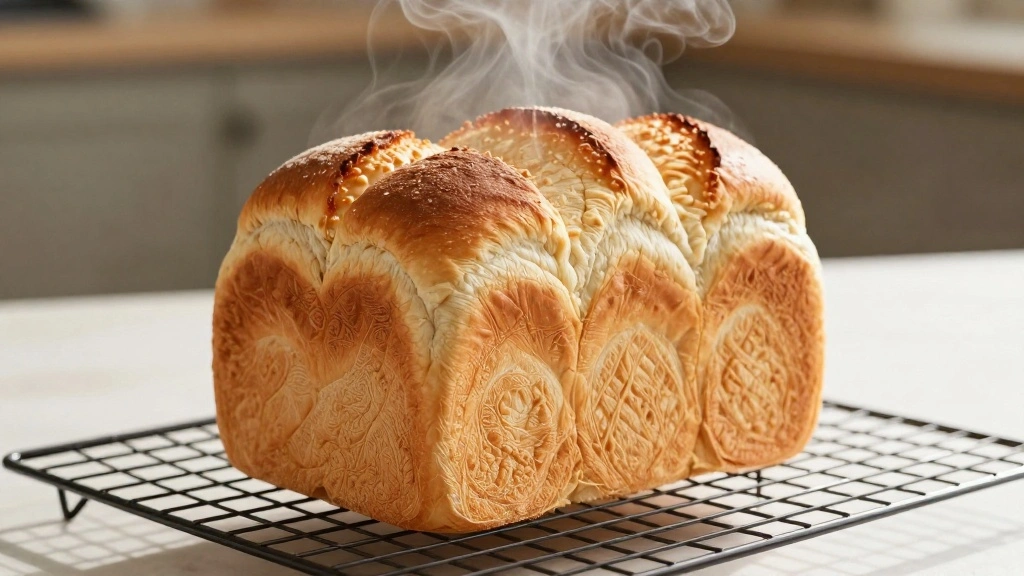
There’s no better way to celebrate the season than with a warm slice of Pumpkin Banana Bread.
Combining the earthiness of pumpkin with the natural sweetness of ripe bananas, this bread is a symphony of flavors.
Each bite offers a soft, moist texture with a delicate balance of spices that evoke the coziness of autumn.
Perfect for breakfast, a midday snack, or even dessert, this recipe is sure to become a fall favorite in your home.
Join me in making this delightful treat that captures the essence of the season.
The History and Cultural Significance
• Pumpkin Banana Bread traces its origins to early American colonial times, where it was originally created by settlers using native ingredients.
• The dish evolved over decades as bananas became more widely available, and spices like cinnamon and nutmeg were incorporated into the recipe.
• In America, this dish traditionally appears at fall gatherings and Thanksgiving celebrations, symbolizing the harvest and abundance.
• While many variations exist across different regions, the authentic version maintains its moist texture and harmonious blend of pumpkin and banana flavors that sets it apart from imitations.
Recommended Products


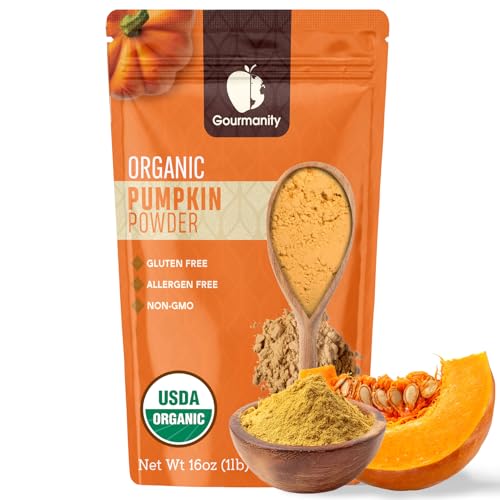
BULK VALUE: 1 lb of Gourmanity pumpkin powder for delicious flavor and natural color in cooking and baking


Recipe Overview
Recommended Products

SET OF TWO 8 x 4-INCH MEDIUM LOAF PANS: Great for baking meatloaf, sweet or savory breads, thick cakes or brownies, smaller portions of lasagnas or casseroles, and more for the perfect bake every time

STRONG BOROSILICATE GLASS - Razab borosilicate glass loaf pan is Heat Resistant Up To +500°F. Specially designed so heat is evenly distributed, avoiding burned spots. It is safe for a pre-heated oven, microwave, freezer, or top rack of the dishwasher.

Premium Carbon Steel & Advanced Non-Stick Coating: Engineered with heavy-gauge, commercial-grade carbon steel, our mini loaf pans ensure exceptional durability and superior, even heat distribution for perfectly baked goods every time. The industrial-strength, reinforced non-stick coating is PFOA, BPA, and PTFE-free, guaranteeing effortless food release and a hassle-free cleanup. Unlike flimsy alternatives, this pan resists warping under high temperatures (oven-safe up to 450°F/232°C).
Nutritional Information (per serving)
Recommended Products

Classic Pumpkin Spice Blend - A warm mix of organic cinnamon, nutmeg, ginger, and cloves for cozy, aromatic flavor.

One 3 ounce bottle of Pumpkin Pie Spice

PUMPKIN PIE SPICE- Pumpkin pie spice is a versatile blend of warm, aromatic spices that typically includes cinnamon, nutmeg, ginger, cloves, and allspice. It's known for its ability to enhance the flavor of various dishes beyond just pumpkin pie.


Essential Equipment Guide
Loaf Pan: A well-made loaf pan is crucial for achieving even baking and a perfect crust. Opt for a non-stick or well-greased metal pan to ensure easy release. Alternatives include silicone pans, but they may affect browning.
Mixing Bowls: Use a set of mixing bowls to properly combine dry and wet ingredients separately before mixing them together. Look for bowls with non-slip bases for stability.
Whisk: A good whisk helps incorporate air into the batter, ensuring a light texture. Choose a silicone-coated whisk if using non-stick bowls to avoid scratching.
Recommended Products

Thickened silicone protective cover, stop scratching your cookware : Walfos whisk is made of 1.65 mm reliable stainless steel with wires non scratch coated coated in 0.3mm soft silicone, non-scratch whisks will not damage or scratch any of your pots, pans, bowls, or other dishes while you cook your favorite meals! , not rust, discolor, deform or melt. The ultimate accessory for nonstick coated baking

3 GRATER ATTACHMENTS: This bowl set comes with 3 different grater attachments (slicing/grating/shredding) just shred or slice right into the bowl without making a mess and eliminating the need for a cutting board to clean. 4qt had a removable lid inside the main lid, for adding contents or pairing it with your blender without removing the entire lid to prevent splash. All necessary tools for cutting are very handy, easy to keep things clean around you

10 PIECE MIXING BOWL SET: Elevate your home kitchen and experience culinary precision with our Viking 10-piece Stainless Steel Mixing Bowl Set! This stylish and versatile mixing bowl set includes a 20-oz, 1.5 qt, 3 qt, 5 qt and 8 qt bowl, each with a tight fit lid to seal in liquids and odors


Ingredients
Recommended Products

Miss Jones Baking Co. Organic Bread, Muffin, Cookie & Pancake Mix, Pumpkin, 100% Whole Grain, No Artificial Colors or Flavors, Vegan Friendly, USDA Certified Organic, Non-GMO, 16 Ounce (Pack of 6)


True Organic Ceylon USDA Certified Nutmeg Whole – 3.5 oz Paper Craft Bag .
For the Base
|
| Amount | Ingredient | Notes |
|---|---|---|
| 1 cup | all-purpose flour | sifted for light texture |
| 1/2 cup | whole wheat flour | adds fiber and nuttiness |
| 1 teaspoon | baking soda | leavening agent |
| 1/2 teaspoon | salt | enhances flavor |
Seasonings
| Amount | Ingredient | Notes |
|---|---|---|
| 1 teaspoon | cinnamon | warmth and spice |
| 1/2 teaspoon | nutmeg | earthy depth |
Wet Ingredients
| Amount | Ingredient | Notes |
|---|---|---|
| 1 cup | pumpkin puree | moisture and flavor |
| 2 large | bananas | ripe, mashed for sweetness |
| 1/2 cup | brown sugar | rich sweetness |
| 1/4 cup | vegetable oil | moisture |
| 2 large | eggs | binding agent |
| 1 teaspoon | vanilla extract | aromatic depth |


Preparation Methods
Layering Spices: This technique involves adding spices at different stages to build complexity. Mix spices with dry ingredients for even distribution, and consider a final sprinkle before baking for aroma.
Folding Batter: Gently fold wet and dry ingredients to keep the mixture airy. Use a spatula and make wide, sweeping motions to prevent overmixing, which can lead to a dense bread.
Resting the Batter: Allowing the batter to rest for 10 minutes before baking helps the flour fully hydrate and the flavors meld, resulting in a more tender crumb.
Recommended Products

Weruva Pumpkin Patch Up (2.80oz pouch, Pack of 12) Pumpkin Puree in a convenient single serve pouch for dogs and cats!

Farmer’s Market Organic Pumpkin Puree is rich, smooth and nutritious. Our pumpkins are sustainably & organically grown.
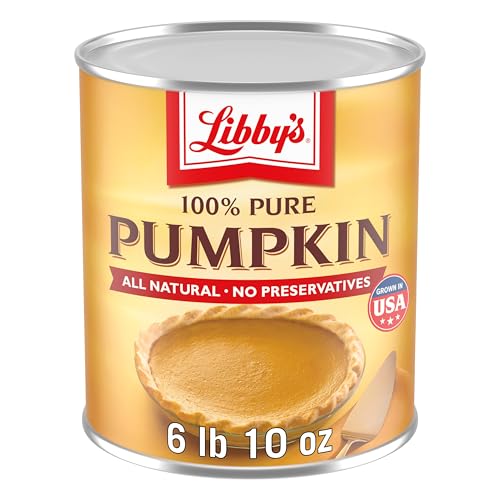
Libby's Canned Pumpkin adds great taste to any recipe, such as pie, muffins, breads, cookies, pancakes, soups and more


Step 1: Prepare Ingredients
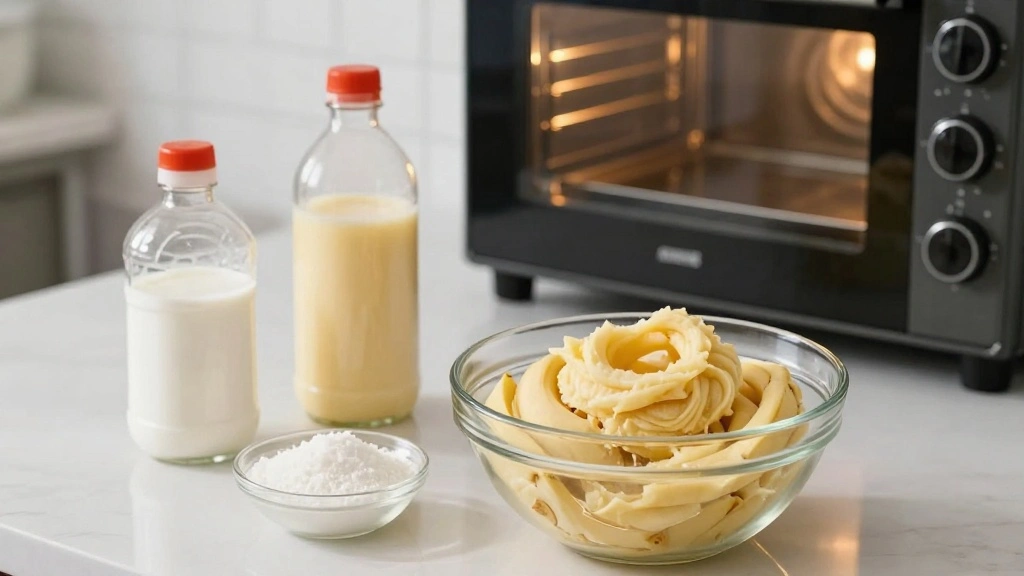
Gather all ingredients and measure them accurately.
Ensure the bananas are ripe, and mash them in a bowl.
Sift the all-purpose flour to remove lumps.
Preheat your oven to 350°F (175°C).
Recommended Products

Set of 2 rectangular-shaped loaf pans; ideal for baking bread, pound cake, meatloaf, and more
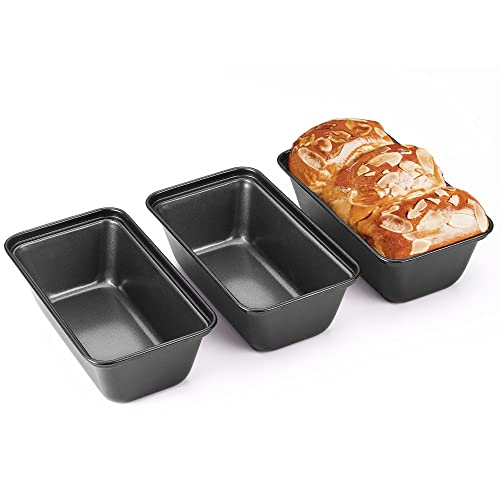
ALL-INCLUSIVE SET - Our super mini bread pan comes with 3 personal external sizes (6*3.3*2in) and Internal sizes (5.75*3*2in) nonstick bread pans to make multiple pieces of bread at once. In addition, this small loaf pan set is compatible for use with pressure cookers, ovens, and air fryers

PACKAGE CONTENT: You will get 2 pieces kitchen loaf pan in black gray colors, 100 pieces parchment paper liners, enough quantity for you to bake different loaf at the same time or share with your family and friends


Step 2: Mix Dry Ingredients
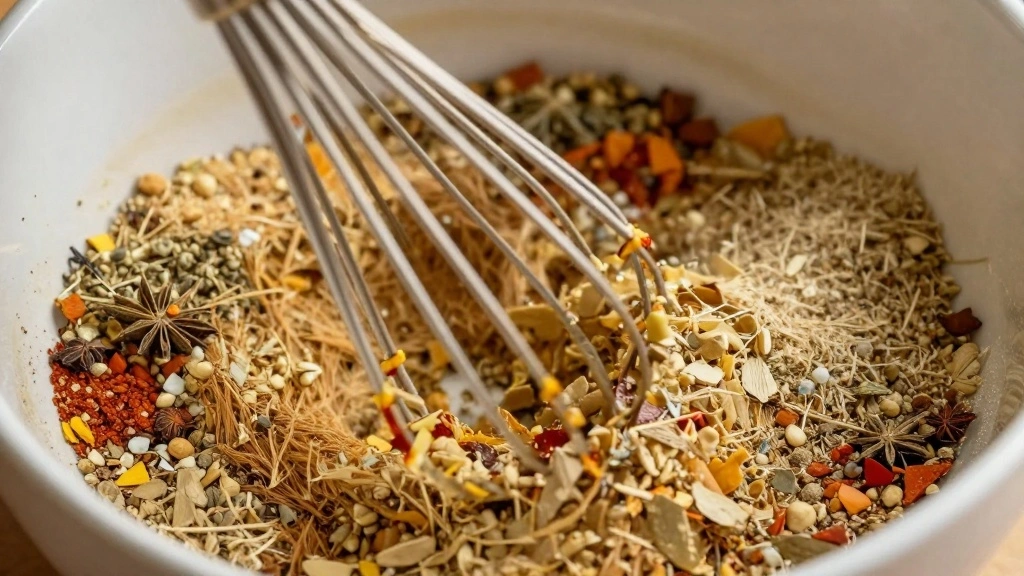
In a large bowl, combine all-purpose flour, whole wheat flour, baking soda, salt, cinnamon, and nutmeg.
Use a whisk to mix thoroughly, ensuring even distribution of spices.
Check for any lumps and break them up.
Set aside for later use.
Recommended Products

Classic Blend: A comforting mix of cinnamon, nutmeg, ginger, and cloves that delivers the traditional flavor of pumpkin pie
PUMPKIN PIE SPICE - Frontier Co-op Organic Pumpkin Pie Spice is a carefully crafted blend of nutmeg, cloves, ginger, and ground cinnamon, delivering a harmonious savory-sweet flavor to various foods and drinks.

Cozy Autumn Spice Scents in One Set – Immerse yourself in the comforting warmth of fall with our Spice Essential Oil collection: Cinnamon, Nutmeg, Vanilla, Gingerbread, Pumpkin Pie Spice, and Cloves. Each bottle captures the nostalgic aroma of freshly baked treats and seasonal comfort.


Step 3: Combine Wet Ingredients
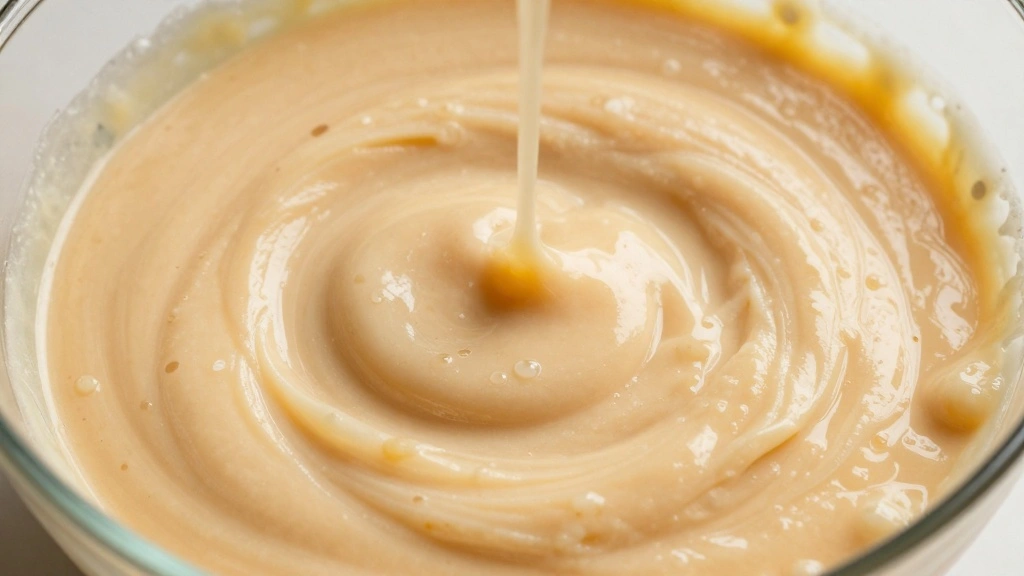
In a separate bowl, add pumpkin puree, mashed bananas, brown sugar, oil, eggs, and vanilla extract.
Whisk until smooth and well combined.
Ensure there are no lumps of sugar or banana.
The mixture should be homogenous and slightly thick.
Recommended Products

Comprehensive Size Variety: Elevate your culinary skills with our complete set of 5 stainless steel mixing bowls with lids set, ranging in size from 1.5 to 5 quarts. Whatever the task you'll find the perfect size for every task.

Trusted by 100,000+ Families – One of Amazon’s most popular mixing bowl sets, designed for everyday cooking, baking, meal prep, and food storage.

HIGH-QUALITY MATERIAL: Made of high-quality durable stainless steel and highly polished processing methods, no worries of rust. You can use the whisk set for a long time.


Step 4: Incorporate Dry and Wet Mixtures
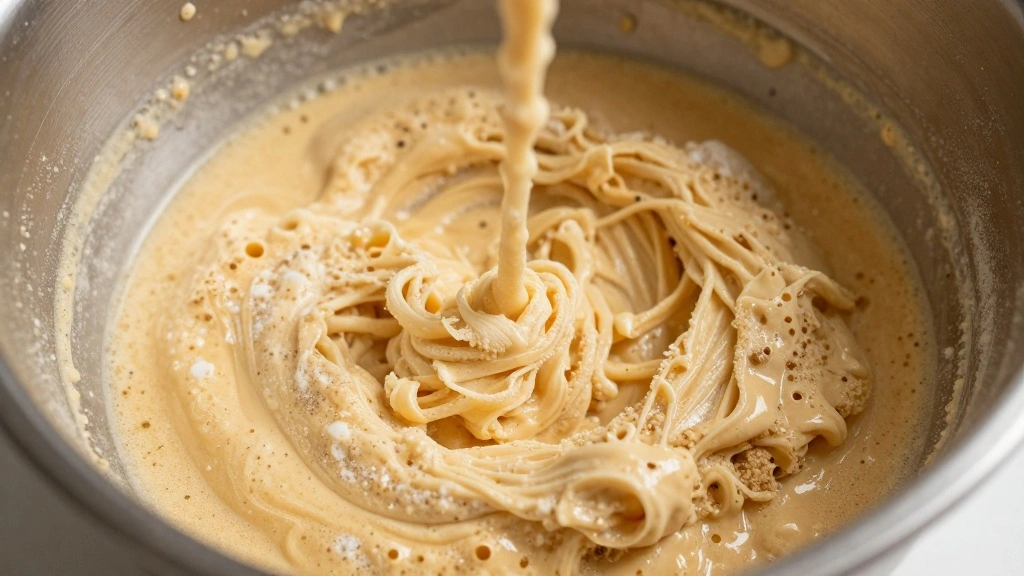
Pour the wet ingredients into the bowl of dry ingredients.
Use a spatula to gently fold the mixtures together.
Avoid overmixing; stop when just combined.
The batter should be slightly lumpy but uniform.
Recommended Products


GREAT FOR LATTES, MOCHAS, STEAMERS, TEAS, CIDERS, AND DESSERT COCKTAILS: The spiciness of nutmeg and cinnamon bring warmth to this fantastic fall flavor. Add our Pumpkin Spice Syrup to ciders and lattes to harvest their full potential.

✔ NATURAL ENAMEL REPAIR TOOTHPASTE - Natural whitening toothpaste powder nourishes the gums and teeth to aid in remineralization, which can help strengthen teeth enamel and prevent tooth decay. High mineral content with clay, calcium carbonate and baking soda.


Step 5: Prepare the Loaf Pan
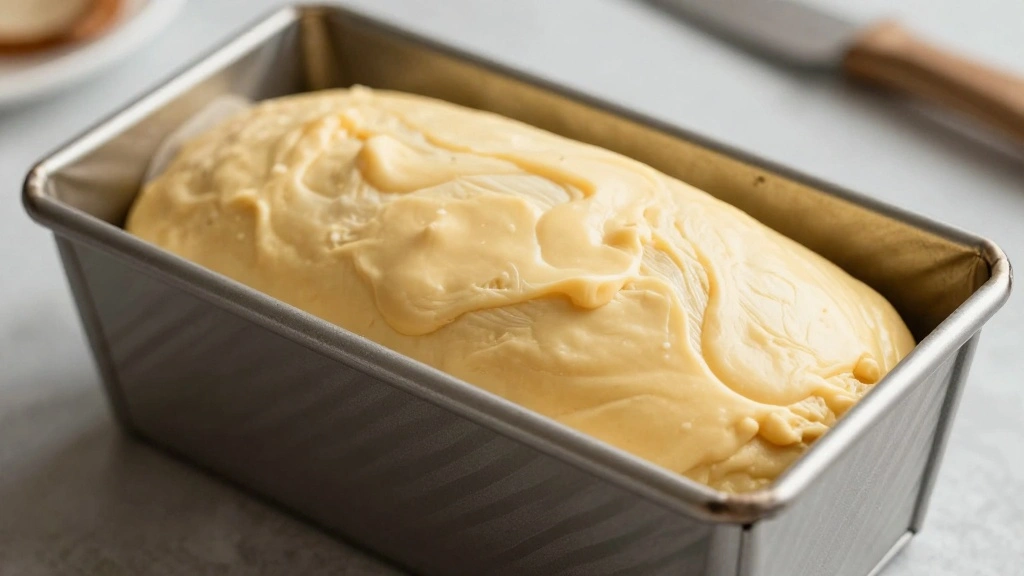
Grease a loaf pan with butter or non-stick spray.
Line the bottom with parchment paper for easy removal.
Pour the batter into the prepared pan evenly.
Smooth the top with a spatula.


Step 6: Bake the Bread
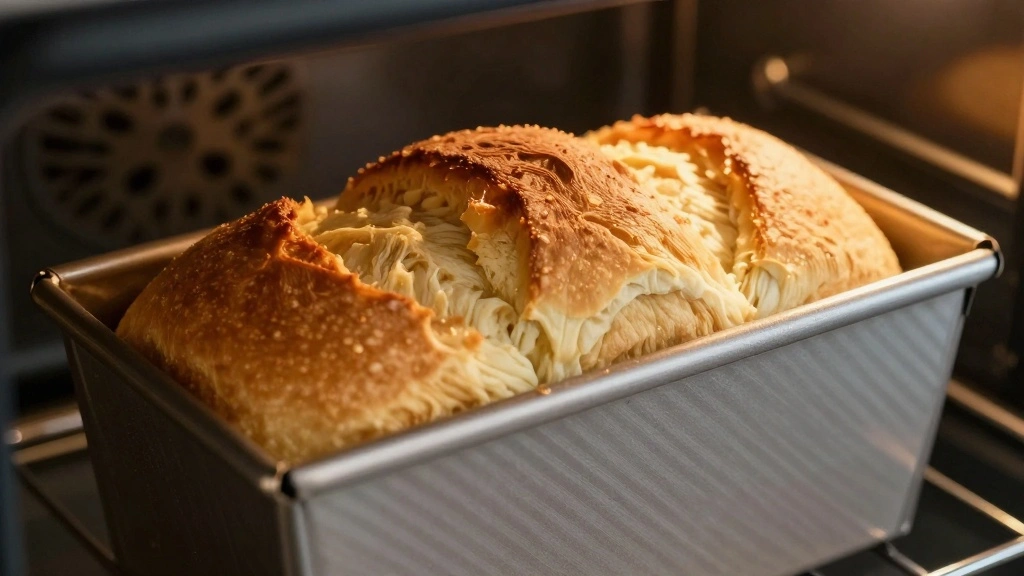
Place the loaf pan in the preheated oven.
Bake for 60 minutes or until a toothpick inserted into the center comes out clean.
Check halfway through and rotate the pan for even baking.
The top should be golden brown and slightly domed.
Step 7: Cool the Bread
Remove the bread from the oven and let it cool in the pan for 10 minutes.
Carefully lift the bread out using the parchment paper.
Transfer to a wire rack to cool completely.
Cooling ensures the bread sets and becomes easier to slice.


Step 8: Slice and Serve
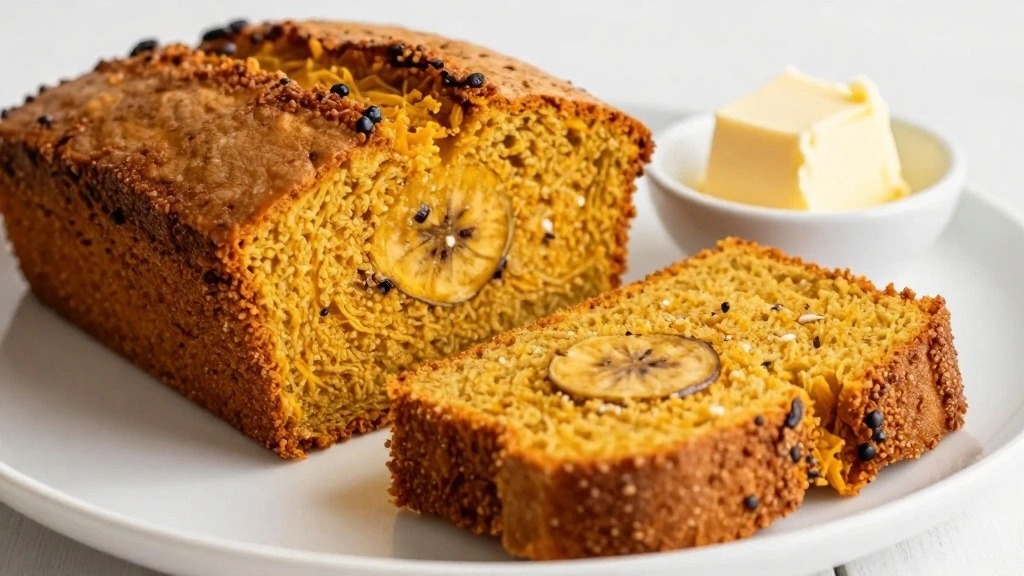
Once cooled, use a serrated knife to slice the bread.
Cut into thick or thin slices as preferred.
Serve with butter or cream cheese, if desired.
Enjoy the flavors of pumpkin and banana with every bite.


Critical Timing and Temperature Guide
Baking: Bake at 350°F (175°C) for exactly 60 minutes. Look for a golden-brown crust and a clean toothpick test. Avoid opening the oven frequently to maintain temperature.
Cooling: Allow the bread to cool in the pan for 10 minutes, then transfer to a wire rack. Cooling too quickly may lead to a soggy bottom.
Storing: Store at room temperature in an airtight container. Consuming within 3 days ensures the best flavor and texture.
Pro Tips for Pumpkin Banana Bread
• Ingredient Selection: Choose ripe bananas with brown spots for natural sweetness and creamy pumpkin puree for the best flavor.
• Preparation Secret: Let the batter rest for 10 minutes before baking to enhance the texture.
• Temperature Management: Ensure all ingredients are at room temperature for even mixing and baking.
• Texture Enhancement: Use a combination of all-purpose and whole wheat flour for a balanced crumb.
• Flavor Layering: Mix spices into the dry ingredients and sprinkle a little on top before baking for added aroma.
• Make-Ahead Strategies: Prepare and freeze the batter in the loaf pan, then bake from frozen, adding 10 minutes to the cook time.
• Restaurant-Quality Finishing Touches: Dust the top with powdered sugar or glaze with a simple icing for a professional look.
• Equipment Optimization: Use a metal loaf pan for best results, ensuring even heat distribution and a perfect crust.


Troubleshooting Common Issues
• Dense Texture: Overmixing the batter can lead to a dense bread. Fold gently and avoid using a mixer.
• Uneven Baking: If the bread is undercooked in the center, ensure your oven is properly calibrated and avoid opening the door too often.
• Flat Top: This can occur if the baking soda is expired. Always check and use fresh leavening agents.
• Too Dry: Overbaking or not enough oil can result in dry bread. Measure accurately and check for doneness with a toothpick.
• Lack of Flavor: Ensure spices are fresh and consider adding a pinch more for a stronger flavor profile.
Variations and Regional Differences
• Southern Style: Includes pecans and a touch of bourbon for added richness and a Southern twist.
• Gluten-Free: Uses almond flour and a gluten-free baking mix to cater to dietary restrictions.
• Vegan Version: Replaces eggs with flaxseed meal and oil with coconut oil, maintaining moisture and flavor.
• Spicy Caribbean: Adds allspice and ginger for a more robust, spicy flavor inspired by Caribbean cuisine.
Food Science Behind the Recipe
• Baking Soda Reaction: The use of baking soda in the recipe acts as a leavening agent, releasing carbon dioxide when combined with the acidic banana and pumpkin, helping the bread rise.
• Maillard Reaction: The browning of the crust is due to the Maillard reaction, where proteins and sugars react under heat to create a complex flavor and appealing color.
• Moisture Retention: The oil and pumpkin puree help retain moisture, preventing the bread from drying out and extending its shelf life.
Frequently Asked Questions
What's the most common mistake people make when preparing Pumpkin Banana Bread? Overmixing the batter, which can result in a dense texture.
Can I use fresh pumpkin instead of canned? Yes, just be sure to puree it until smooth and drain excess moisture.
How do I store leftover bread? Wrap it tightly in plastic or place it in an airtight container at room temperature for up to 3 days.
Can I freeze Pumpkin Banana Bread? Absolutely, wrap each slice in plastic wrap and store in a freezer bag for up to 3 months.
Is it possible to reduce the sugar in the recipe? Yes, you can reduce the sugar by a quarter without significantly affecting the taste or texture.
Why did my bread sink in the middle? It could be due to underbaking or opening the oven door too early. Make sure it passes the toothpick test before removing.
What can I serve with Pumpkin Banana Bread? It pairs well with a dollop of whipped cream or a smear of cream cheese for added richness.
Serving and Presentation Guide
• Traditional Presentation: Serve on a rustic wooden board, sliced and accompanied by a small bowl of butter or cream cheese.
• Modern Twist: Plate slices with a drizzle of caramel sauce and a sprinkle of chopped nuts for a gourmet touch.
• Family Style: Present the whole loaf on a large platter, surrounded by seasonal fruits like apples and pears.
• Festive Look: Garnish with edible flowers and powdered sugar for a holiday gathering.


Conclusion

Pumpkin Banana Bread is a delightful fusion of flavors that embodies the spirit of the season.
Its simplicity and warmth make it an inviting treat for any occasion.
I hope you enjoy baking and savoring this delicious bread as much as I do.
Share it with family and friends, and relish the joy it brings to your table.